|
During our last photo shoot for Project Tahoe, we
noticed that the rear end was in need of some help. With the
increased lift, the rear diff is more exposed and more in-sight.
The stock cover was showing some leakage and just generally looking
downright ugly.
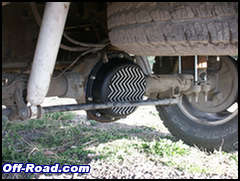
So we contacted PML in Inglewood, Ca for some
help. PML builds aluminum sand cast differential covers,
transmission pans, and valve covers. PML's diff covers are
constructed with 0.160" walls, have a precision-machined gasket
flange so all you need is some sealant, have increased oil
capacity, feature raised fins for better cooling and a custom look,
and come with a magnetic drain plug so you can perform an oil
change without removing the complete cover. Bottom line is that
this is one trick differential cover that will look good AND work
better than your stock one.
Installation
 |
 |
|
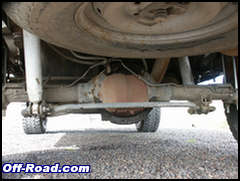
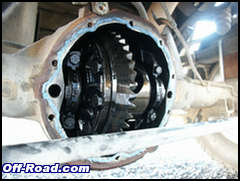
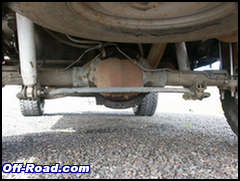
Stock differential
cover
|
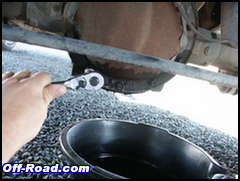
Remove the bolts from the
bottom.
|
 |
 |
|
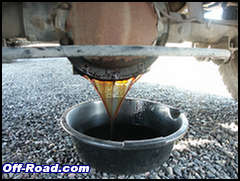
Pry the cover slightly and let
the fluid drain.
|
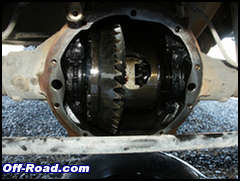
With the old cover off you
need to carefully clean the surface with a gasket scraper. Don't
scratch it.
|
 |
 |
|
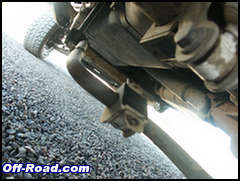
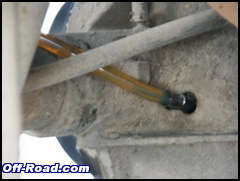
We promptly added RTV sealant,
only to find that we needed to disconnect the sway bar first. The
sealant should run around the inside of the bolt
holes.
|
The new cover is much deeper
and will not fit over the diff without first dropping the sway bar
out of the way.
|
 |
 |
|
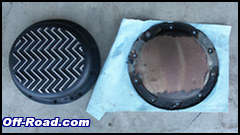
New vs Old
|
Bolt the new PML cover on with
the hardware that is provided. We did have to go round up one
longer bolt for where the brake line attaches.
|
 |
 |
|
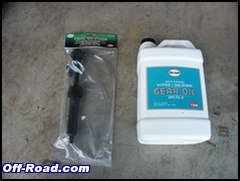
You will need some gear oil
and a pump to re-fill the rear differential.
|
Remove the fill plug on the
other side and pump some fluid in until level with the fill hole.
The new cover will add a quart or so to the capacity.
|
 |
 |
|
Old
|
New
|
|
Ok, which do you like
better?
|
Summary
The black powder coat PML cover that we installed
will set you back $160.00. They also have a polished version
available for $235. A little on the spendy side but what isn't
anymore? The cover definetly gave our rear end the upgraded look it
needed.
|
 Your Privacy Choices