When I had my first look at the TRX450R at the Honda intro my first question to the engineers was, Why no electric start. I was told they did extensive surveying and that electric start was not even considered. Evidently, the market has changed their minds as the new 06 450Rs do come with electric start. But what about the 04 and 05 models? GOKI has come to the rescue with an add on kit for the earlier 450Rs.
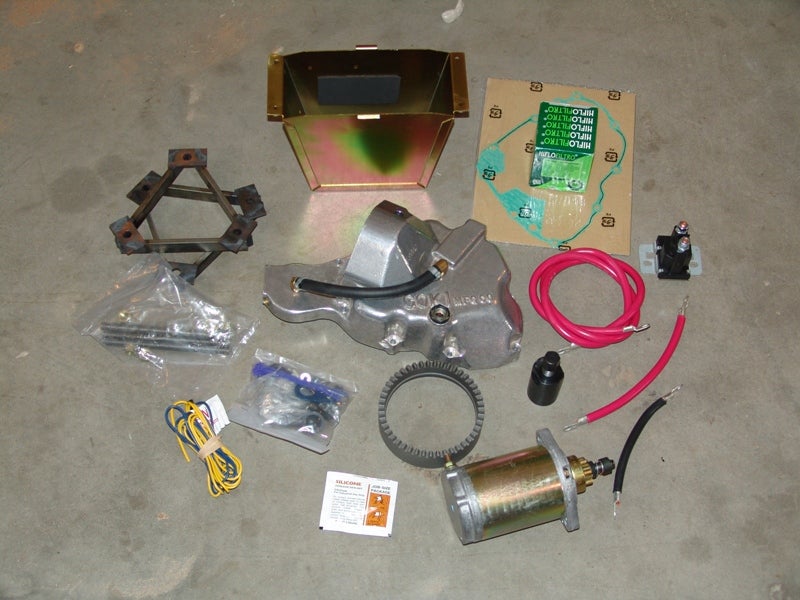
When I received the kit the first thing I did was lay out all the parts and look them over.
 |
|
All the parts that come with the kit |
They have done a real good job putting this kit together and have included everything you need to install, except the battery.
Besides the starter parts they also include a flywheel puller and a press to press the ring gear onto the flywheel. The whole process was done in about 3 ½ hours total time and was not all that difficult to install. Very good instructions with all the necessary drawings and pictures make this a no hassle installation.
Without getting into too much detail, here is how the installation is done:
First drain the oil and remove the shift lever.
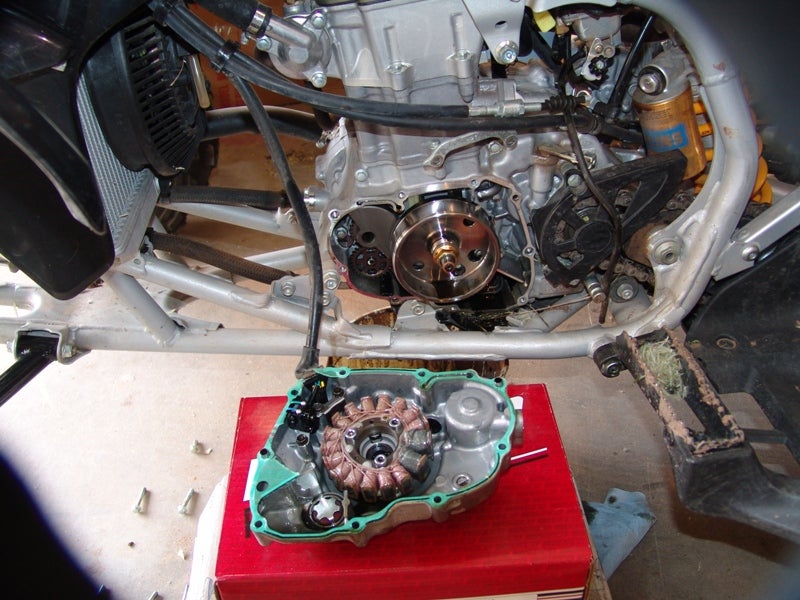
Next is to remove the stator cover on the left side of the engine.
 |
|
The stator cover removed |
After removing the cover, remove the electric parts bolted on the inside.
Remove the flywheel with the enclosed flywheel puller.
 |
|
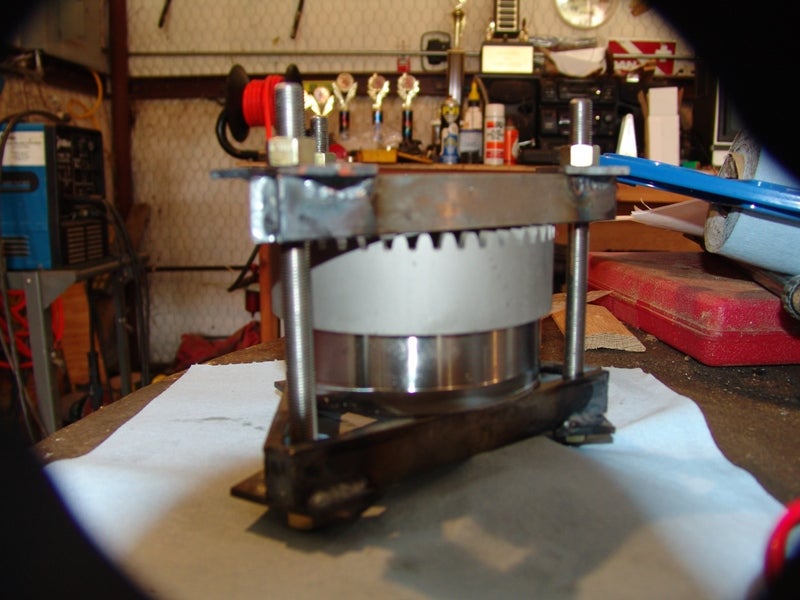
Using the enclosed press to install the ring gear |
Using the provided press, install the starter ring gear onto the flywheel.
Optionally you can do this with a hydraulic press, or have you local machine shop do it for you.
 |
|
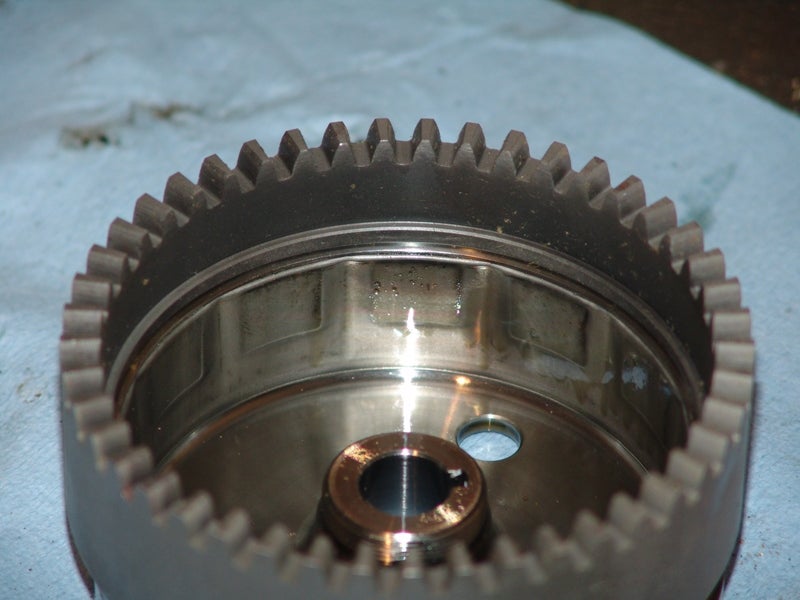
Ring gear fully seated on flywheel |
Re-install the flywheel.
Install the removed electrical parts into the new stator cover. This was one of the hardest parts I experienced in the whole installation. A new wire retaining plate is installed to keep the flywheel from cutting the wires from the stator. It was a little difficult to get the wires to fit into the groove at the bottom and the install the retaining plate, but I finally got it done. Make sure to get this right or the ring gear will cut the wires into.
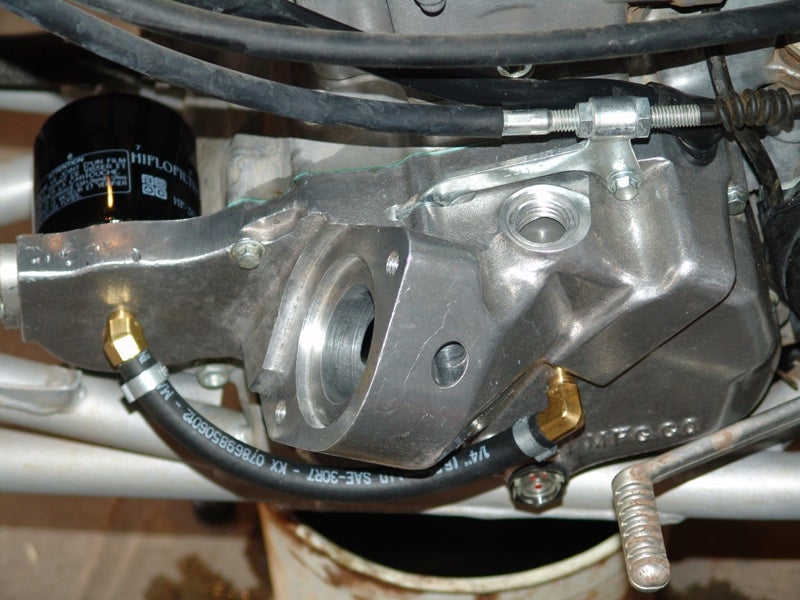 |
| Stator cover installed, with new screw-on oil filter |
Replace the cover on the side of the engine and install the new oil filter. A new screw-on filter is provided for the new installation.
We really like this idea as it will be a lot easier to change the oil in the future with the external oil filter.
 |
|
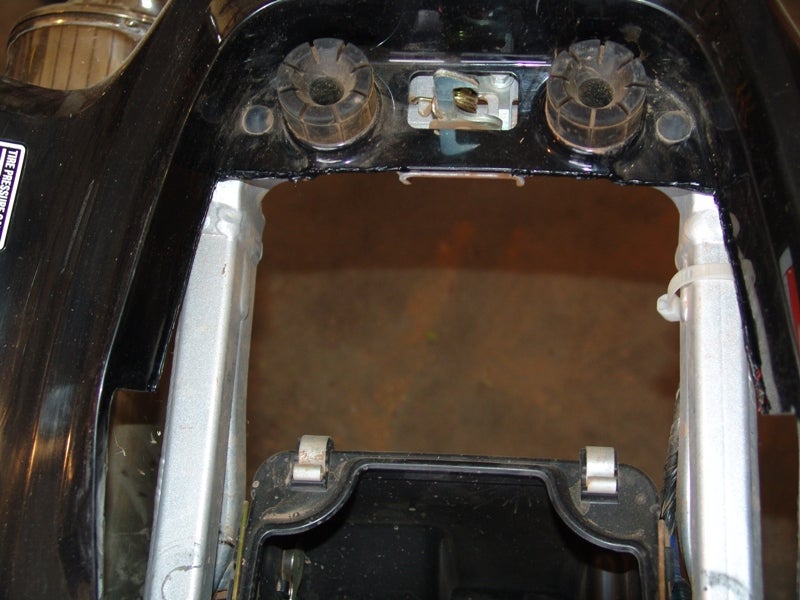
Fender cut out for battery box |
Now for the electrical installation. You will have to cut out the part of the rear fender than holds the owners manual and the tool box. Really no loss there.
The battery box drops into the new space and using the supplied self taping screws it mounts direct to he frame right behind the air box.
 |
|
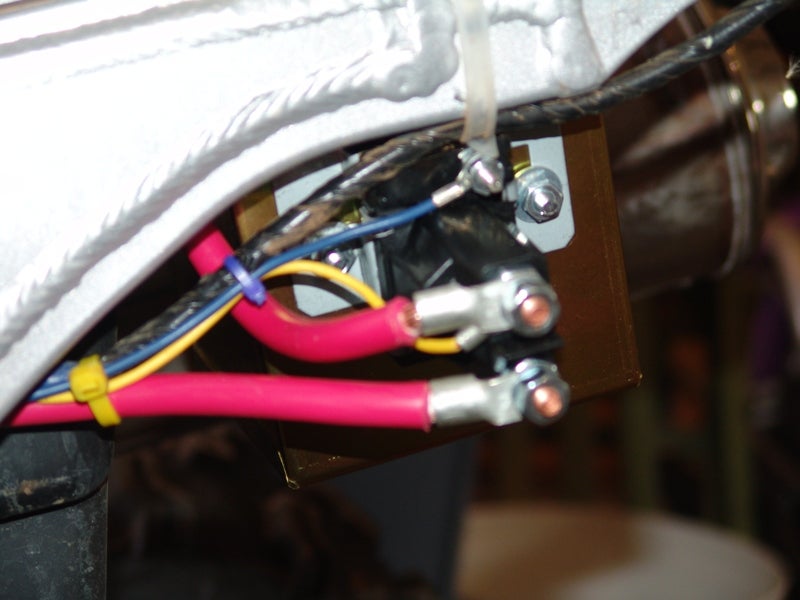
Starter solenoid bolted to battery box |
The starter solenoid is bolted to the side of the battery box.
 |
|
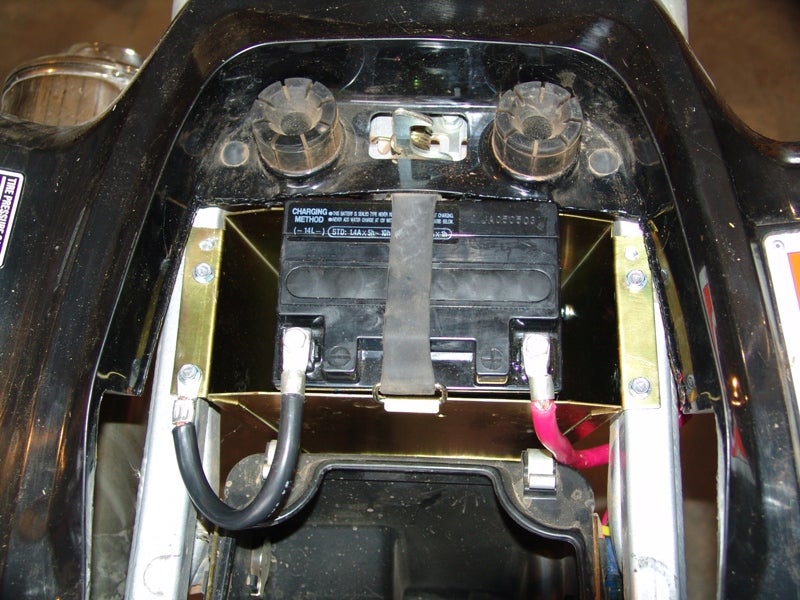
Battery installation |
After dropping the battery in place, use the strap that originally held the owners manual and tool box to hold the battery in the new box.
 |
|
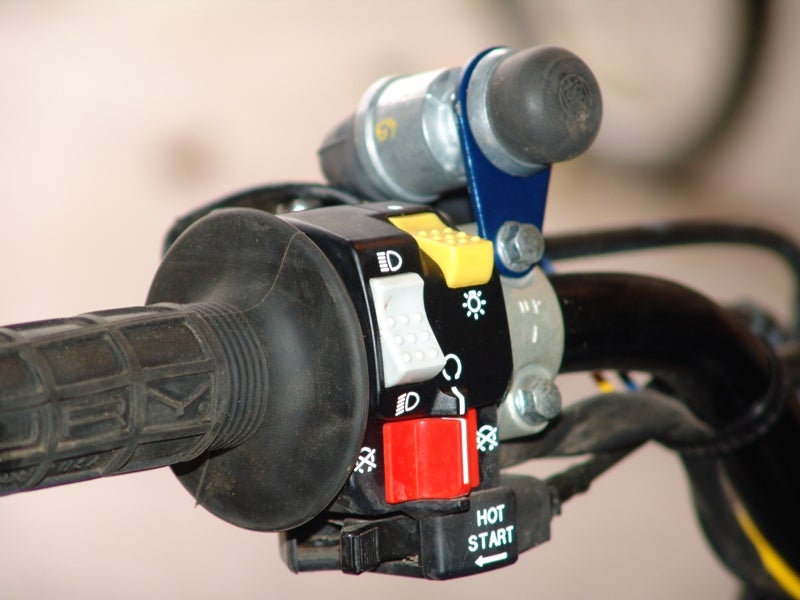
Starter switch |
Following instructions, attach the correct wire with the enclosed quick connector, run two wires to the starter switch on the handlebar and two wires back to the solenoid.
 |
|
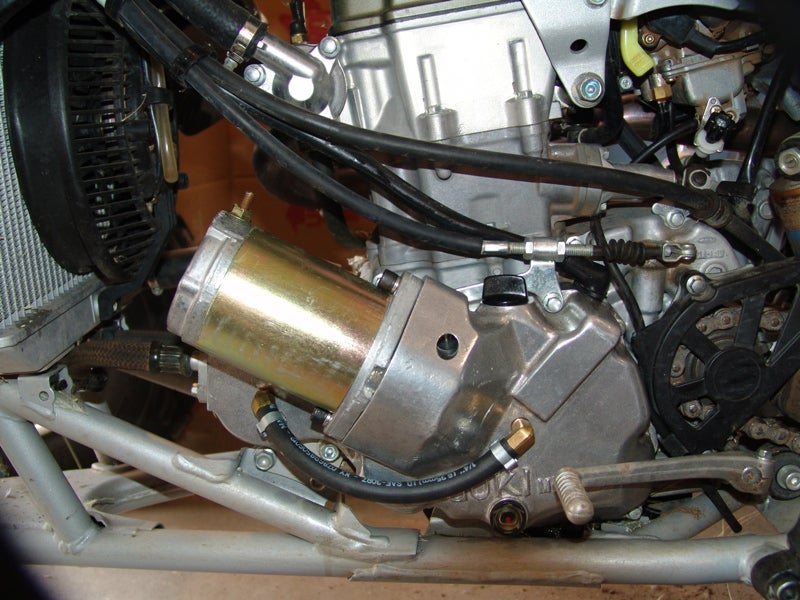
Completed Installation |
Last thing is to run the starter cable from the solenoid to the starter, then connect the battery cables.
Crank your engine.
Although the starter is fairly loud to operate, it will fire up the 450R with ease. Even though Honda says the 450R is easy to kick start, and I somewhat agree with that, the is going to be a welcome addition to our project 450R. The older I get, the easier I want things to be. Electric start is one of those things I enjoy.
More information can be found at http://www.gokimfg.com/
|
Off-Road.com Newsletter Join our Weekly Newsletter to get the latest off-road news, reviews, events, and alerts! |
Follow @Off-Road
 Your Privacy Choices