table width="100%">

Final Setup Pattern
The final phase of my ring and pinion upgrade for the Old Gray Mare was the front axle - a Dana 44 FBJ full float. As explained in the first phase of this project, because this 1983 Ramcharger has a non-overdrive 3 speed automatic and sees a lot of highway miles, and because it runs only 31" tires, a compromise ratio of 3.55 was chosen over the original 3.21. Also, a decision has not yet been made regarding a front locking device. In all likelihood, when time and money permit, an ARB air locker will replace the current open differential carrier, and the front axle will require another set-up.

View of the Front Axle
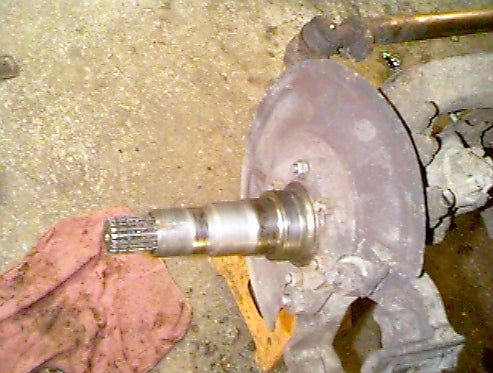
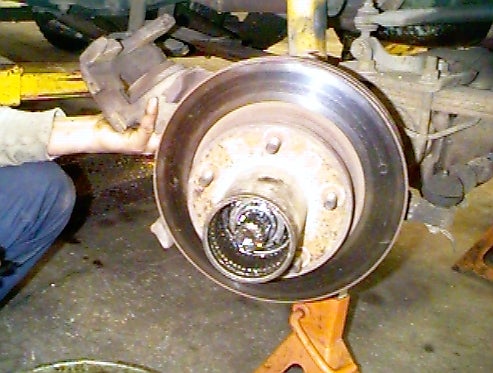
In a Dodge Ramcharger, the front Dana 44 axle (not necessarily always an FBJ, but it was in 1983) supports the truck through a pair of leaf springs. As a "full float" axle, the vehicle's weight does not rest on the axle shafts. The weight rests on the axle housing, which communicates to the ground via a spindle, bearings, the disk brake rotor, the wheel, and the tire. The front axle shafts rotate inside the front spindles.
 |
 |
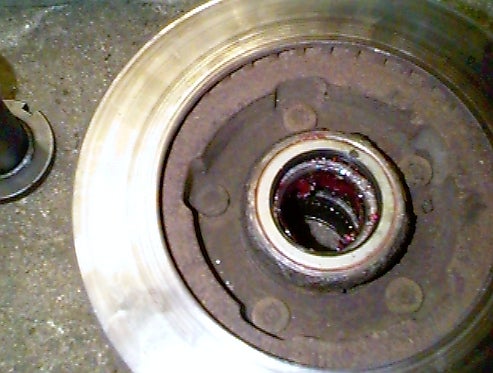 |
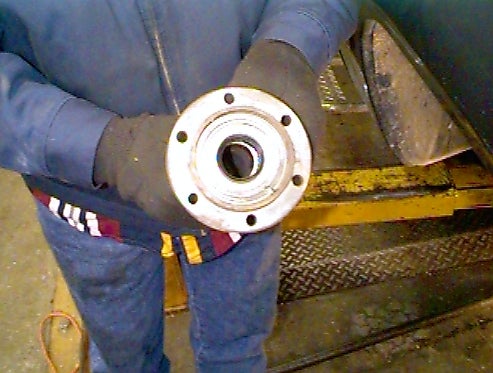
| Axle inside the Spindle | View of Back of Spindle | Bearings inside the Rotor which Ride on the Spindle |
While replacing the ring and pinion, it makes sense to replace all of the associated bearings and seals. There are bearings at each end of the axle shafts as well as those at each end of the carrier and those on the pinion. Since the axle is a full float, it is the bearing seals which prevent gear lube from escaping the differential or grease from escaping the hub. It is also interesting to note that most of the axle housing is empty - the axle shafts simply spin in an air space, and dirt, water, etc. is free to enter and exit. Only the differential and the hub are sealed.
 |
 |
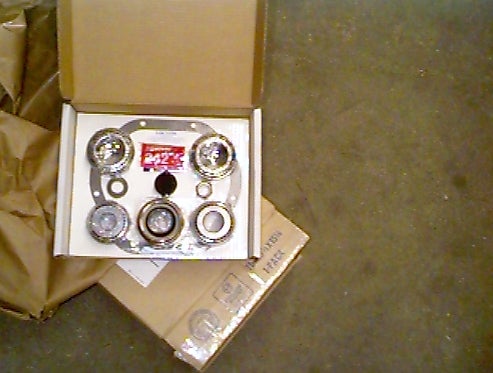
| Pinion and Carrier (Side) Bearings in Install Kit from US Gear | Carrier (Side) Bearings on Carrier |
The hub is probably the most complex part of this project. The 1983 Ramchargers had part time transfer cases (NP 208) and auto-locking hubs. As with the various bearings, it only made sense to replace the small parts in the hub. These parts were most easily obtained in a kit using a Ford parts number from a local Ford dealer (the Dodge dealer in town has a pretty weak parts department).
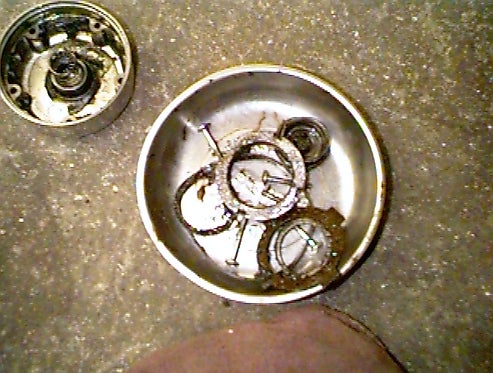
Small Parts from the Auto Locking Hubs
Since I didn't have readily available replacement front axle shafts, I kept the old ones. The axle splines (which fit into the differential carrier at one end and into the hub at the other) were in good shape, as were the knuckles (U joints which allow the axle to bend as the wheels turn). The knuckles on these axles are sealed - they don't take grease and aren't designed to be replaced, unlike driveshaft joints.
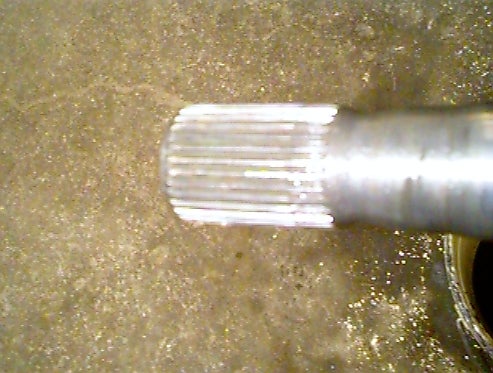 |
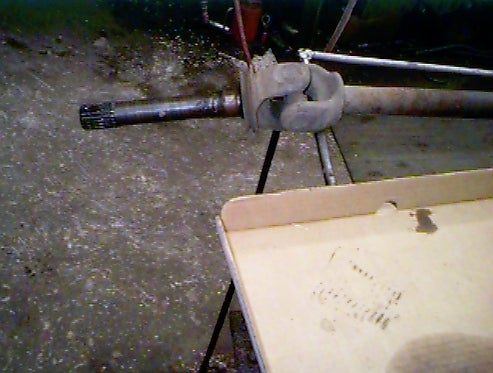 |
| Axle Splines | Hub Splines and Knuckle/U-joint |
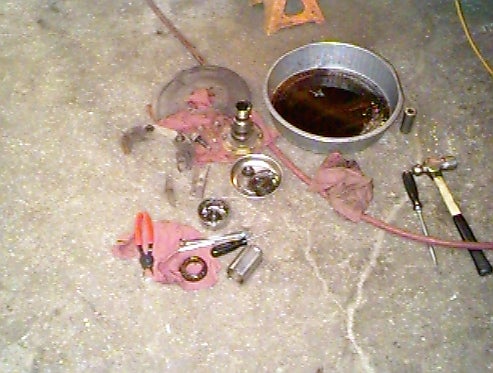
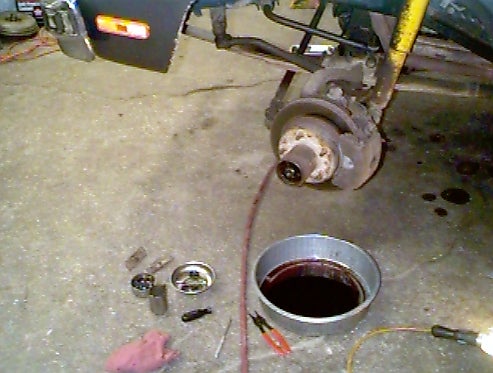
The work for this project was done at Wes Mohr Automotive in Hutchinson, KS. Changing out the ring and pinion proceeds much the same as in the first phase of this project. Open the differential and drain the lube, remove the carrier, replace the ring and pinion gears, and return the carrier using shims to adjust the setup. The key differences for the Dana 44 FBJ are:
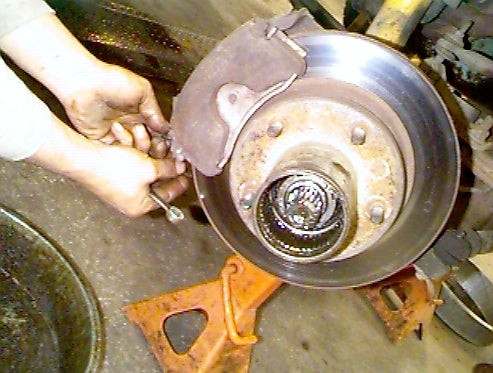
- Removal of the axle shafts from the carrier requires disassembly of the hubs, rotors, spindle, etc.
- Side bearing shims set the backlash - there are no adjustable side spacers
 |
 |
 |
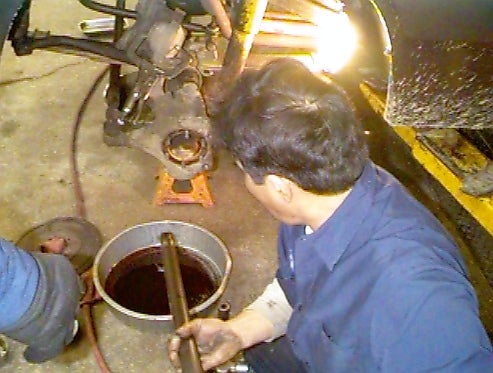
| Differential Cover Off, Lube Drained | Hub Removed from Rotor | Removal of Caliper |
 |
 |
 |
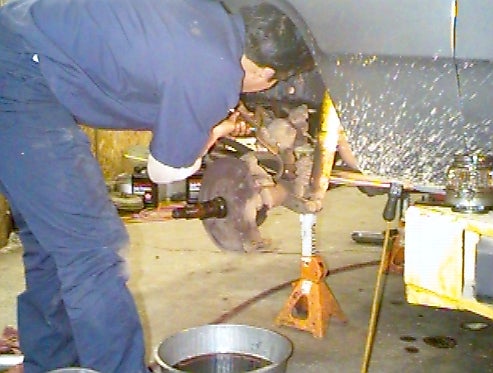
| Removal of Caliper | Removal of Caliper | Sliding Axle out of Housing (Right) |
 |
 |
 |
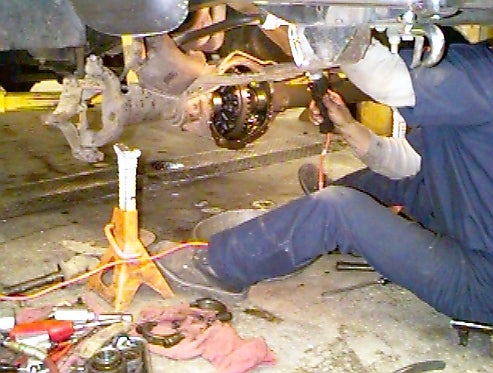
| Sliding Axle out of Housing (Left) | Pulling the Differential | Still Pulling the Differential |
The first steps of the project proceeded with little to no incident. Care must be used in opening the caliper and keeping it secured. Special tools can be used to hold the caliper, lest the cylinders expand too far and the hydraulic system be compromised. Pulling the differential is a bit more difficult, since there are no side spacers to relax. Some major oomph was requred to pry the carrier forward out of the housing.
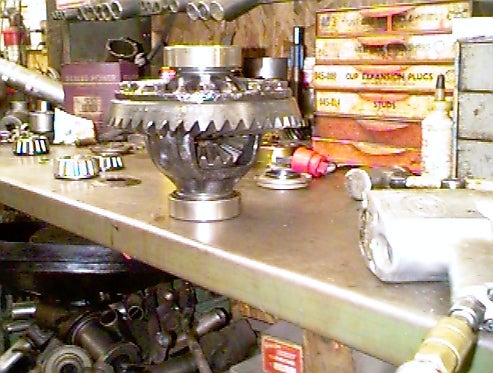
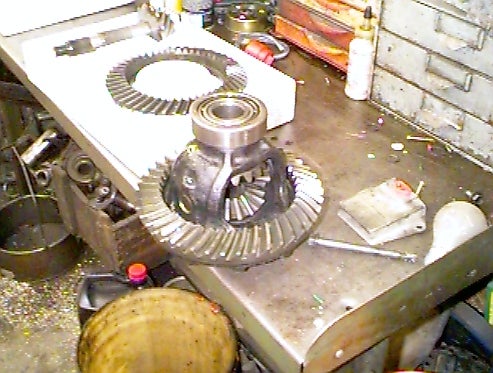
Once the differential was free from the housing, it was time to replace bearings, replace the ring and pinion, and perform the setup.
 |
 |
 |
| New Gear on Carrier with New Bearings |
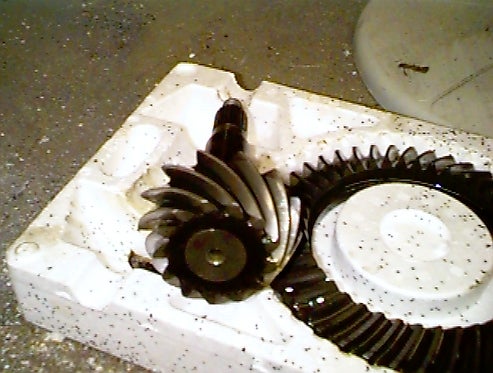
Old Pinion and Ring Gear (not Original to Truck) |
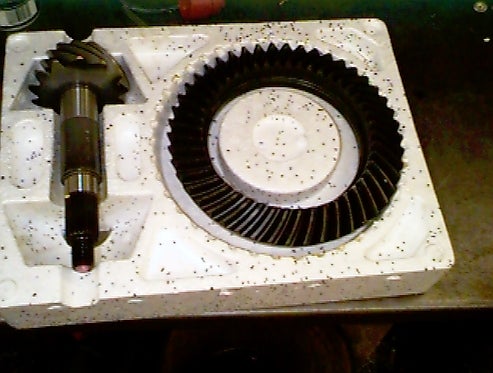
New Pinion and Ring Gear from US Gear |
 |
 |
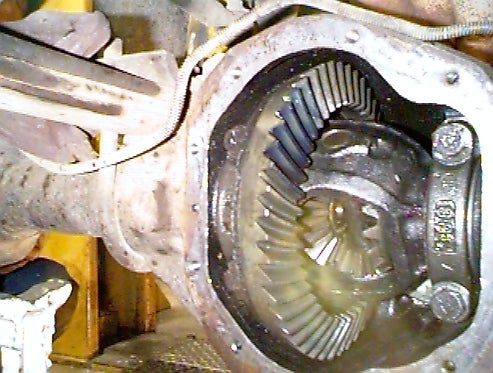 |
| New Side Bearing Seals | Pinion Replacement during Setup | Checking the Setup (Contact Pattern) |
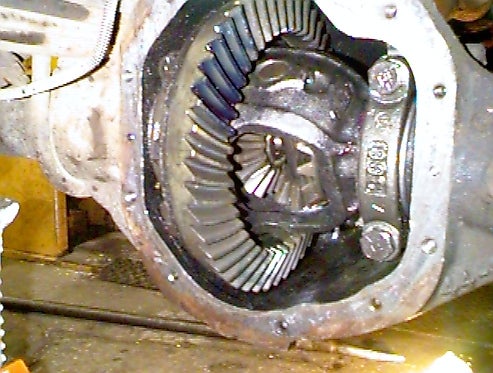
Final Setup Pattern
Once the differential setup was complete, it was time for rebuilding the auto locking hubs (next page).
This page
was last modified on 29 Oct 99
|
Off-Road.com Newsletter Join our Weekly Newsletter to get the latest off-road news, reviews, events, and alerts! |
Follow @Off-Road
Buyers Guides
Visit Forums TRUCKS & 4x4 FORUMS
Copyright
VerticalScope Inc.

 Your Privacy Choices