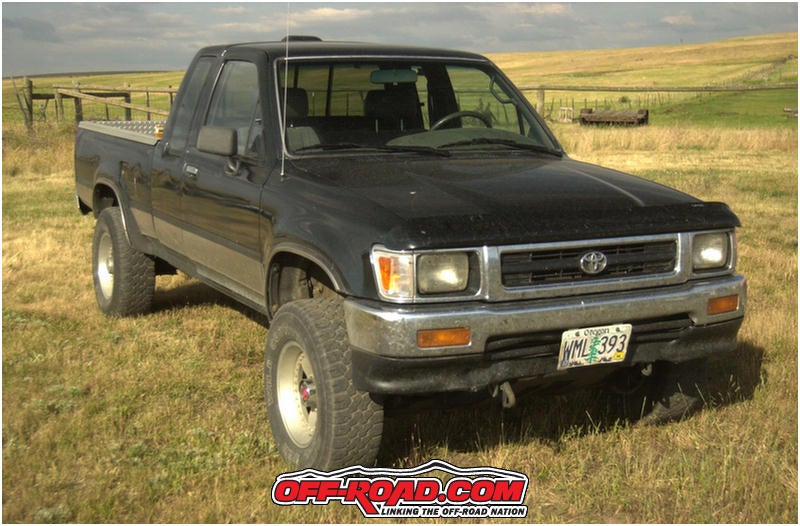
 This month we headed to the shop with a truck load of parts to start work on Project Toyota. We will turn this mild Toyota into a fun Off-Road machine.
Our goal for this phase was to get the front suspension completely dismantled and ready for new parts.
 |
| A bunch of Total Chaos parts, some Deaver rear springs, and new BFG Tires waiting for some fun. |
We spread out our first truck load of parts so we could see what we had and what we had to look forward to. Our Total Chaos Gen 2 Caddy kit and other Total Chaos suspension pieces make up most of the parts. We also have our Deaver rear springs which will wait until we have the front suspension done. In the background you see our new BFG 33x10.50 AT tires. We will soon be mounting them on some new American Racing ATX Series wheels.

|

|
| Front bumper and valance removed and out of the way. | Fenders come off as they will be replaced with Hanneman Fibergalss. |

|

|
| Torsion Bar adjusters were loosened so the they could be removed. They had evidently not been touched in a while as one of the bolts broke when loosening the lock nut. Use lots of penetrating lube! | Tie rods are seperated and all the steering compenents are removed since we will be installing a Total Chaos Heim Seering it. |

|

|
| Front brake lines were pinched off with a small clamp | The front calipers were removed and set aside. |

|

|
| The stock Toyota idler arm is prone to wear and creates sloppy steering. We will replace it as precise steering is an important part of this project. | This is the new Total Chaos idler arm on the left that will replace the stock unit on the right. The only mod required is to drill out the centerlink. |

|

|
| The front hubs were taken apart so we could remove the front rotors. You should located a hub wrench before starting. | We removed the front a-arms and spindles all in one piece. |

|
 |
| Now we had easy access to the front axles and could unbolt them from the diff. | On the top is the axle we removed. On the bottom is one of the new T-100 axles that we purchased from a wrecking yard for $50 each. |

|

|
| It is starting to look a little bare inside the fenderwell. | Now we could remove the front differential. We supported it with a jack while we unbolted it. We will be having new 4:88 gears and a posi installed. |
|
|
|
| Now we had easy access to the front axles and could unbolt them from the diff. | On the top is the axle we removed. On the bottom is one of the new T-100 axles that we purchased from a wrecking yard for $50 each. |

|

|
| This small piece of the passenger side fenderwell is removed for better access. | With the upper a-arm in a vice we removed the nuts holding the tourque arm in place. A BIG wrench and a long pipe was necessary to get these off. |

|

|
| Now for some fun with the propane torch. A little heat is required to get the tourqe arm out. | We are removing the upper a-arm bushing sleeve to be reused. It slides right out as soon as a little heat is added. |
Part I Complete
We took our time and spent most of two days getting this far. We feel that we made good progress and have everything dismantled and ready for the next phase. Next up will be welding in the new Total Chaos shock hoop and the frame truss. We will enlist some welding expertise for this. The frame truss looks simple but the shock hoop looks a little scary for us novices. In the mean time we will study the diagrams from Total Chaos, make a few calls to their tech support team, and stock the refrigerator in the shop with some cool refreshment
|
Off-Road.com Newsletter Join our Weekly Newsletter to get the latest off-road news, reviews, events, and alerts! |
Follow @Off-Road
 Your Privacy Choices