Operation Ground Clearance
Installing Superlift's 6"" Suspension System
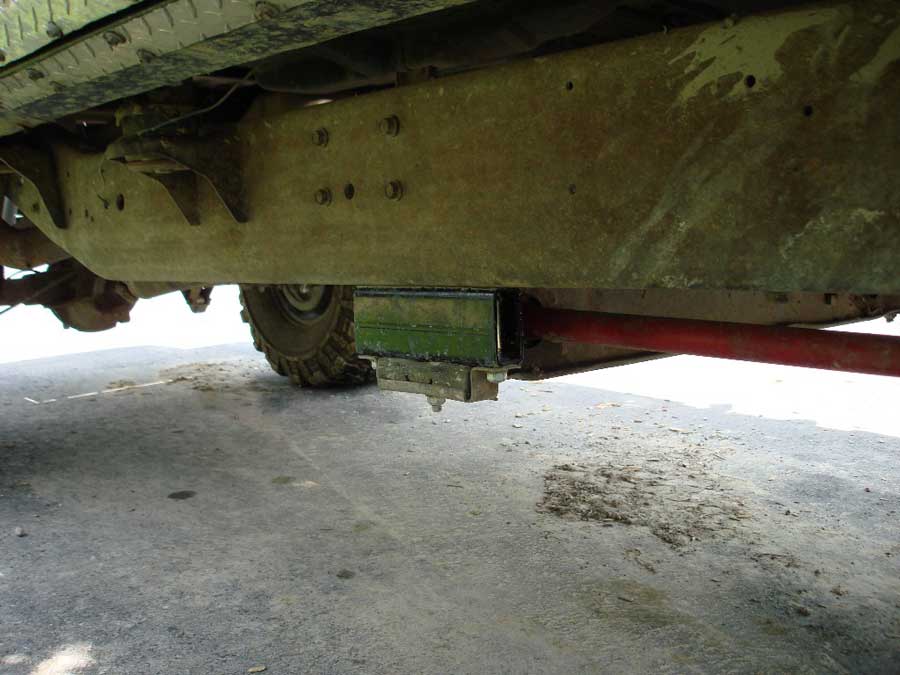
After our trip to Flat Nasty about a month ago we determined that installing a body lift and forcing the largest tires possible did not provide satisfactory ground clearance. For obvious reasons it appeared that we were in serious need of a suspension lift. So now a month later we are breaking down and getting it done.
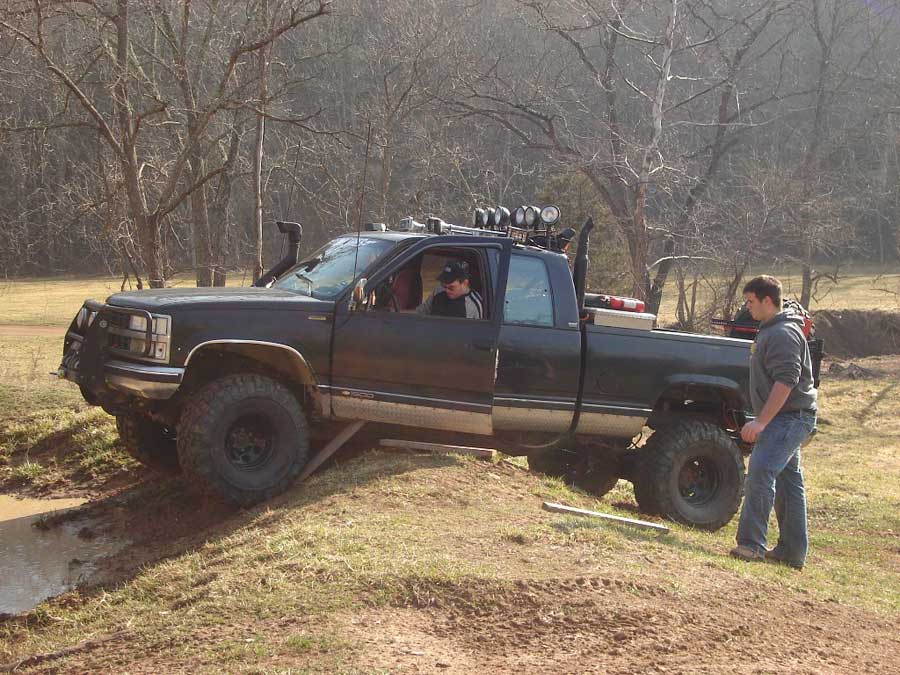 |
This was not the only time we set the truck on the frame rails while riding around Flat Nasty Off-Road Park. |
I did quite a bit of shopping around and compared most of the major manufacturers’ lift kits for the K-Series 88-98 Chevy trucks, with emphasis on price and quality comparisons. After thumbing through their individual websites, forums and other off-roading sites looking for answers, I ultimately came to the conclusion that Superlift’s 6” Suspension System would be an excellent choice. As far as the kit goes there are different options and accessories you can chose from, such as a stainless steel skid plate, different shock absorbers, rear trac bars, and also add-a-leafs, blocks, or completely new leaf springs for the rear.
For our kit we chose the Superide Select Remote (SSR) Shock Absorbers, Leaf Spring Conversions, Steering Stabilizer, Super-Trac Traction Bars, and the Stainless Steel Flame Design Skid Plate.
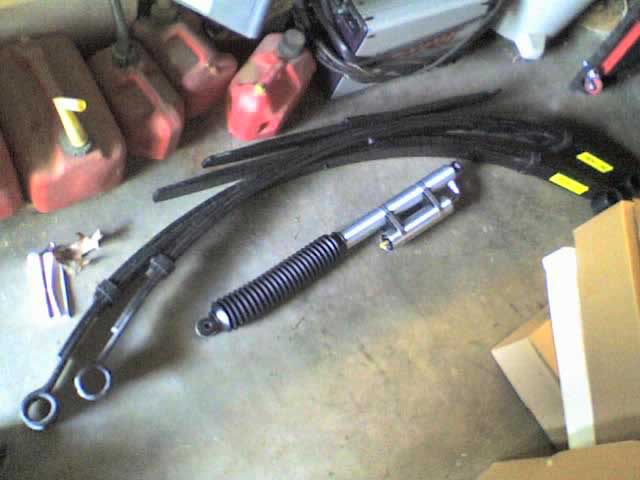 |
New Superlift Leaf Spring and Rear Superide Select Remote Shock Absorber. |
Unlike previous projects I’m going to try to save my fingers a bit and focus as much as I can on the major components of the lift kit sparing the details, and describe any problems or complications that I incurred. Any more detailed explanations can be found in the well written instructions available on www.superlift.com by clicking on the Installation Instructions tab on the left.
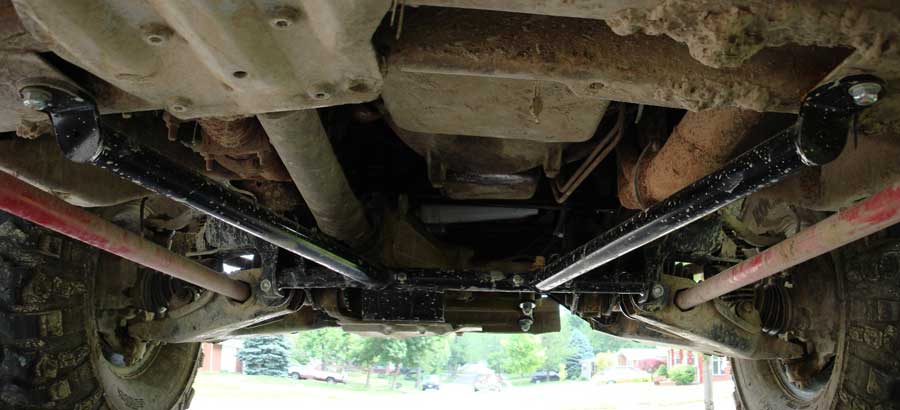
Before I get into the installation of this lift I want to first tell you a little about the lift itself and how it differs from some of the other suspension lift kits out there. The first thing we noticed is that it does not come with a one piece crossmember. Although at first glance this appears like it would be weaker than some of the other kits, it turns out to be a bit more impressive. While it is not a solid piece it does bolt up with the other components in a way that makes it as strong as a solid piece. The last thing that really stands out is that there is a minimal amount of cutting involved, mainly you don’t have to cut the front differential housing in order to accommodate the new components. The lack of a solid cross member adds a bit more additional ground clearance and room for the new centerlink stabilizers. I was really impressed with the new steering components. Basically, instead of just having a pitman arm and the idle arm, Superlift has added two additional centerlink stabilizers to help support the dropped steering components. Overall I was very impressed with the design and components of Superlift’s Suspension Lift.
 |
Not having a solid crossmember in the front allows room for the additional centerlink stabilizers. |
First of all and probably most importantly, you will want to run through the packing list to be sure you have all of the necessary parts to complete the lift. If you’re like me and you do your lift out in front of your house, you’re likely to upset the local P.D., and if there are any delays of any kind it could result in a fine. Luckily I was not missing anything but still managed to accrue two warnings. I did get slightly confused with one bag of bolts which I could not find, but a quick phone call to their tech department revealed they had swapped it with a different part number for my specific truck.
Now I will get into the steps involved with making this truck a true off-road ready rig. The most difficult step is disassembly of the stock front end components. Although I didn’t run into any major setbacks on this, as most of the bolts came loose without a fight, it did end up taking about 3 hours. First I removed the sway bar links and disconnected the CV Shafts from the differential. With the torsion bars pushed back out of the way, I removed the four bolts holding the upper and lower control arms to the frame and then removed them (upper/lower control arms, cv shaft, steering knuckle, rotor, caliper, etc is removed as one entire piece). This whole assembly probably weighs near 100lbs and should be moved with the help of a friend (and when reinstalling you will need at least 2 people as well).
Last thing to remove from the front is the differential. In the instructions it says to cut the lower differential mount brackets first to enable it clearance to drop from the frame. Unfortunately by the time we got to this step it was 11:30 at night and cutting would not be an option. Determined to get the disassembly done that night we were able to shift the diff around until it found a way to drop free. Without a floor jack under the diff removing it can be a lot more difficult and possibly hazardous to it or your hands for that matter. Once we had the differential removed we called it a night and planned to begin installing the new brackets first thing in the morning.
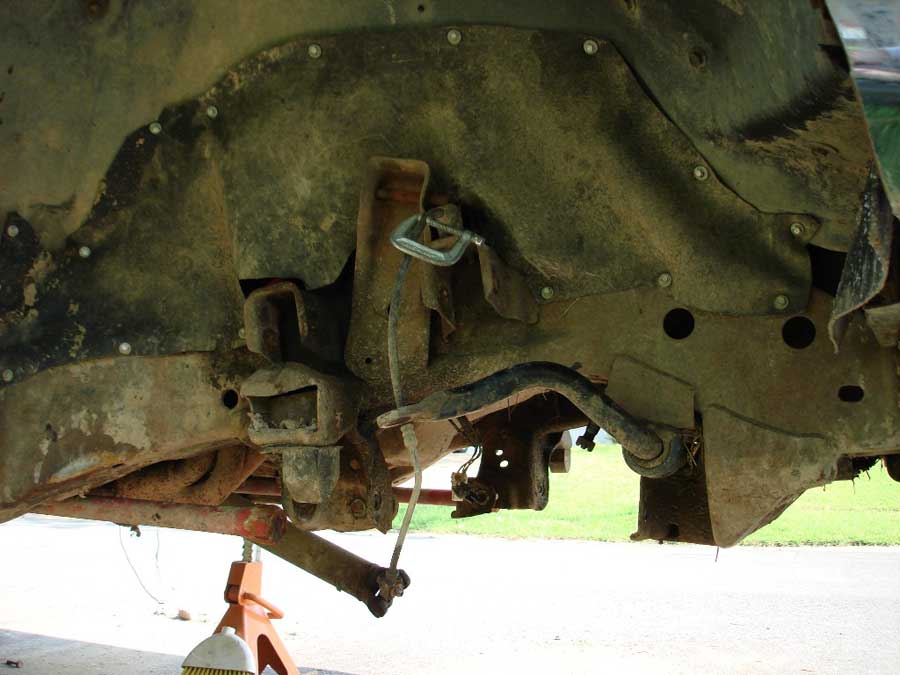 |
With everything else removed, all that remains now is to slide the torsion bars out from their adjuster arms. |
The next morning I awoke to a yellow piece of paper, which was a warning from the P.D. explaining that it was unsafe for the vehicle to be sitting on jack stands. After calling and speaking with the officer he told me that I had 5 days to fix the problem before they would issue me a ticket. Knowing that I was going to be done with the project by the following evening I decided to not raise a stink about it.
I didn’t anticipate too much of a struggle removing the torsion bars from the adjuster arms since I recently replaced them. Although it wasn’t a weekend long project like the first time I replaced them, I did have trouble getting the passenger side out of the adjuster arm. After about 45 minutes of trying different things I eventually was able to just beat it out with a bolt and a sledge hammer.
 |
Although the passenger torsion bar put up a fight, I did finally manage to beat it out of the adjuster arm with a sledge hammer. |
Installation of the brackets was little more enjoyable than disassembly but was still a bit more time consuming than anticipated. I was able to get all the brackets on as well as reinstall the differential before I had to go to work. All in all it took about 6 hours to install all the new brackets, differential and hardware.
The next morning I received another warning explaining that I had 24 hours to get the vehicle off of the jack stands or it would be towed. Talk about an ultimatum! Again I knew we would have it off the jacks by that evening and I know that they are just doing their jobs so I pressed on without any further calls to the P.D.
My friend Nick came over to help me reinstall the control arm assemblies back onto the new drop brackets. This turned out to be the most complicated part of the front end. Getting the control arm mounts to realign correctly was a tough process. It took about an hour of prying, pushing, and pulling before we were able to get all the bolts reinstalled through the control arms into the new brackets.
Once this was done I continued solo, installing the new SSR Shock Absorbers. I installed the torsion bar crossmember drop blocks relocating the torsion bars within tolerance of the lower control arms. I then reinstalled the torsion bars, Kicker Braces, and skid plates. Reinstalling the front tires completed the lift in the front. (After the rear lift is done you need to remember to bleed the brakes)
 |
The new SSR Shock Absorbers are installed. |
 |
Next I installed the torsion bars and the drop blocks for the crossmember. |
 |
Then I installed the Kicker Braces |
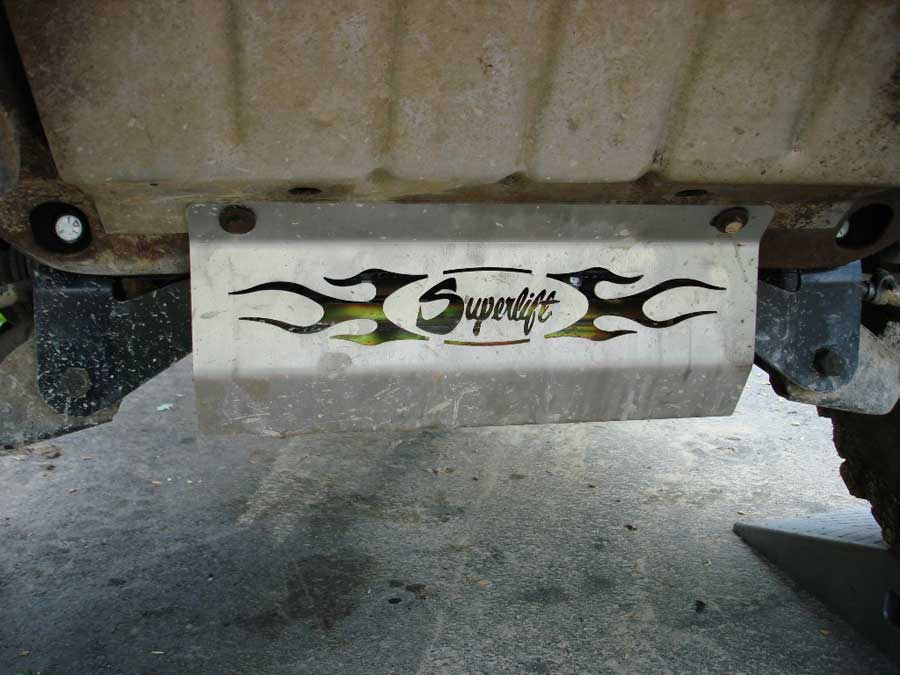 |
Last, I installed the new Stainless Steel Skid Plate. |
I was joined by two of my friends to continue the rear lift around 5pm. We assumed we would be able to complete the rear lift before it got dark. Unfortunately we were wrong. Although there was a lot to do with the front lift we did not run into any problems. The back lift was just the opposite. We immediately ran into a whole slew of problems. First, and most crippling was removing the old leaf springs. The bolts holding these onto the frame mounts and shackles had corroded beyond any help from spritz of wd-40 into the metal sleeves in the rubber bushings. Because they were corroded they could not be slid out of the shackles or frame mounts and it became obvious they would have to be cut off from the inside of the brackets. We began this task using a sawzall and soon discovered after wasting our 5 blades that the tight squeeze for the blade between the rubber bushing and brackets created too much heat. We also didn’t have any cut-off wheels for the grinder and the hardware stores were now closed, so at 11:00 we had to break for the night.
We continued the next day cutting off the leaf spring bolts so we could remove them from the truck. Once we removed the old leaf springs we would finally begin installing the new leaf springs, shocks, and trac bars. All installation of these new components seemed simple but ended up taking us a lot longer than anticipated. To put it simple, lining up all of the new components was a bit tedious and required a lot of prying, pulling, hammering, and profanity.
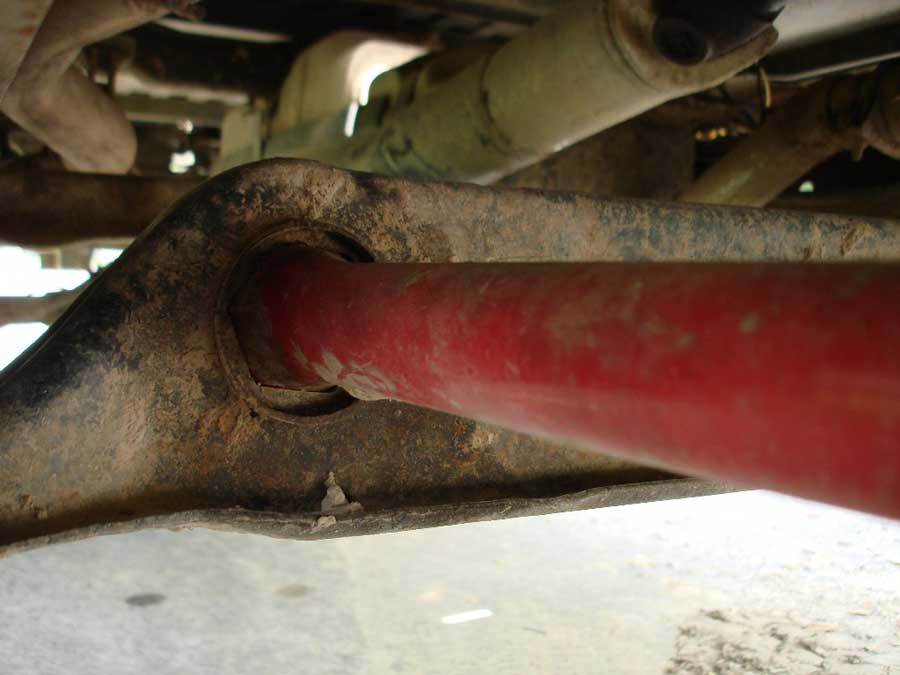
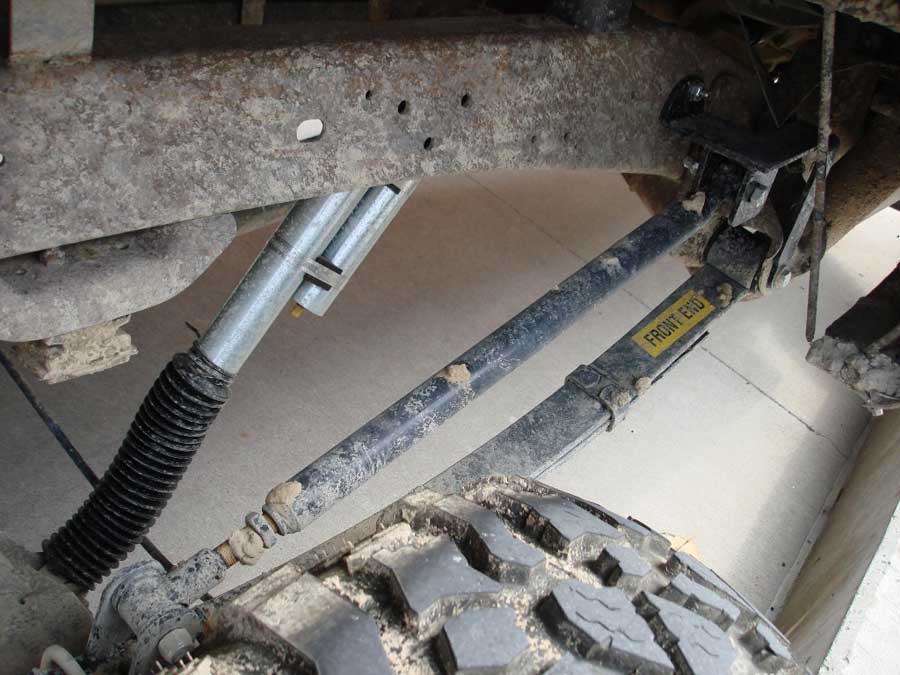 |
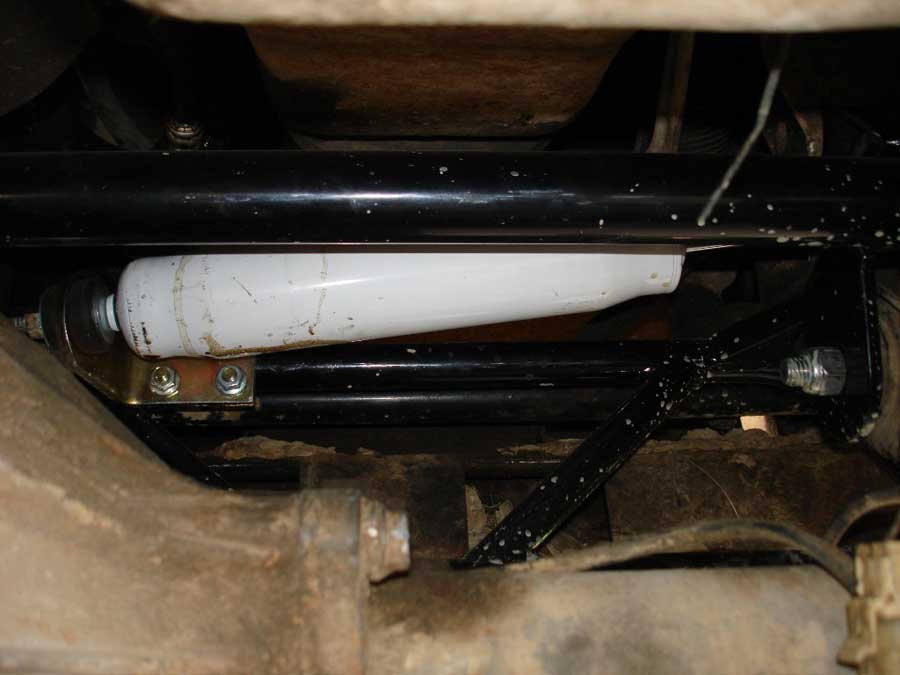
The new Trac Bars mount up to a supplied bracket above the leaf spring and to the top of leaf spring on the U-Bolts. |
It took till about 3:30 for us to completely finish the install. We also had to install the steering stabilizer in the front which turned out to be a rather difficult job. This is definitely something that should be installed during the front end install. Otherwise you really have to reach up in there past all the new components to install it.
 |
Last, I installed the Superlift Steering Stablizer. |
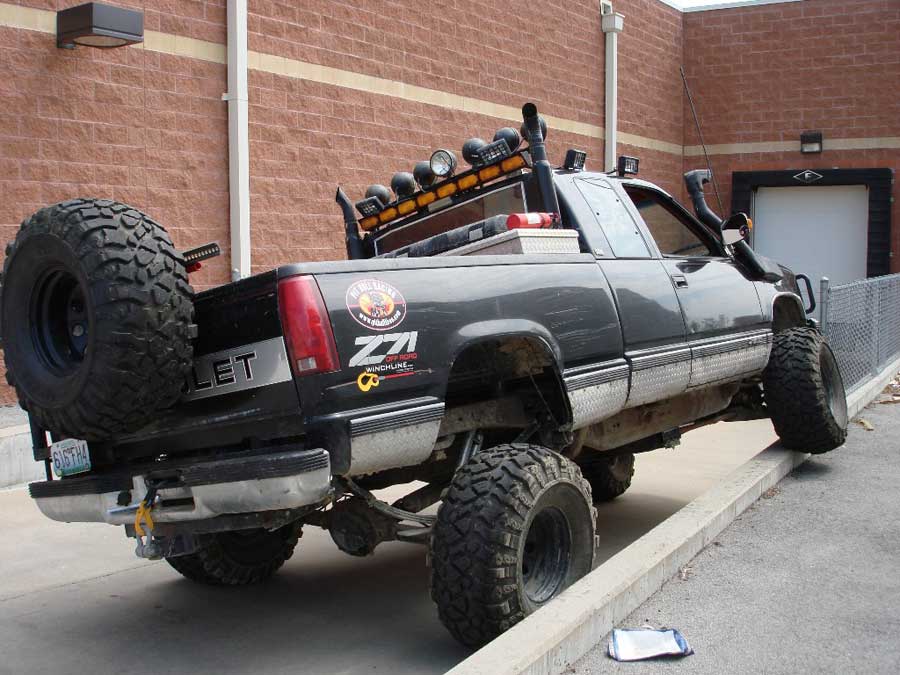
After tidying up, we headed to the local Firestone to have an alignment done. Now that the lift is complete I can say that it was worth all of the trouble, which mainly consisted of problems in the back of the truck. Everything looks great, so far the truck is handling fantastic, and check out the clearnance! Hopefully I can get this rig out on the trails soon and will let you know how the kit holds up and performs under more strenuous conditions.
 |
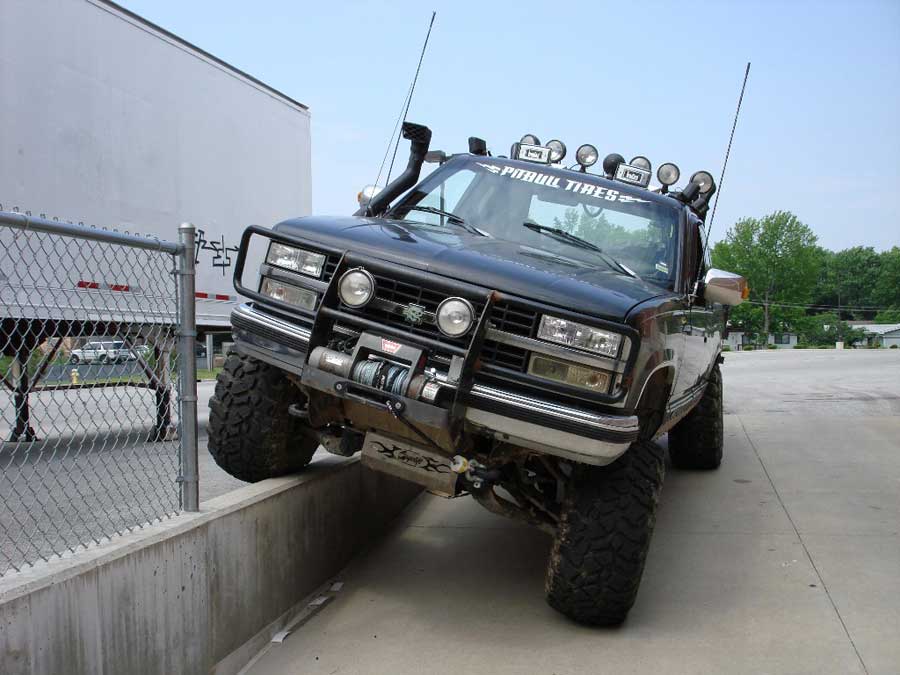 |
Running a small test on the articulation. |
|
Off-Road.com Newsletter Join our Weekly Newsletter to get the latest off-road news, reviews, events, and alerts! |
Follow @Off-Road
 Your Privacy Choices