Notes and Maintenance - Filter Service - Project Honda CRF230F - Part 5.3
 | Part 1 | Uncorking the CRF |
| Part 2 | Works Performance Rear Suspension | |
| Part 3 | BBR Exhaust | |
| Part 4 | Sidewinder Chain and Gearing | |
| Part 5 | Notes & Maintenance |
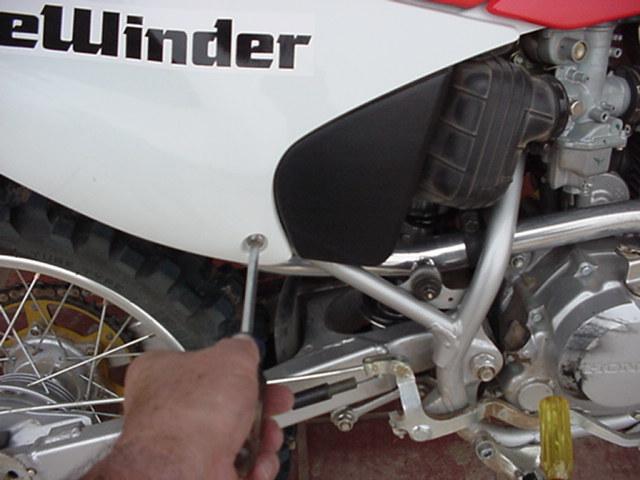 Remove the right side plate. Large screwdriver required. |
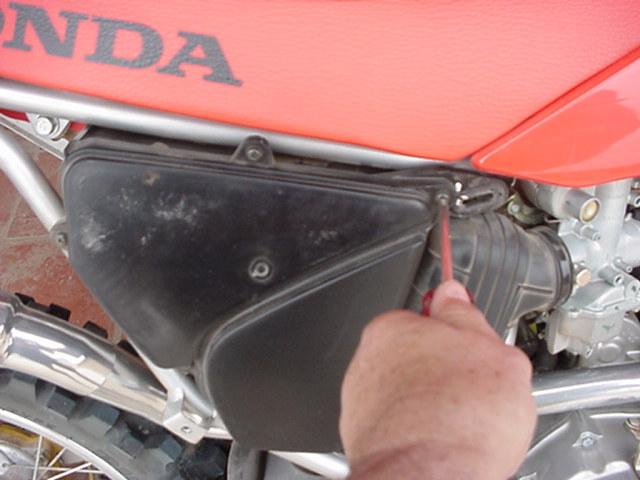 Cover is removed over air filter. Small phillips screwdriver takes five screws out. |
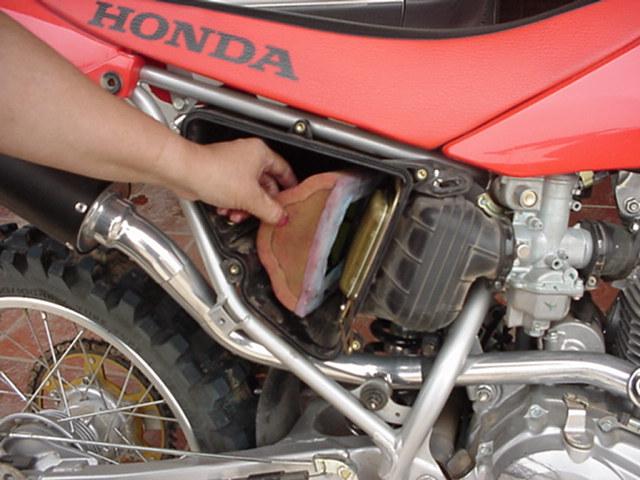
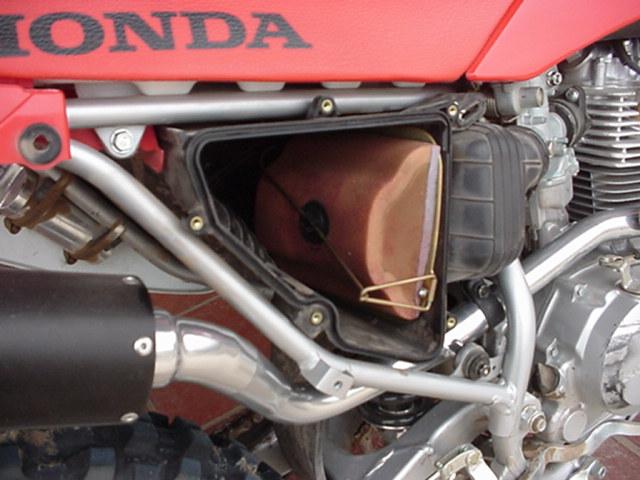 Air filter with cover off. |
 Squeeze down on the holding rod to remove the filter. |
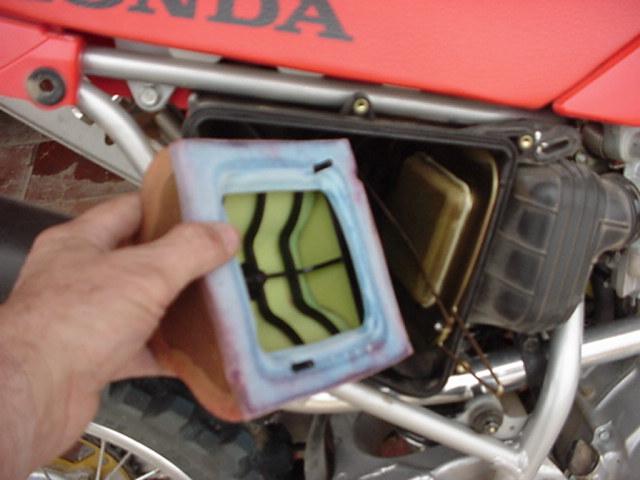 The filter can now be removed easily. |
 Remove the foam filter from the cage. |
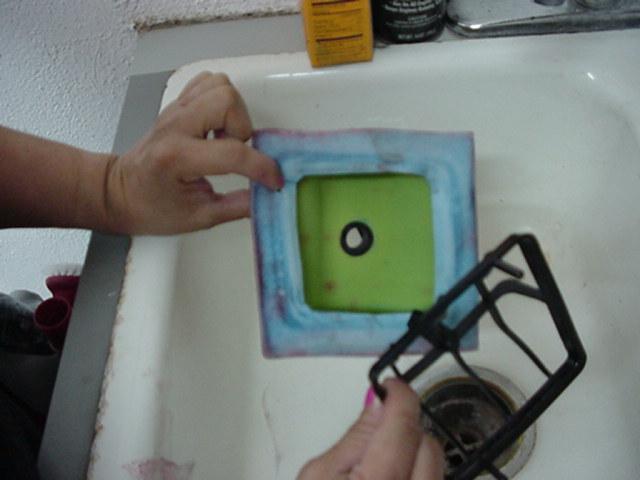
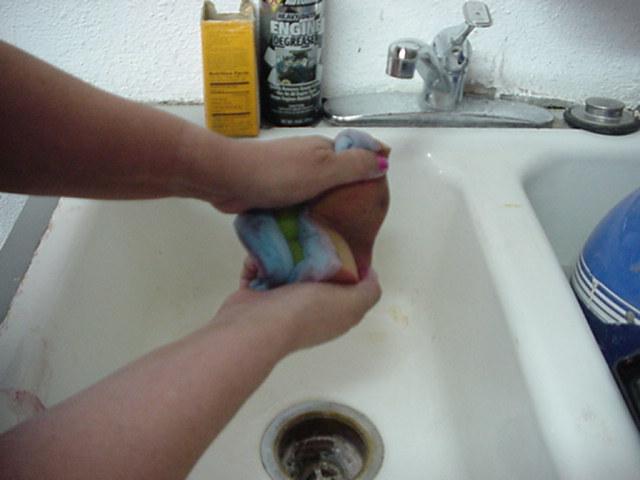
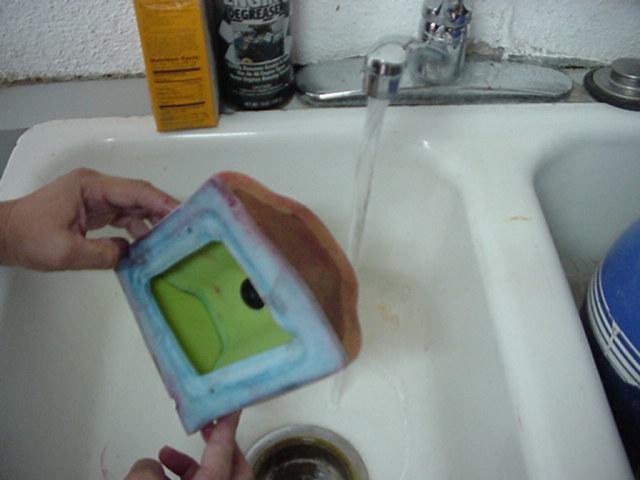 Wash the filter in warm water and regular dish liquiid soap. Clean it well until there's no dirt left in the filter. |
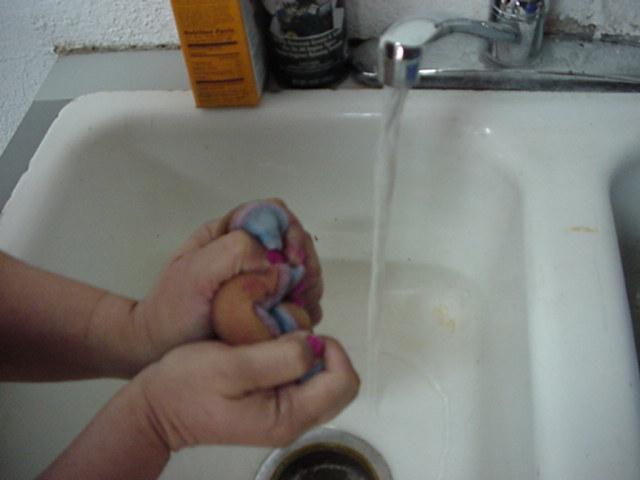 Gently squeeze the foam while cleaning with the liquid soap. |
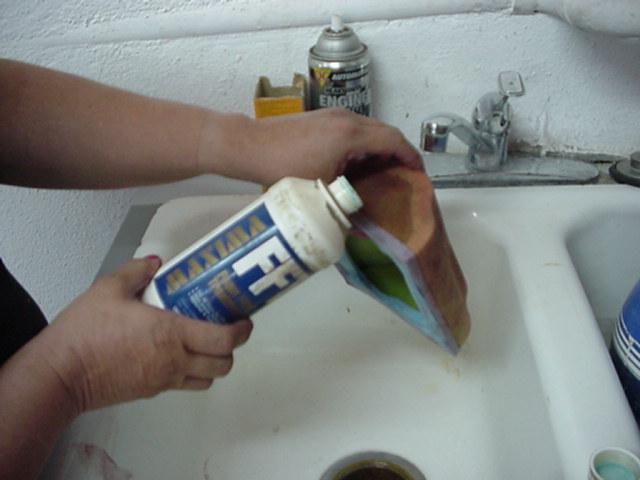 After the filter has been thoroughly cleaned and the foam allowed to air dry, put some quality oil over the foam. |
 Again, gently squeeze the excess oil out. You can squeeze the oil out in a plastic baggie. |
 After greasing the sealing edge, re-install the filter. |
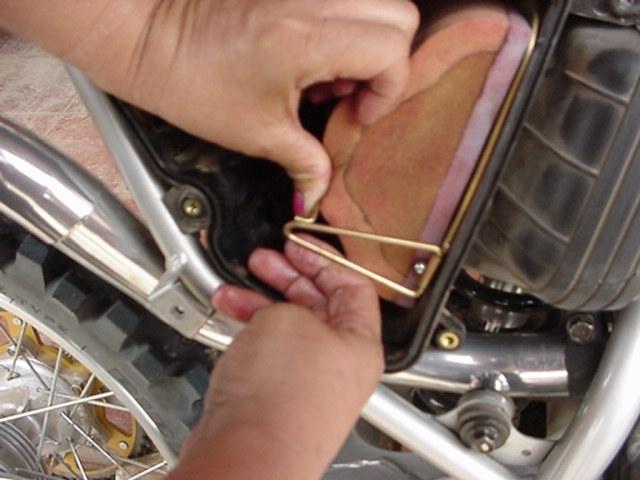 Make sure the pins on the cage are inserted into the proper holes. |
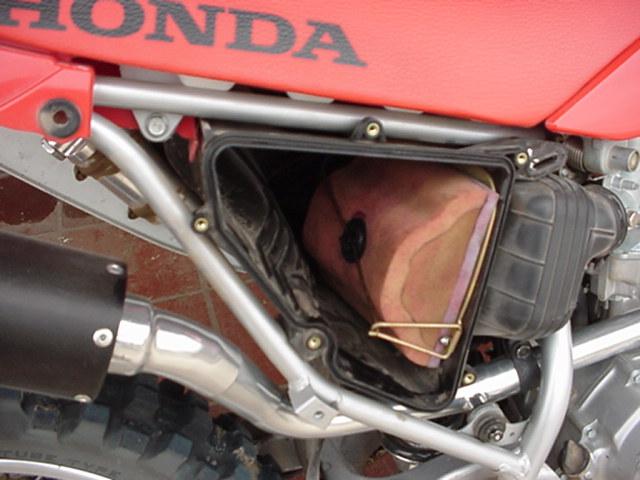 Done. Completed filter is ready to get dirty again. |
| Comments On This Article? |
|
Off-Road.com Newsletter Join our Weekly Newsletter to get the latest off-road news, reviews, events, and alerts! |
Follow @Off-Road
 Your Privacy Choices