The Flatbed Option - Do It Yourself
Where The Will Prevails And Sheetmetal Fails
In Which I Am Sold On An Idea (By
Myself)
Where to begin....
Well I can't think of a good way to make a flatbed how to article, but I can tell you a rambling story about MY flatbed, right? Good!
Way back in time, when I hadn't completely fallen into the off road mindset, I had more or less a generally aesthetic mindset towards modifications. Believe it or not, one day while burning out my head in front of the computer monitor I happened across some picture of some random truck (a Toyota I imagine) that had a flatbed, and I thought this was the greatest looking thing since.... I don't know, symmetry. I thought that steel tubing looked much better than shiny sheetmetal, it was that "cool" to me.
Right then and there, with that truck glowing from on computer monitor, I said to myself, "Hey, how many times have you been hung up on the tail end of that long old bed of yours?"
I answered "Once..."
I then replied, "Well hey build yourself a flatbed anyway, it will look cool."
Having a death hold upon the original inspiration, I suckered myself into it. In my usual way though, I had to tirelessly research (read: draw fun pictures of) my new flatbed design.
I went all over every media source I had at my disposal for pictures and plans. I came up with a massive folder of images (which I still have). I also sought advice and even more pictures on the ORC BBS and other BBS systems. A lot of people had insights that I found very helpful, and though some had a few rude comments about how "real trucks have tailgates....." it was mostly rewarding and educational.
With all this inspirational material in hand, I got started
In Which I Stumble Around A Bit
What would you think the first step to making a flatbed on your truck would be? I bet you would think it would be measuring and planning! That's good but it's much easier to measure the frame and such with that silly bed off. Step zero then I suppose would be: Off With The Bed! (I'm so clever...)
I put a surprisingly small amount of thought into how to get a three hundred plus pound bed off of my truck by myself with the added fact the bed was ten inches higher than it was stock. As I will tell, it wasn't very fun, but nevertheless got the thing off with little damage.
I drove my truck to the yard next to my shop and parked it. That went pretty well. I then set up two sawhorse on either side of the bed at the wheel wells to act as supports for the bed when I lifted it off.. In retrospect, small portable saw horses are not the best thing to support large sheetmetal structures. In addition to this blatant lack of forethought, I used old warped two by fours laid across the sawhorses to support the bed once I had it unbolted and lifted off. I now had the ideal setup to kill myself under a large car part.
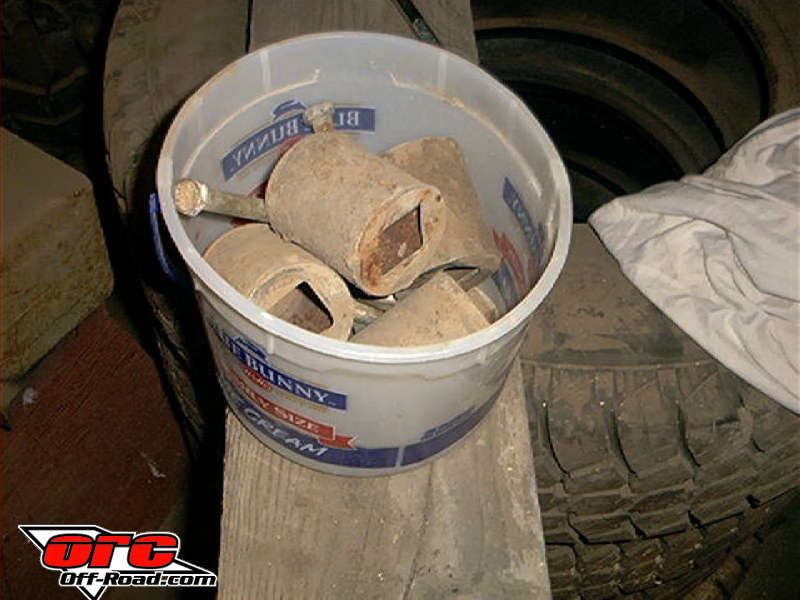
Once I had everything set up I started to unbolt the bed. I don't recall much of this except that I was surprised to learn that body lift blocks are hollow. Everything went well as far as unbolting went, I took all four of the barely there bolts out and threw them in my amazing scrap pile of doom.
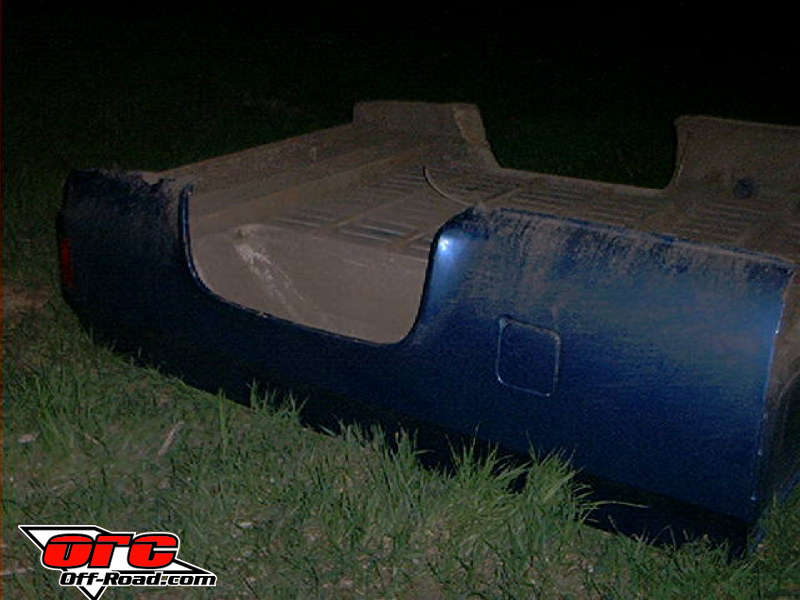
I did actually remember that the gas tank filler hoses and axle vent tube needed to be disconnected, and did disconnect both. I would have disconnected the tail light wire, but I had recently realized that I had cut that wire long ago when building a new rear bumper. I will now sincerely apologize to everyone I passed on the interstate coming home from vacation that summer. I was wondering why people were making rude gestures at me.....
Anyway, everything was free and clear and it was time to lift the bed onto my pitiful support structure. In continuance of my amazing safety oriented plan (sarcasm), I brought out a bottle jack, with a range of lift of about, oh, five inches. This was going to be fun.
I am suddenly reminded to warn you not to repeat any of the amazingly idiot things described in this article. Feel free to repeat the intelligent things, few though they may be.
I placed the bottle jack between the frame and the bottom of the bed and went at it. After a few inches of rise, the body lift blocks fell out, and being rather scared I ran down the driveway like little sissy. After regaining my calm, I went back to lifting the bed, and soon reached the lifting limits of my bottle jack. I believe I poked about a pile of scrap wood until I found some chunks of fence post to hold the bed up so I could lift the other side. Like I said, not the smartest setup in the world.
This went on for two or three rounds, and at the conclusion, I had the bed about a foot off of the frame and nowhere near high enough to drive out from under it. Stalwart, I went to a side of the bed and started to lift it again when the whole bed lurched sideways, luckily to the side I was NOT on. In the process it dented the cab, but all in all I was happy to get the bed off. I dumped it over and drove into the shop to finish up a few things and get it legal to drive on the street.
On a side note, about a year late, someone came to buy the bed I had removed. I won't go into detail, but two men trying to carry a pickup bed around is about as practical as smoothing cake icing with a claw hammer. Draw your own conclusions.
|
I was fairly surprised to find out body lift blocks were hollow. Hmmm, poor ignorant me. The nice thing about the flatbed is that I could adjust it to match the height of the cab, whatever the body lift. |
 |
| Here we can see the bed of a 78 GMC K20 at rest. It sat there for a year by the way. I love not having neighbors... |
 |
| This is what it looked like with the bed off. Notice the spiffy tail lights I wired up so I could drive it to work the next day. The goofy hitch was the work of the previous owner. It worked fairly well I suppose. |
 |
| Here is where the cab got dented. "Uh yeah, that was a really extreme trail, big rock dented the cab, was doing a wheel stand.... I'm cool..." Yeah right! |  |
-
Measure Once, Cut Twice
Now I had a bed-less truck in my shop. I had, in the interim, bolted on two trailer lights and electrical taped (got to love it) the license plate on so as to be able to drive it, but now it was time to start working on the thing.
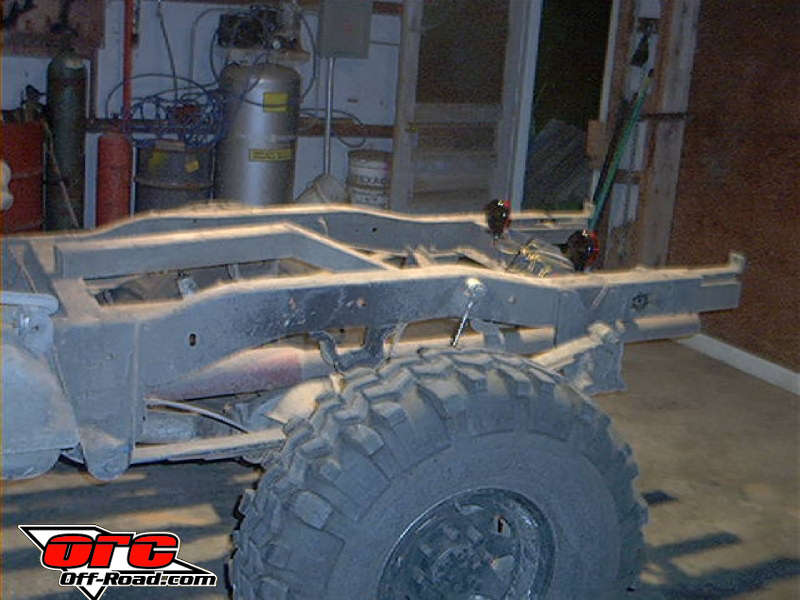
I didn't really have a solid plan yet, I had a lot of drawings, but no real plan. Regardless of what I was going to do though, I knew I wanted to bob the frame down to the spring hangers.
Let me begin by telling you that doing major frame cutting with a reciproca5ing saw is not fun, and will probably detach your retinas if you do it for too long. It took a LOT of sawing to get the rear frame ends off. In all I cut off a foot of each frame rail, including the junk that was attached to each, a foot off of each exhaust pipe, a random support brace thing, and the back half of the aforementioned goofy hitch. I didn't cut the frame off flush with the back of the spring hangers at first because there was a crossmember there I thought it wise to keep. After posting images of my work on the internet5 for comments, a friend mentioned the obvious: "Why not take off as much as possible and build a new crossmember later? Keep in mind this was after I spent six or so hours cutting through the frame.
Well it turns out he was right in the long run so I went back out and chopped four more inches off of the frame so as to make it flush with the rear of the rearmost spring hangers. This took a lot more time and was intensely annoying. In this act I also had to cut out the rearmost crossmember. I was a bit worried about keeping the frame rails aligned, so in a fit of inadequate replacement, I bolted a six inch wide, quarter inch thick steel plate across the rear of the frame. This really wasn't helping the frame to keep from twisting around, but it kept the rails spread apart at the proper width.
When I was finally done with the frame, and had everything bolted, wired, and painted, I stood back and admired my work. It seems cutting stuff up is more fun than I let on, so I cut the rest of the goofy hitch out, and the mufflers off the exhaust. I sounded supremely retarded for a great wile, until I rebuilt my exhaust from the cab back. I don't have smog laws in my state, but I probably legally should have had mufflers. Don't be like me, I'm a bad man.
Now I had the frame stripped down painted, and was ready to start building my flatbed. Hip hip hooray!
| The amount of frame I originally cut off. This level is nice in that you can keep the stock crossmember and avoid making new ones. | 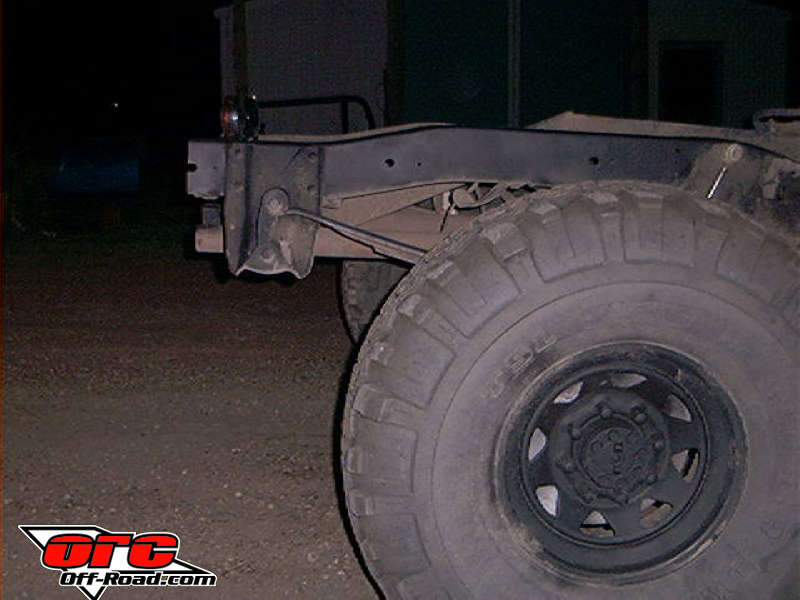 |
| That extra bit of frame hanging off did look a bit obnoxious, no? | 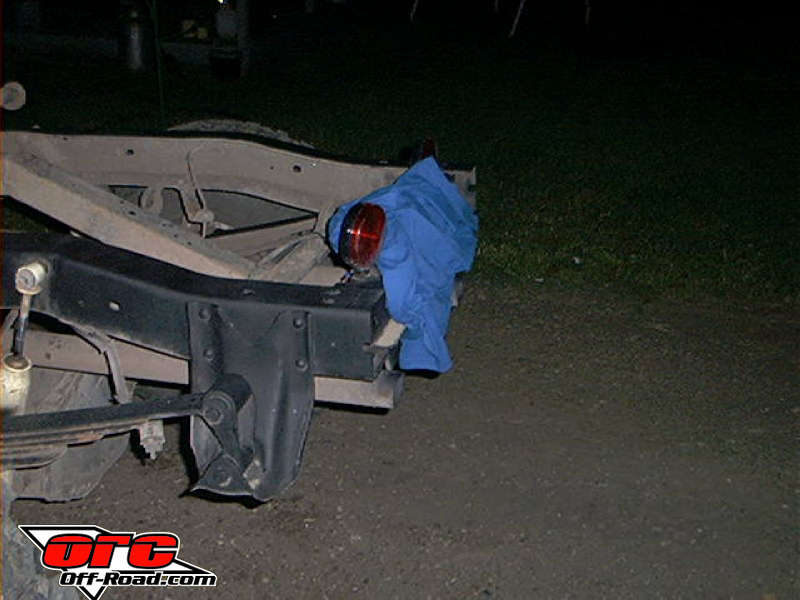 |
| Here is the frame with the rear crossmember cut out and my inadequate replacement setting there holding the rails apart and the tail lights up. The frame is cut off flush now. |  |
| There is a bit better departure angle now eh? I think it went from 30* to about 75* It was a vast improvement. | 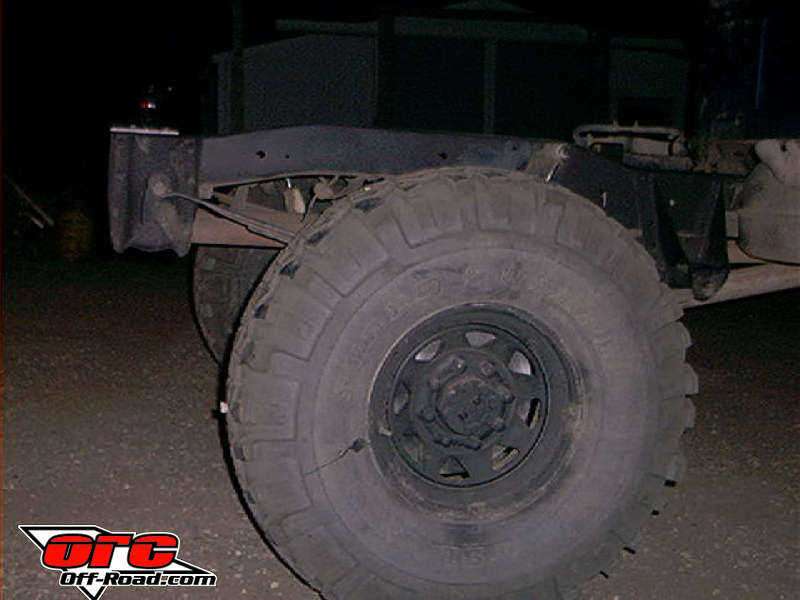 |
| Here is all the junk I cut off. It was fun cutting it off, but then I ran out of junk... |  |
Build Time
After driving a bit with that setup, it was time to start to actually build the bed.
I started with the rear support. I had originally planned to make it out of 2" x 3" tube, and had bought the tube. but when I tried to weld it together, I found that I was bad at welding, so used those pieces of ruined tube for practice.
Now that I had ruined $40 in steel, I was a bit upset, but I had much better welding skill. Not wanting to spend any more money, I grabbed what had been my rear bumper, and started to adapt that to the flatbed's rear support. I was really flying by the seat of my pants here, so I decided to let the flatbed be as wide as the rear bumper and as long and the frame, which ended up being 66"x84". I made a mental note and continued to act randomly.
The adaptation of the rear bumper went well. All I had to do was weld two large tabs onto the bottom of it and bolt it to the top of the frame. It wasn't the bastion of strength at the time, but I was learning, give me a break. All in all it worked out fairly well height wise. The bumper was just a 66" long piece of 4" x 8" tube anyway.
For tail lights, I welded two tabs on the rear face of the bumper and bolted the trailer lights I had been using on. It worked, but was pretty poorly thought out. I crunched one of them up pretty good in the months ahead. I now run them recessed, but that's for later tales.
The bumper already had holes for license plates, so naturally, I electrical taped the plate to the bumper, and that was that for the rear support.
| This was the original plan... ...but the original plan sadly died in my hands... | 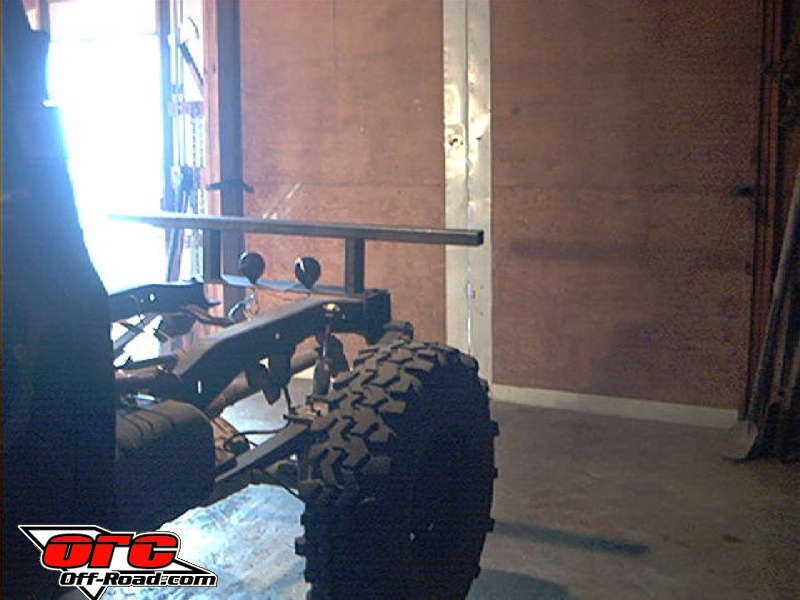 |
| Ooh man, I used to be bad at welding... ...really bad... | 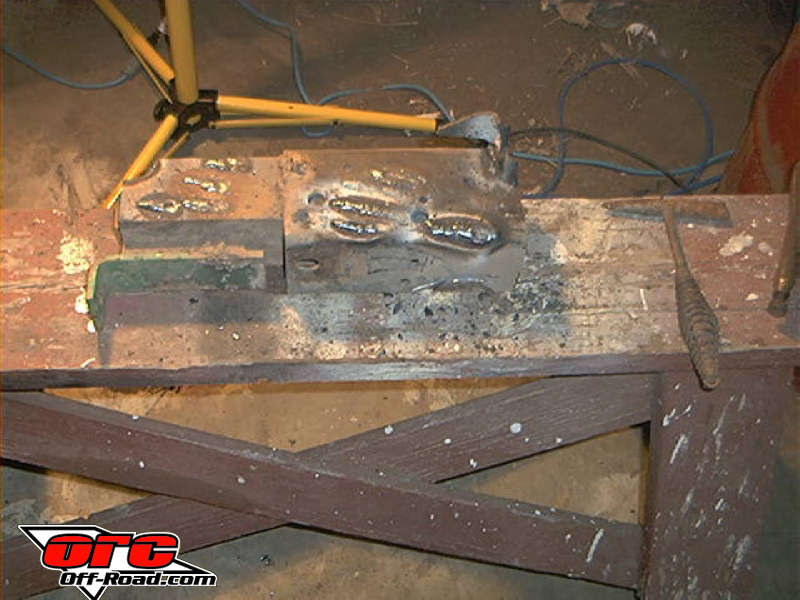 |
| Extremely lame and weak bracket version one! That piece of angle is actually a piece of square tube cut off the junked hitch and cut diagonally. I am resourceful, no? | 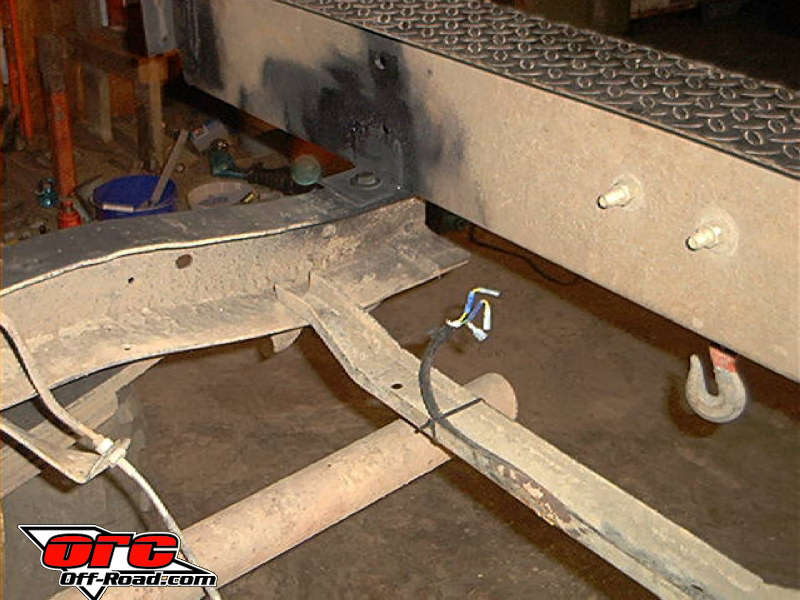 |
| I got better! Kind of... | 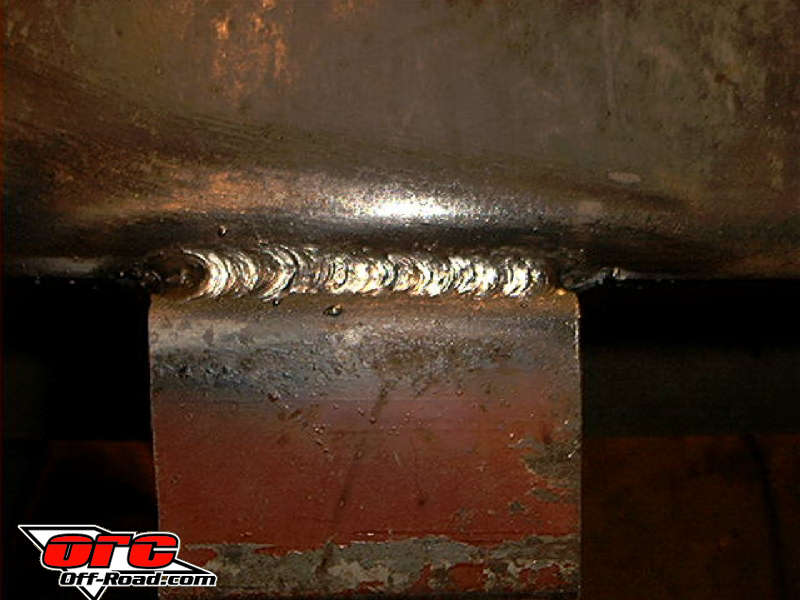 |
| And there we go! | 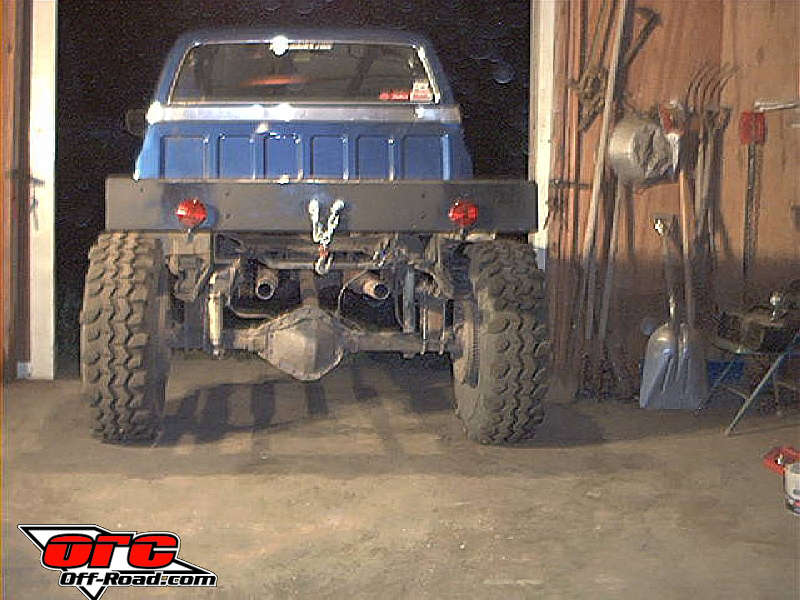 |
-
It Just Keeps Getting Worse
I believe at this time in the flatbed project I went on vacation a state over. When I was there the bright idea of replacing the horrible saddle tanks occurred to me. The stock tanks hang down right at the end of the rocker, and from what I have seen of some people's rocker panels, I would really hate for the same thing to happen to a steel can full of gasoline.
Originally I had planned on using a K5 or Suburban tank. I looked around everywhere but couldn't find one, no junkyard had any solid axle GM truck with any parts left. Finally, the day before I was going home, I grabbed the tank out of a older fuel injected GM conversion van. It turns out that it is basically the same exact dimension as a K5 tank, but the lip around it is lower and the filler neck is shorter and of the side. Hooray for me!
Now the obvious problem of where to put the tank came up. I was defiantly going to put it above the frame, but where? Over the axle may have worked, but I was afraid during compression the differential may smack the tank around. In addition the space between the frame rails was narrower in the rear. The only place left was right behind the cab, but a crossmember was in the way. Uh oh!
Yes I hacked the crossmember right out of there. Now for those of you who know their stuff and have been keeping track, I have ZERO stock crossmembers left. In retrospect this was a bit shortsighted, but hey, like I said, I was learning, and learning involves screw ups. The tank dropped in fine, and I had made two pathetic supports to hold it up that seemed to work, so I went with it. I used a ratchet strap for each of the stock metal straps and that also seemed to work. They only had to keep the tank from traveling upward.... and probably would have let the damn thing fly out of the truck anyway. I have since replaced them with metal tube and wing nuts. Hmmm wing nuts....
On a side note, you could conceivably run the tank I run in addition to two stock saddle tanks with a bit of work. It works out to about 70 gallons total.
I didn't want those stinky saddle tanks though, so they were removed. As a forewarning, they are a royal pain to get out especially when half full.
So, the rear support is made and the new gas tank is in. I think it's time for some front supports.
Oh wait, I have a funny story. I was doing something or the other and got frustrated. In this frustration I grabbed a steel fence post and swung it at a telephone pole outside my shop. It bounced back and smacked me behind the ear. It rather hurt. Lesson learned: Don't hit yourself in the head with steel posts.
Anyway, the front supports were simple square tube rectangles with plates backing half of them. The picture will explain better. The bolted into the saddle tanks stock holes, which is always go. If there's and open hole, fill it, that's what I say! They were made out of 2" x 2" tube and some 12 gauge plate. I made them tall enough to clear the gas tank with a bit of space for service is I needed to perform it. Which I did.
| So that's what it looks like with no saddle tank... | 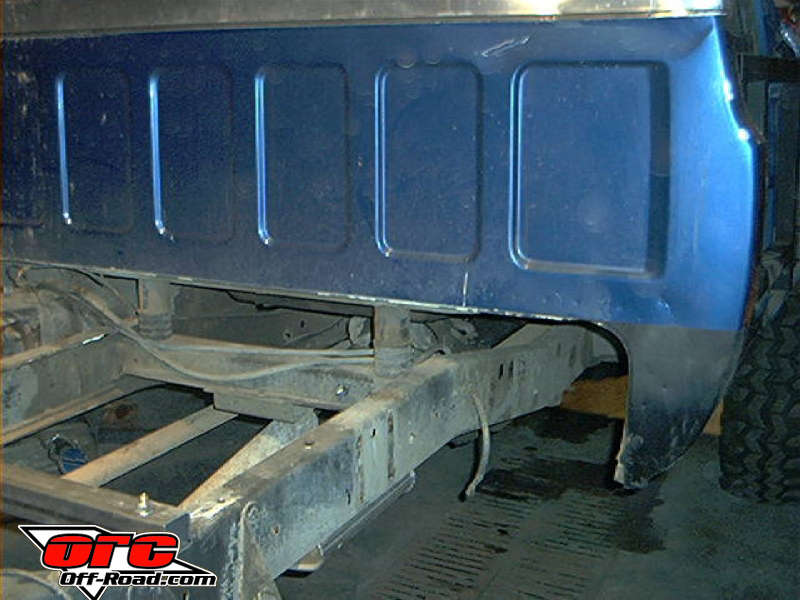 |
| Gasoline eats through water coolers... |  |
| Front supports and those pathetic gas tank support rods BTW - It is much easier painting things before they are bolted to the truck, keep that in mind. I recently had to take these off and wire brush and repaint them. The whole bed is going to need it in the end. | 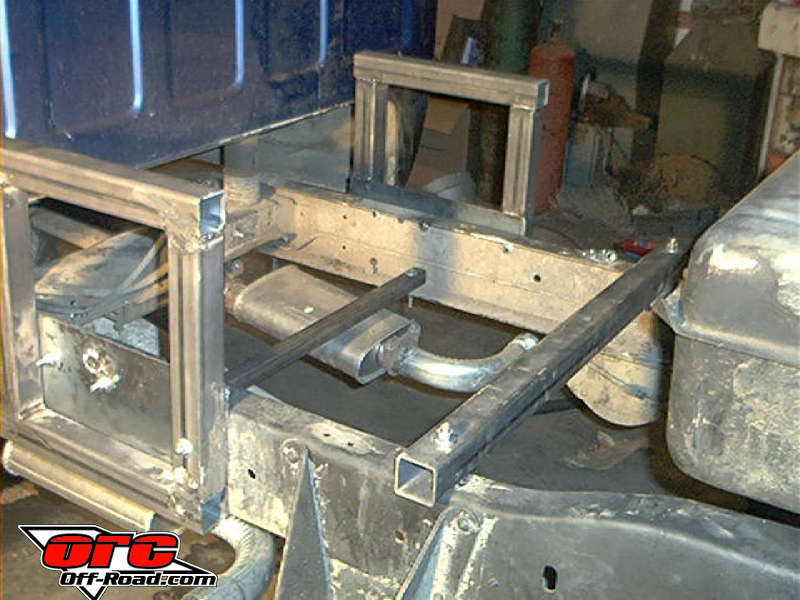 |
| Fits nicely doesn't it? | 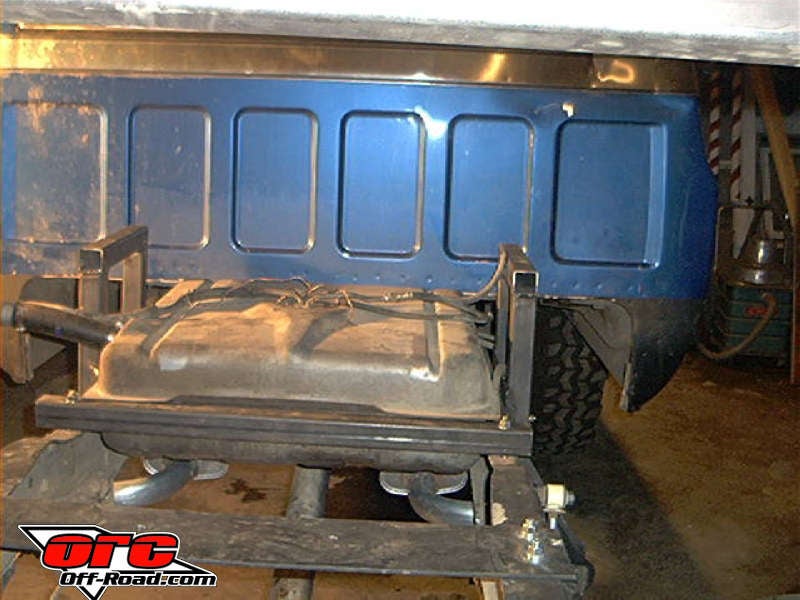 |
| A few pieces of steel bolted to the frame do not crossmembers make | 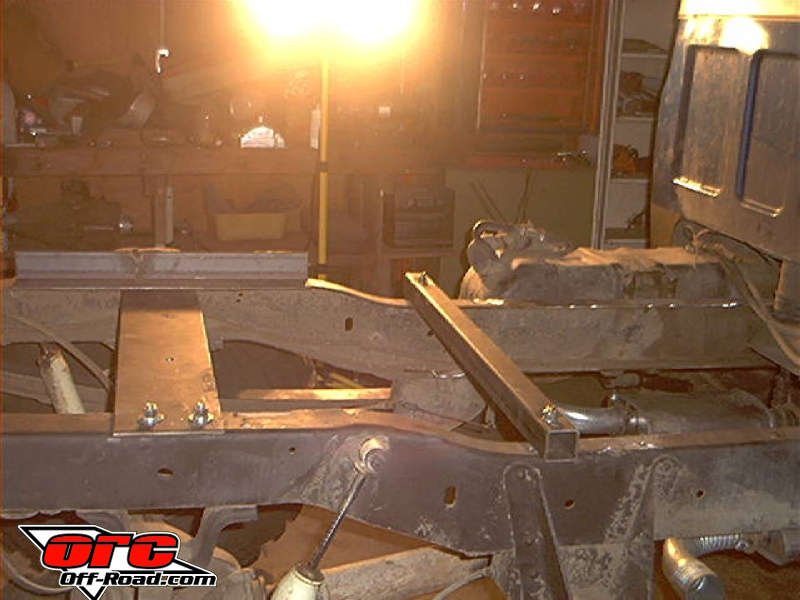 |
| Whabam! RJ hits a home run! The crowd goes wild! | 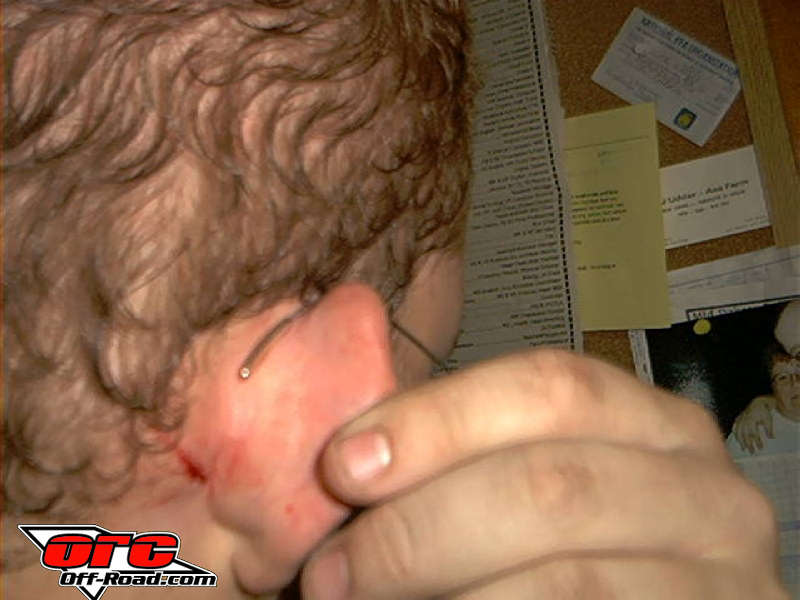 |
-
Flatbed Time
The flatbed itself isn't much to look at, really. I had high hopes of something complicated and technical, but it ended up being a big flat.... bed.
It's a big rectangle made out of 2" x 2" and 2" x 3"steel tube. It never has yet had a skin put over it. I never have carried anything other than a spare tire. I think I am going to be lame and use plywood. Simple and cheap. Everything looks the same painted flat black.
I'll let the pictures and their captions do the talking.
| Ratchet strap are handy for holding big things together when welding. Remember, measure a square both ways diagonally, when the measurements match, it's square. Go metal shop! | 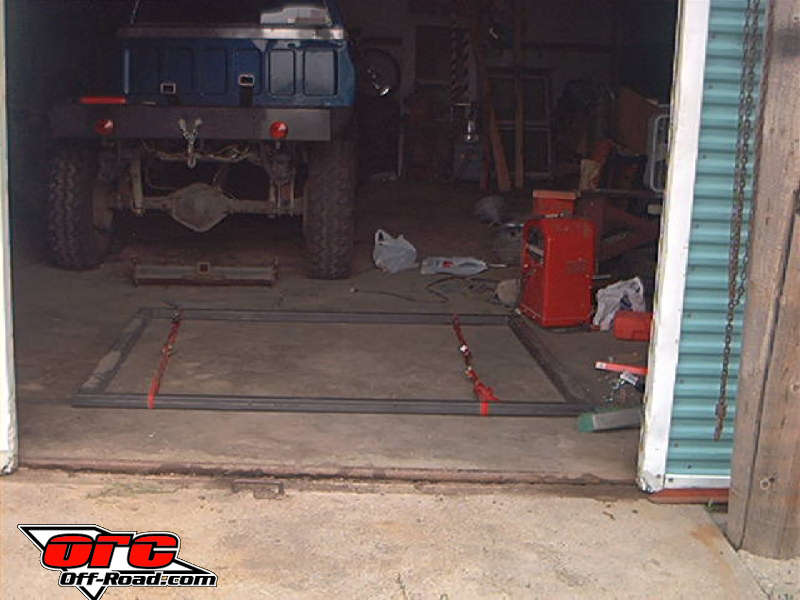 |
| This is probably my best stick weld ever. *Sigh* | 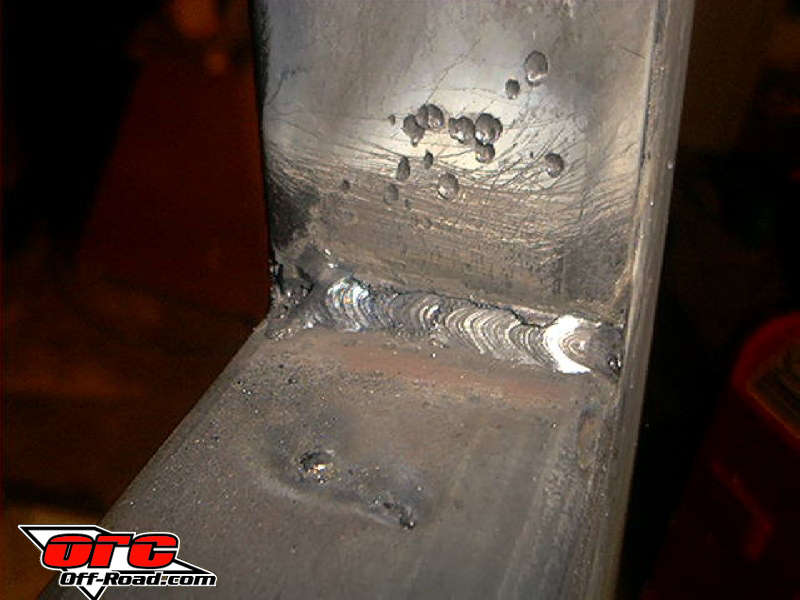 |
| Well there you have it. The end nearest to the camera has the bars that run directly over the top of the front supports. Thanks to bad measuring I had to hack together a riser for the rear to make it sit level. | 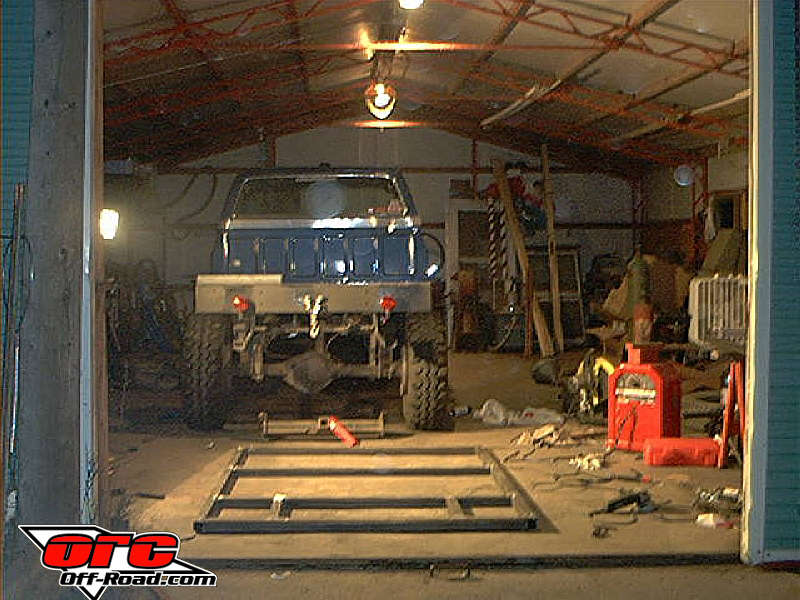 |
-
Using It
Well when it was all painted and bolted together, I really liked my flatbed. I figure I saved about two hundred pounds or so over the stock sheetmetal bed. The weight balance is more forward now, so I can climb a bit better. It's impervious to rocks and other obstacles. Tire clearance is never a worry. It also acts like a giant three dimensional frame stiffener.
There are bad aspects, but only because I built them in. The bed really wasn't as strong as I would have liked. The gas tank was acceptably mounted at best. I still hadn't replaced the crossmembers.
Oh well, it was good enough for the first version.
| I think it looks pretty good That toolbox cost me more to paint than to buy, gwahahahah! | 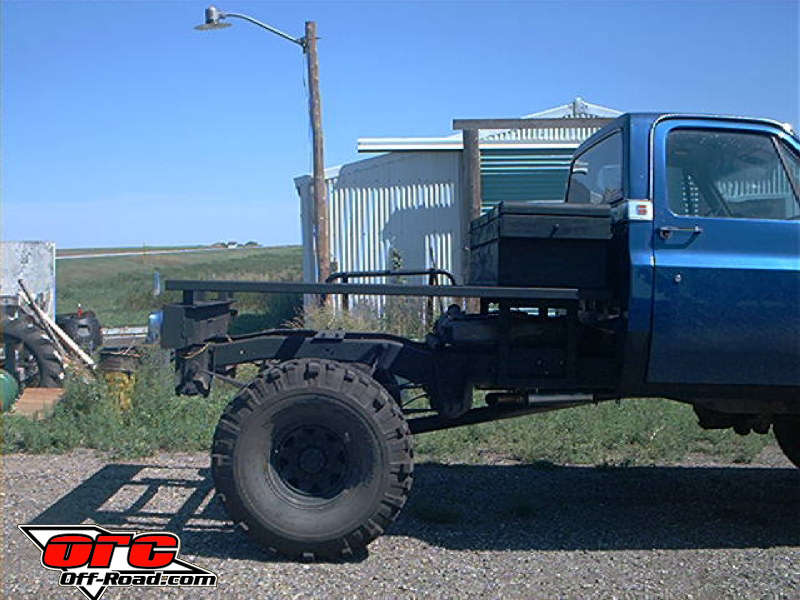 |
| This is one of the two supports I had to build to level out the bed. I really like flat black |  |
| This is the best picture I have ever taken of the truck 38"Bogger spare fit's nicely over the middle spreader bar of the flatbed |  |
| Now a side shot | 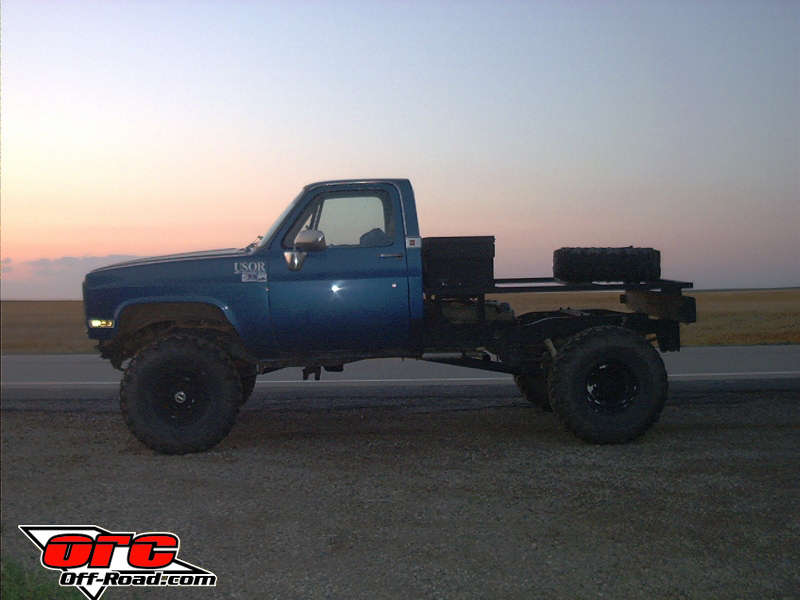 |
-
There's A Part Two !?
I recently started hacking into the bed again.
In the rear I boxed the ends of the frame rails with a cut up receiver hitch I got free from a friend. I also shoved a lot of quarter inch plate in there for good measure. I under built it last time, now I'm going to over build it. Anyway, the rear frame is now boxed and has a receiver for my multimount winch. This should be good enough to replace the rear crossmember.
I also started narrowing the whole flatbed from 66"to 48". Surprisingly (or maybe not), I did it for looks, though I am sure it will help out on the trail too. I have seen a definite trend towards narrowing these days and I though as long as I had it off to wire brush and repaint, why not? A sheet of 48" wide plywood or metal will plop on nicely too. The bed will remain 84" long.
While I had everything torn apart, I made a much better gas tank crossmember that will support the tank and act as a new crossmember for the frame when used in conjunction with the front bed supports. The front supports are unchanged but I am thinking of adding another quarter inch of plate to them so they don't rip apart.
I am toying with the idea of removable extended bed sides. Basically giant angles with 12" legs that are as long as the flatbed and attach like a receiver hitch. That's not really a priority.
| Rear hitch welded in and a load of quarter inch plate for support | 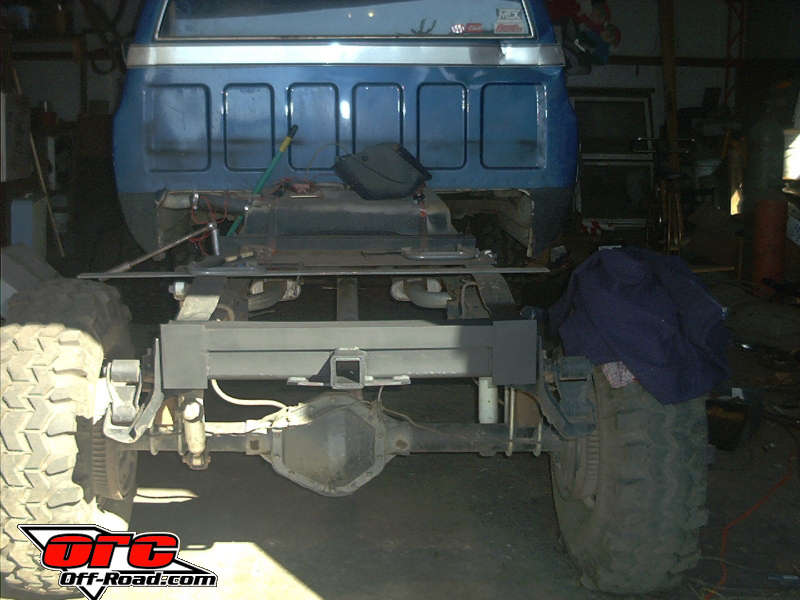 |
| I narrowed the bumper with an arc welder, hilarious I tell you! |  |
| See that looks like crap but it's not I had to weld onto a piece I couldn't cut out to save my boots | 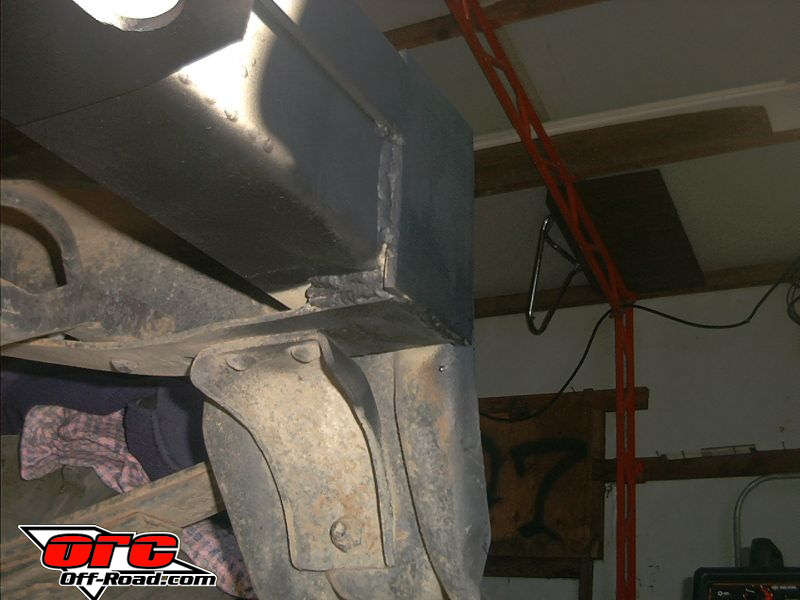 |
| Plug welding is a fun way to get red of old bolt holes, it also ads adherence | 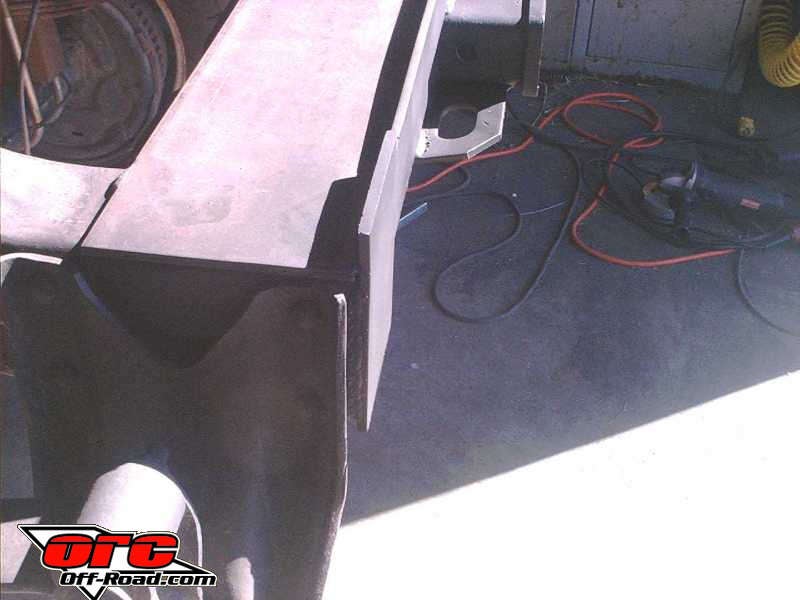 |
| All rusty and gunky looking, but that weak support bar is out of there | 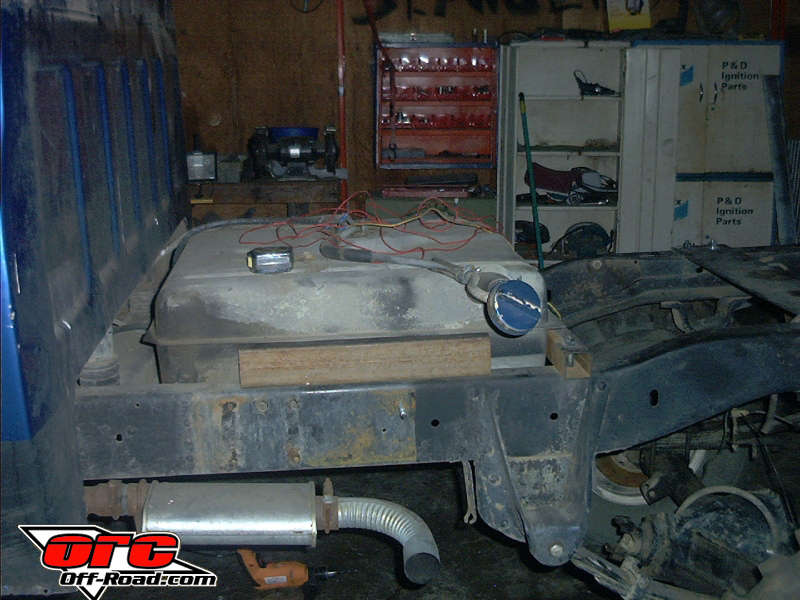 |
| Look at the mighty crossmember that is to replace it! 2" x 3"x .120" tube and quarter inch plate | 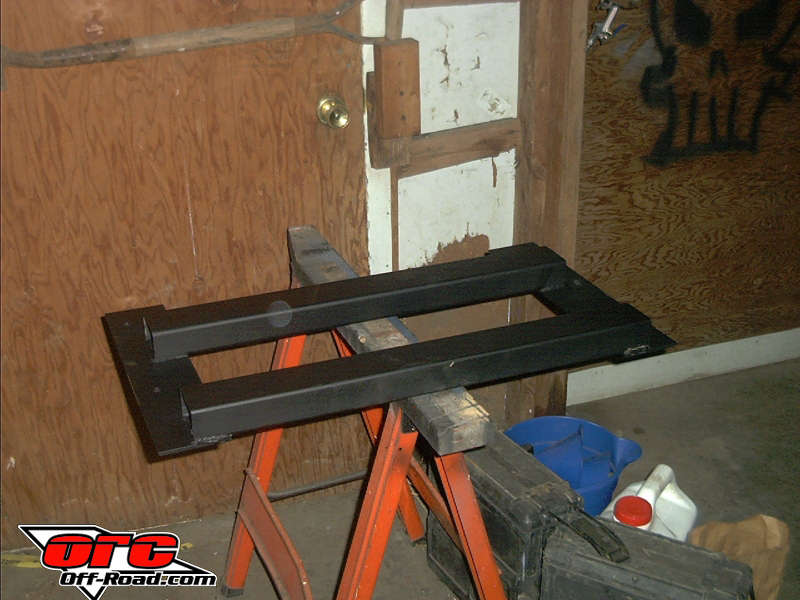 |
| Man, that's the coolest thing I have ever made |  |
| From the rear it's even cooler | 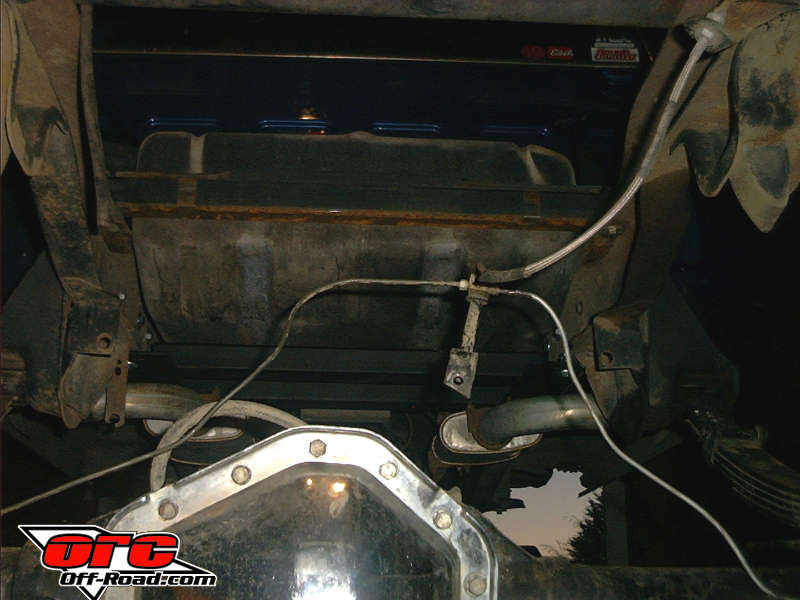 |
| Here you can see the poor rusty flatbed cut in half and the winch in its receiver | 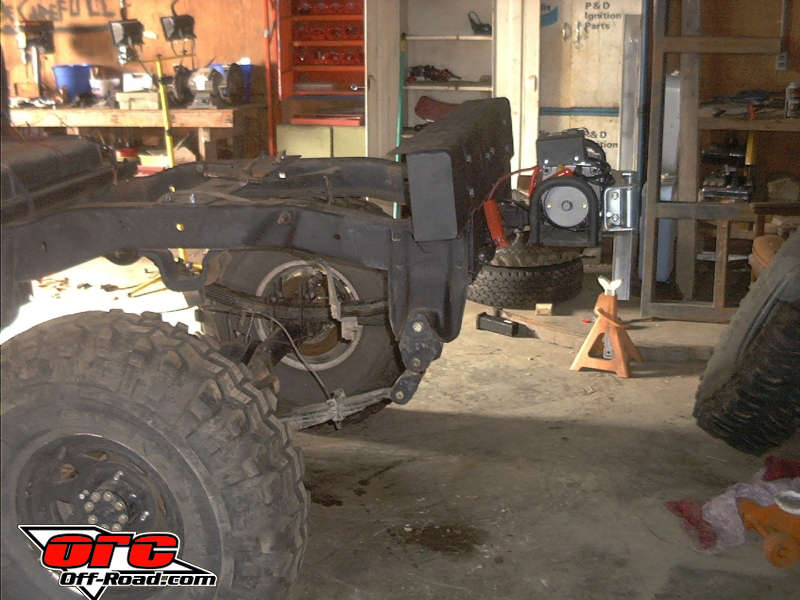 |
Well, that's that, hope you enjoyed my story
See ya!
|
Off-Road.com Newsletter Join our Weekly Newsletter to get the latest off-road news, reviews, events, and alerts! |
Follow @Off-Road
 Your Privacy Choices