Permanent Winch Power for the back of your Truck
Project 1993 Chevy K1500
After the purchase of our WARN winch about 4 years ago I felt very confident about getting in some serious mud without fear of getting stuck. Unfortunately that was our first mistake. Just because you have a winch in the front of your truck doesn’t mean you’ll never get stuck.
It all started when we slid off of a muddy hilltop and ended up nose first against a tree with the back of the truck facing up the hill. After about an hour and a half of dragging the front end of the truck 360 degrees around and then dragging it back up the hill we determined that a winch in the back of the truck wouldn’t be such a bad idea.
We did notice the option of the receiver mount kits that allow you to move one winch to either the front or rear of the truck but I didn’t want to go to the extra work of lugging a 90lb winch back and fourth through the mud whenever I got stuck. Also I thought that I may one day need the use of both winches at the same time in a sticky situation (which we have since experienced). Just be aware that using two winches at the same time requires some serious 12v power (check out the dual alternators article).
After shopping around a bit we came across a winch from Harbor Freight Tools, which had a pulling capacity of 8000lbs. The cost of the winch was only $299.99 and it came with a mounting plate!
Initially we mounted the winch in the bed right up under the tool box. I then cut a hole in the tailgate and mounted a roller fairlead on it to run the cable through. Although mounting the winch under the tool box was effective we did run into some complications.
 |
Our original winch location was under the tool box in the bed |
First, every time I wanted to load some dirt, sand, rocks, etc. into the back of the truck the winch would get covered (unless I put a small tarp over it). Even then, trying to clean the bed was complicated because all the debris would get caught up under the mounting plate and under the winch. Then there was the accessibility problem. Whenever I wanted to use the winch I would have to reach way back under the tool box to plug the controller in. Normally this would not be too difficult but the plug is very tight and takes two hands to pull it back out of the socket.
As a solution, we decided to change the mounting location of the winch. The plan was to remove the spare tire assembly from under the bed and mount the winch’s mounting plate across the frame rails. We would then relocate the solenoid into the bed somewhere out of harms way and cut a hold in the bed to enable access to the winch (this is to allow easy access to the clutch; free-spool, etc.). Finally, we would cut a hole in the bumper somewhere behind the license plate and where the winch line could run through.
So our first step was to remove the spare tire and tire carrier under the bed. The spare tire lowers to the ground using the supplied ratchet (the ratchet is located in the jack case under the bench seat in the cab). Removing the spare tire carrier is a bit more complicated and will require quite a bit of cutting.
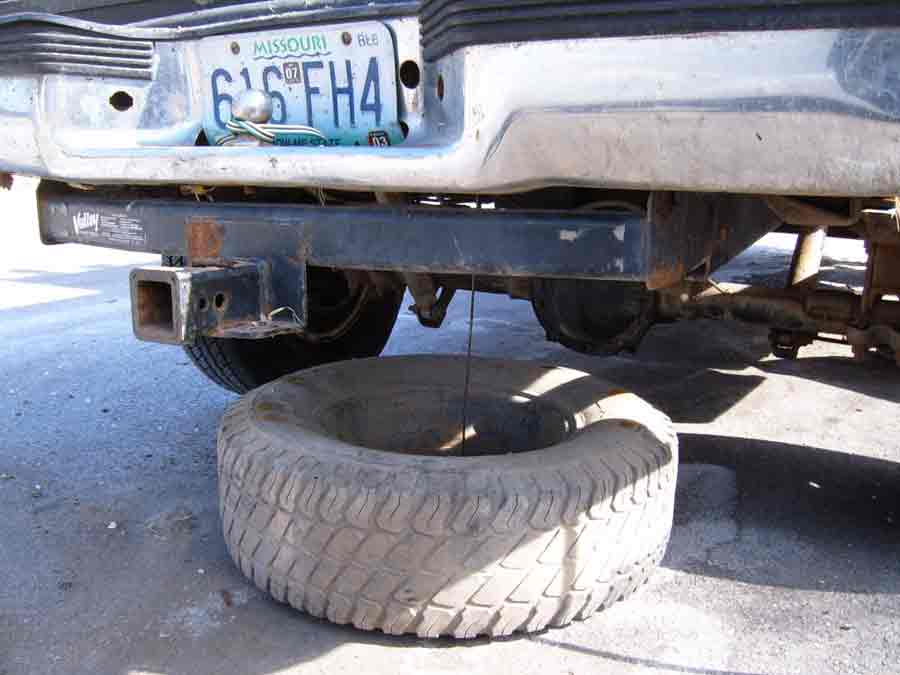 |
First step was to remove the spare tire |
After the spare tire carrier was removed, we made some measurements to see how much modification would be required to get the mounting plate to span securely across the frame rails. To our surprise the mounting plate spanned perfectly between them with only a few new holes to bolt it in place. We did however find it necessary to remove the rear bumper in order to slide the mounting plate into the frame rails.
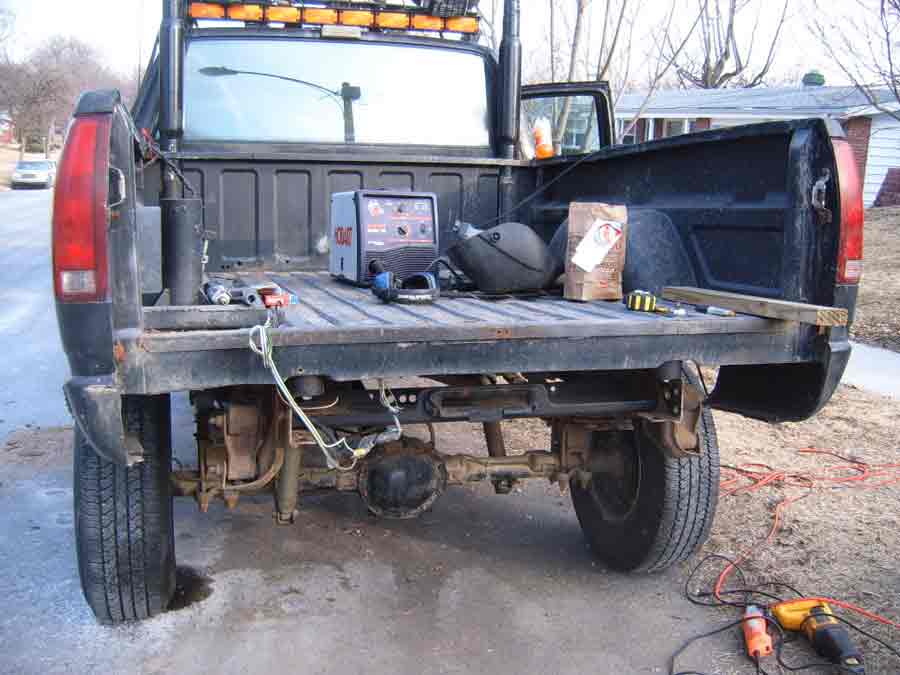 |
Removal of the bumper was necessary to slide the winch mounting plate into the frame rails |
With the mounting plate secure we then cut a hole in the bed, allowing access to the winch. We cut a square section big enough to drop the winch straight down on the mounting plate through the bed (just in case we couldn’t slide it on the plate from underneath the truck). A hole this size would also give us plenty of room to make all the necessary wire connections as well as spool the cable on more carefully.
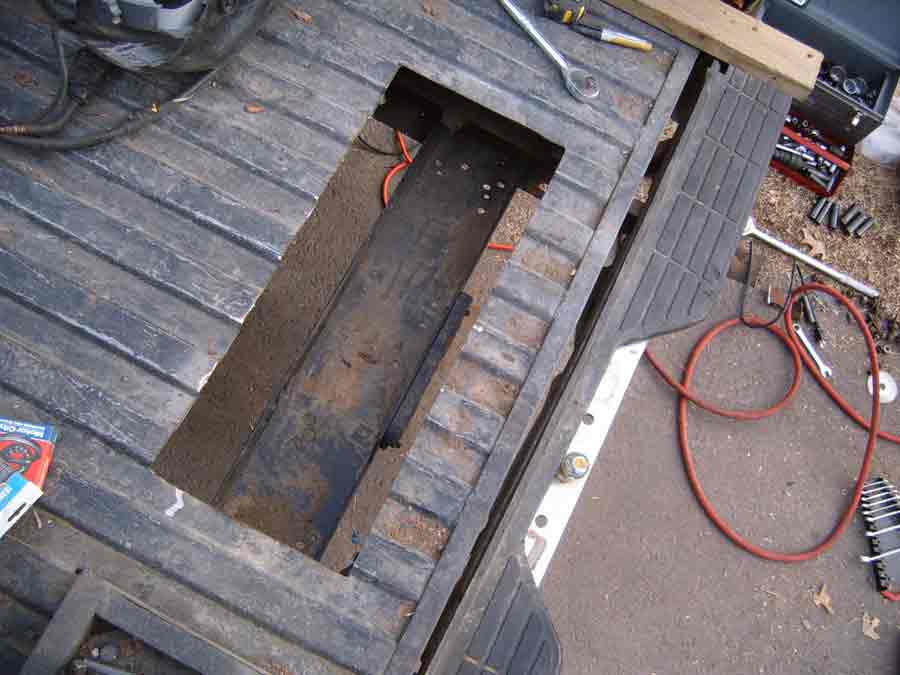 |
We cut a hole in the bed to allow easy access to the winch |
After the winch was bolted down onto the mounting plate we took the piece of metal we had cut from the bed and made it into a door. We reinforced its underside using some ½” square stock. Using the square stock we also welded a frame under the bed on which the door would securely close. I took some shocks from one of my old tool boxes and welded them to the door so it would stay open when I was working with the winch.
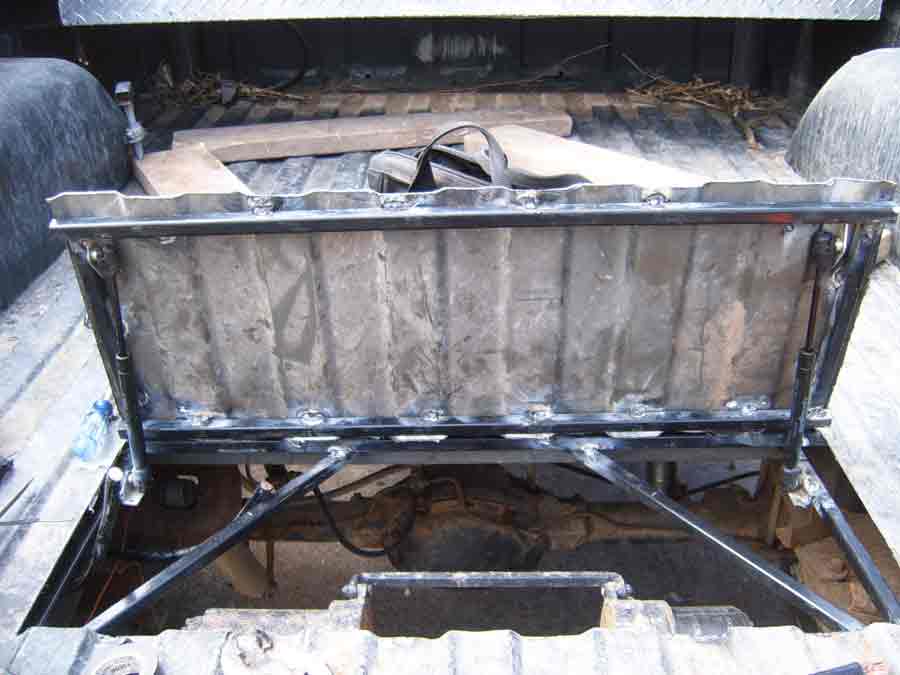 |
We reinforced the square piece cut out from the bed with ½” square stock |
The next step was to relocate the solenoid housing to the side of the bed. This was to prevent any debris flying up under the truck from hitting it. With the solenoid mounted, we ran the wires going to the winch and then extended the wires that went to the socket for the controller and mounted the socket into the bumper. This makes for an easy access point to plug in the winch controller.
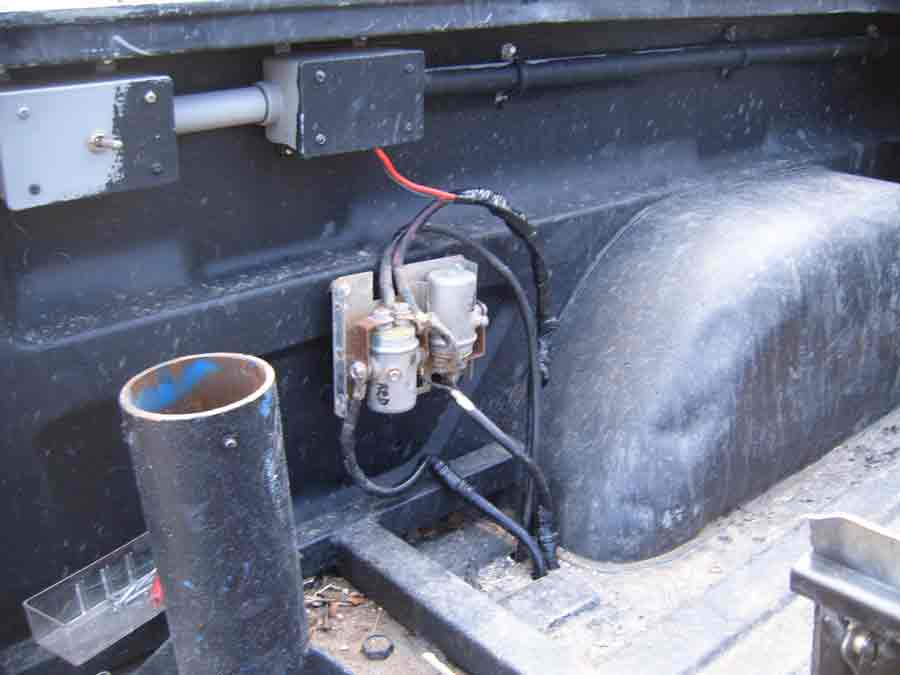 |
We relocated the solenoid to the side of the bed to help prevent it from being damaged |
After all the winch components were secured we removed the existing steel hawse fairlead from the mounting plate and replaced it with the roller fairlead that was mounted to the tailgate. We did this because the new synthetic winch cables we would be using from Winchline.com would not be compatible with the steel fairlead.
 |
We replaced the steel hawse fairlead that was attached to the mounting plate with a roller fairlead |
Finally we mounted our new aluminum hawse fairlead, which we also received from Winchline.com to the bumper to act as the initial guide for the new synthetic winch line.
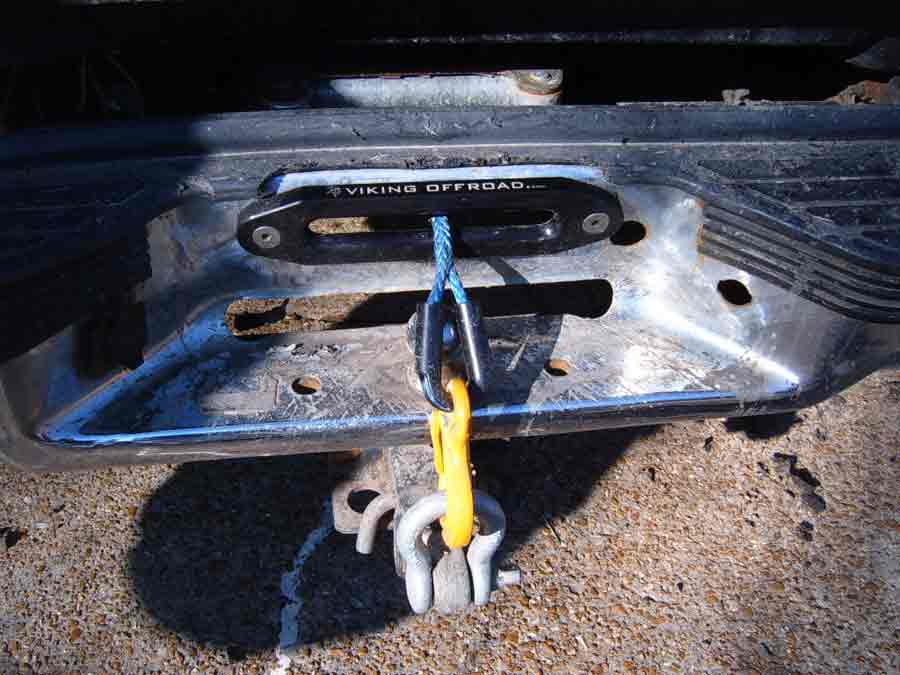 |
We mounted the new aluminum hawse fairlead from Winchline.com to the bumper |
The new setup was a much needed improvement over the existing winch location and will prove to be more efficient in the long run. We are also very anxious to try out our new synthetic winch lines and will give you all the details on how they work in an upcoming article.
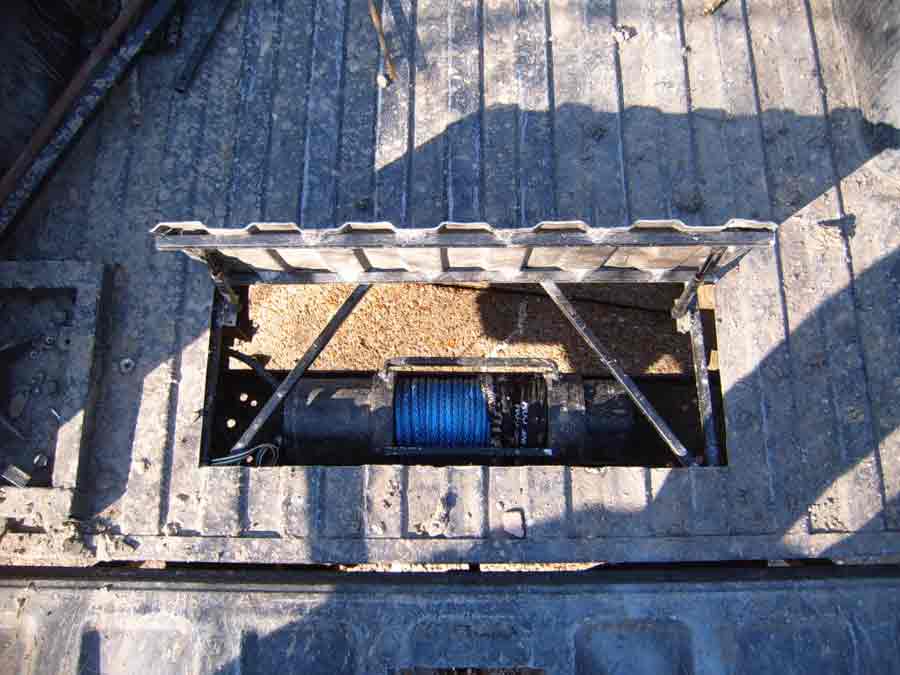 |
Our new synthetic winch line fully spooled onto our winch |
|
Off-Road.com Newsletter Join our Weekly Newsletter to get the latest off-road news, reviews, events, and alerts! |
Follow @Off-Road
 Your Privacy Choices