|
SEALS, MOLDING, TRIM
AND WEATHER
STRIPPING
|
|
|
|||||||||||||||||||||||||||||||||
|
LEAKS, DRAFTS, WIND NOISE AND RATTLES
As trucks (and all vehicles) get older, the seals, weather stripping and molding tends to become less and less efficient. Rubber molding hardens, cracks, even falls apart. Foam weather stripping crumbles, turns to powder, falls apart, flattens out, and in general, loses all its resiliency. The results are not only wind noise, but leaks will start to appear and weird rattles will become an irritating part of a normal drive, on-road or off. If you let it go too long, your rig will become a noisy, leaky, windy, rattle-trap. TROUBLE SPOTS: WHERE TO LOOK Just about any place you have a seal is an area that could cause leaks, rattles or wind noise. Here are the places to check:
INSPECTING THE SUSPECTED
AREAS
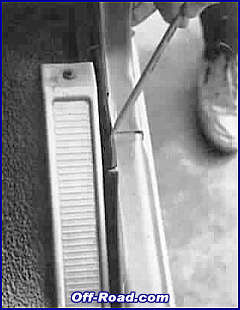
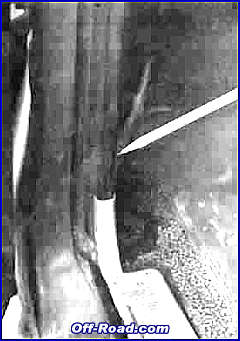
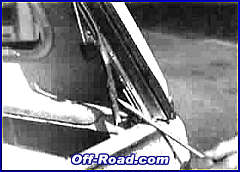
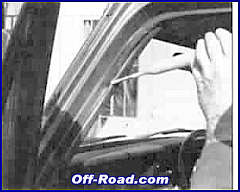
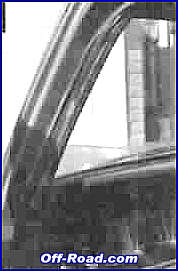
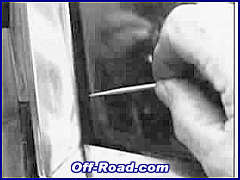
I had a lot of wind noise from the doors on my old '75 Ford truck, and figured it was time to get rid of them. A close inspection of the door molding showed that it was in pretty good shape, so I wondered what in the heck could cause all that wind howling. A gentle push on the door solved the problem. There was a lot of play. It only took a few minutes to adjust the striker post on the door jam to get the door tightened up. The result was an immediate end of the wind noise at no cost. Check every seal you suspect for hardening, deforming, cracking, ozone damage, splitting, rotting, hard edges, flat spots, separating, lifting, movement or glue failure. When checking the windshield seal for leaks, grab a toothpick and insert the tip between the glass and the seal. If it can go in more than a quarter inch or so, chances are the seal will pass water. However, a suspected windshield seal can often be restored by simply cleaning the accumulated debris out of it. The debris will always collect on the lower edges. That plain old toothpick will work just fine to clean out the lower seal. Dipping the pick in some ordinary grease will help it remove grit and dirt.
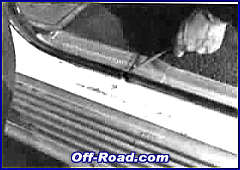
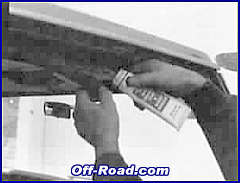
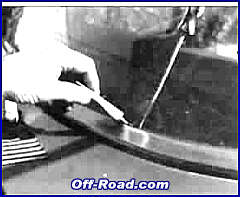
QUICK-CHECKING THE SEAL The trick is to coat the suspect seal with a powder, and then compress the seal. On a door, for example, you could use talcum powder, or even ordinary flour, on the molding. You can apply the powder by a paint brush, or "spraying" it on with a turkey baster. After the molding is coated over its sealing surface, you just close the door firmly, then open it and inspect the seal and the door surface.
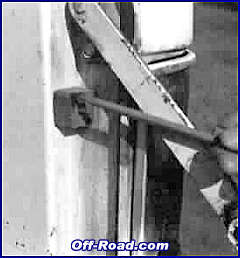
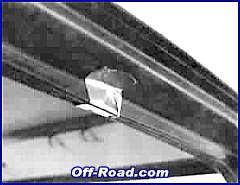
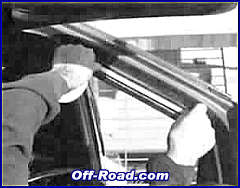
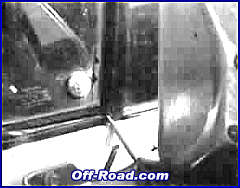
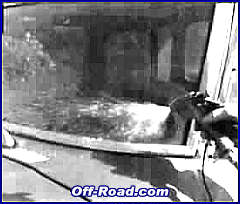
If the seal is working as it should, you'll see a clear mark of powder on the door edge and also see where the powder has been squeezed off the molding. If you find an area where there is little contact, this could be a trouble spot. just because a small portion of the molding makes contact, doesn't mean it'll do its job when the vehicle is under way. Wind rushing by the seams can push the seal away from the sealing surface (seals don't apply a lot of pressure) and let wind and moisture in. If the seal shows an even contact patch all the way around, chances are it's fine. The easiest way to check a windshield for leaks is to blast the suspected seals with an ordinary garden hose; the more pressure the better. Don't expect a windshield leak to happen immediately. Water has a way of working its way through a seal via capillary action, which is often aided by vibration. You can speed the process by starting the engine and letting it run while you blast the windshield seals. Often, a leak will not show up during normal street use, but will happen under off-roading conditions. The reason? Your off-road rig is subjected to harsh twisting forces due to the rough terrain. Cruising to the local 7-1 1 is not exactly a stressful situation. In many cases, something like a door seal can be fine, but loose mounting bolts on the door hinges can prevent the door from seating solidly, or the mounting bolts can be snug, but the door may be misaligned. Again, careful checking is a must.
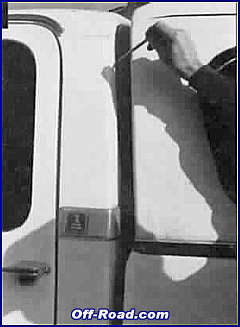
To check for rattles and squeaks, simply apply pressure to the suspected area, and listen. If you push hard on a door or tail gate, and it squeaks, it will make noise when you drive. A real acid test is to jack one side of the vehicle up in the air (with the jack on the frame rail), and then do the pushing and tugging movements on the suspected areas. Remove the jack, install it on the other side, and repeat. This duplicates some of the twisting forces you might normally encounter during off-road use. FIXING THE PROBLEMS If the molding or trim is in good shape, but not secured properly, you can simply re-glue it. There are several good adhesives made specifically for this purpose, with the grandaddy of them all being 3M Weatherstrip cement.
Important tip! Do not try to use any sort of glue or adhesive in cold conditions. Let your rig sit in the sun, or do your work in a warm garage, until the metal surfaces are warm to the touch. Glues applied to cold surfaces will hold at first, then start to lose their grip when the temperature changes. Moisture will appear between the glue and the metal surface, and sooner or later, you'll be back to ground zero.
Always clean the area properly, taking care to
remove any old hardened glue or cement. I find that regular old
lacquer thinner works well, but make sure you don't rub too hard
and start removing the paint. Contact cleaner works, too. If you
don't want to use any powerful chemical cleaners, a scouring pad
and cleanser will do the job nicely, but it will require time and
energy. If the glue (or cement) has hardened badly and chemicals
don't seem to cut it, then get a hair drier out and apply heat to
the area. The heat will often soften the cement, and then the
chemicals can do their job easier.
Do not use super glues to hold molding in place. Some
types of molding and weatherstripping react badly to super glues,
and it can make them harden and crack, or will actually "eat"
through the surface, ruining DO IT YOURSELF STUFF
For a beater truck.or an economy fix, you can always
run down to the local
Thin strips are handy for sealing off wind wing
vents, and the thicker ones work well around doors. Often, you can
can just add some weather-stripping
Once you have the stripping or molding installed(or
the old stuff repaired), it's a good idea to do a little bit of
preventative maintenance. To extend the
For leaking windshields, you can squeeze in some
silicone made specifically for that purpose. It's a lot lighter
than regular silicone, and very runny. You should carefully squeeze
a small amount in the leaky areas, and wipe off any If the rubber molding has pulled away from the glass and left a big gap, put the windshield sealer I, then tape the molding down with duct tape. Leave it on overnight, and if any silicone has squeezed out, it can be removed easily from the glass with a razor blade, and peeled off the rubber by hand. Congratuations! You have now now made your vehicle air tight, water-free and vibration resistant. |
|||||||||||||||||||||||||||||||||

|
Off-Road.com Newsletter Join our Weekly Newsletter to get the latest off-road news, reviews, events, and alerts! |
Follow @Off-Road
 Your Privacy Choices