When it comes to deep water, the best insurance
you can buy for yourself is an Snorkel. The fastest way to do
extensive damage to your vehicle while crossing water is to
hydro-lock the engine. With snorkel, you no longer have to wonder
if the water level is up to your air intake. You know exactly how
close the water is to your intake, because you can look out your
windshield and see it! True, there are kits you can buy but none
are made for the S-10 and the prices they're charging, you would
think the kits are made of gold! Jeff decided to take a different
approach at this and just make his own. Follow the steps below and
you will see how easy this is to make yourself.
Parts:
Most everything you need you can get from your local hardware
store. The parts you need are:
- 4-3" PVC right angle with out a lip on one end
- 2-3" PVC right angle with a lip on one end
- 1-3" PVC 45 angle
- 6 Feet of 3" ABS pipe (Like PVC but cheaper and
weaker)
- 4" air hose for a air cleaner (Like dryer vent hose but
stronger) Get this from
- local auto parts place
- PVC pipe glue and the purple sealer
- 2 cans of flat black or bumper trim black spay paint
- A tube of Black caulk
Tools that you will need:
- A body mans cut off wheel
- Caulk gun
- Drill
- 1/8 drill bit
- metal file
- Chop saw
- 1/8 metal screws
Installation:
Your first step is to cut a hole in the fender. If you don't want
to do this stop now since this is required. I used a body mans cut
off wheel to do mine. Here is the outside view of the hole. The
window washer bottle needs to be moved forward. Make sure that the
hood will close before you mount it.
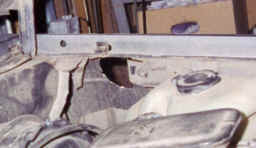
Here's the inside view of the
hole.
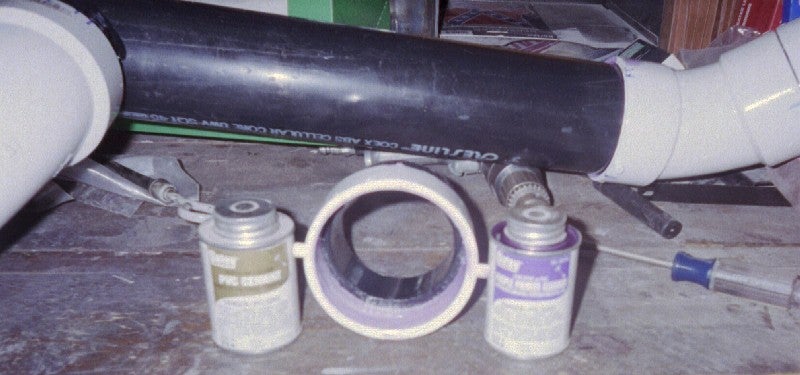
Here's the PVC glue and sealer that is used to hold the pipes
together. The purple sealer is also a cleaner for the glue and
helps it bond.
Before you glue everything together, you should label everything at
the joints. As you can see how I wrote TOP across the two joints so
I know where it should line up when it comes time to glue it
together. This is the Top piece that has the lip cut off and the
45-deegree piece under it.
This is were I made a piece to but the joints together. I cut a 3"
long piece of tube that will fit between the two pieces. It will
allow them to but right up to eachother for a nice fit.
Using a chop saw, I had to cut two 45-deegree angles for the pipe
the runs across the windshield. It needs to be 18"long from the
point of the angle cut. I used the wood blade that was in the saw
and it seem work nice on cutting the ABS pipe. The other piece
needs to 5&1/2" long. That is the piece that runs across the
cowl.
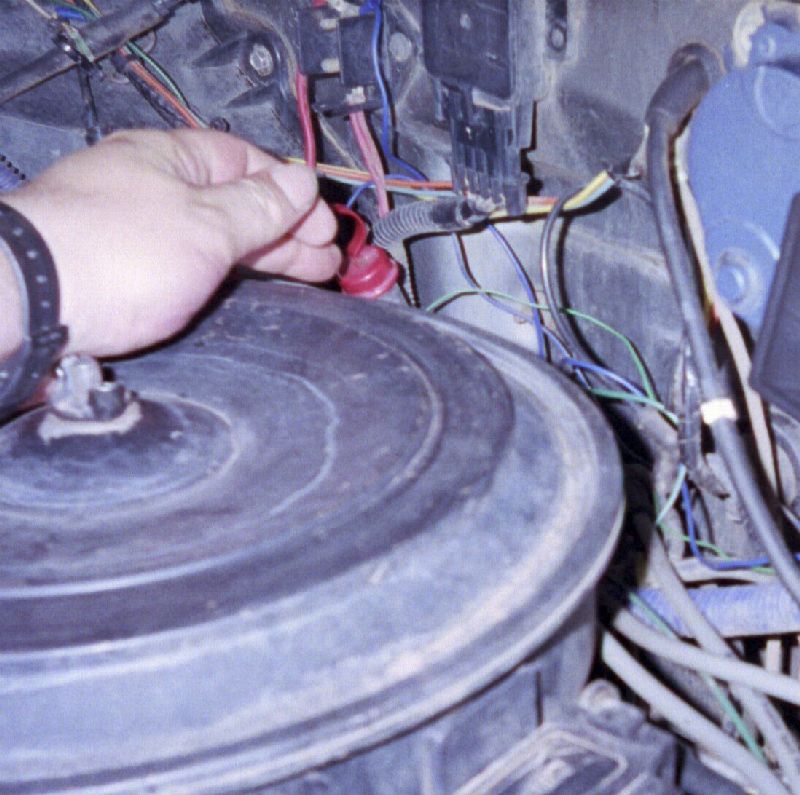
The breather on the air cleaner that gets hot air from the exhaust
manifold well need to be tack welded shut and sealed with caulk.
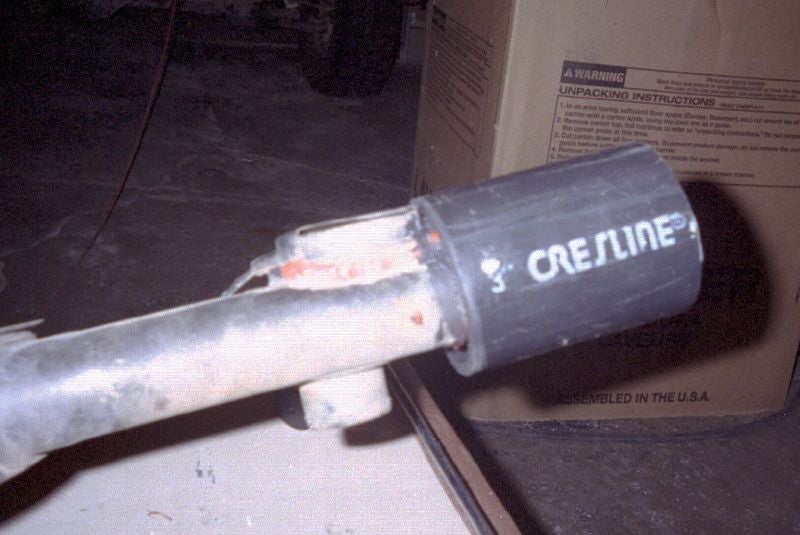
To make the snorkel hose, it needs to be attached it to the air
cleaner housing. Cut a 5" long piece of ABS and push and it over
the housing. Drill a 1/8" hole through the ABS pipe and the
housing. Screw it into place.
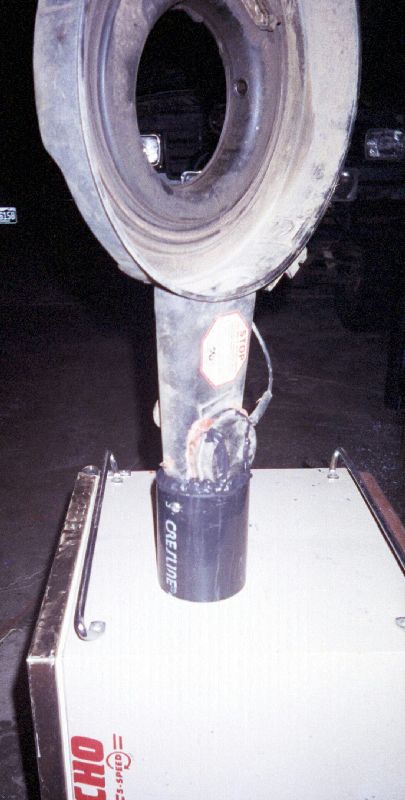
After you have the ABS screwed into place you need to seal it. Seal
all the way around the pipe and the housing. You also need to seal
around actuator for the hot air intake as well. Use the caulk (RTV
silicone) to do this.
Now you're ready to glue the two 45-degree cuts together that you
made a while ago. Use the PVC pipe purple sealer and glue right on
the cuts. Press together by hand and hold firmly until it stays.
Let it dry for 20 minutes. I took a small hinge about an inch long,
cut the ears off of it, and screwed it over the joints to help it
stay together.
After you get all the joints lined up and marked, install it on the
truck to so you know the cuts are correct. Before it's glued
together you need to wipe all pieces with a mild paint thinner. Be
careful the paint thinner will eat the pipe so don't soak it. Next,
you will need to sand it down with a piece of gray scotch-brite so
the paint will adhere on the plastic. Before you paint use the
caulk to seal the joints so there's no air leaks.
All painted and ready to go on the truck.
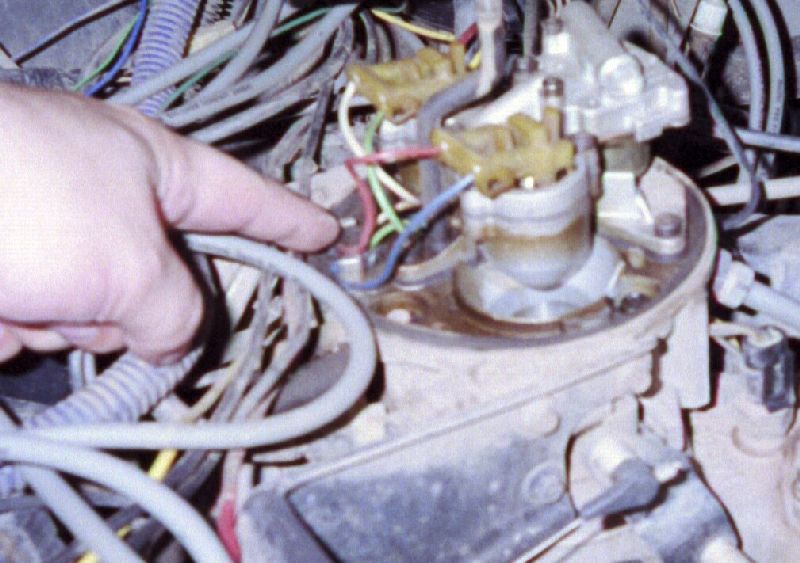
If you have a TBI set up on your truck you'll need to seal up the 4
wires that run to the injectors. You also want to make sure that
the gasket beween the TBI/carb seals correctly and is good.
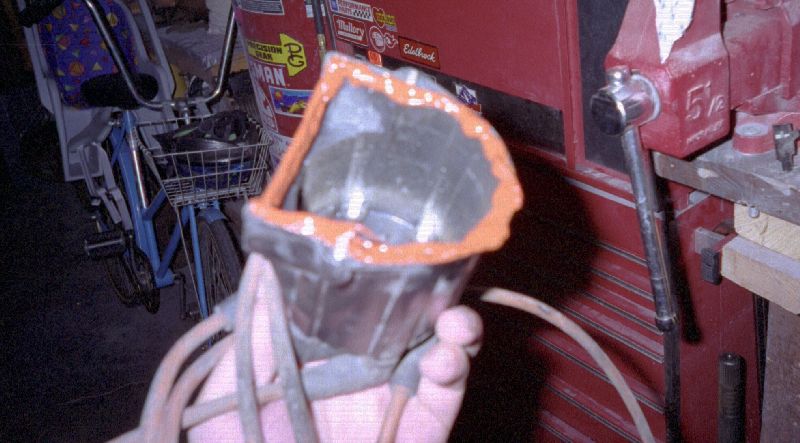
The distributer cap should be sealed with the caulk as well. I just
sealed this one with red RTV so that you can see how to do it. Just
run a small bead on the inside of the cap. Because the cap needs to
vent and now you are sealing it off you will have to replace it
just about every time you change your oil. If you don't you will
get carbon build up on the terminals. Another solution to this is
drill a small hole in the top and find a small rubber plug to fit
the hole when you take it off-road.
All your axle vent tubes should be re-routed under the hood. The
best place I found is right by the firewall.
Most of the plugs on the truck are sealed fairly good. You may want
put a dab a sealant where the wires route in the back of the plug.
The tranny and oil dipsticks can be sealed with a piece of duct
tape. If you own a 4.3L you can buy dipsticks that lock down and
seal.
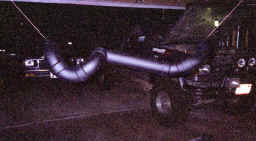
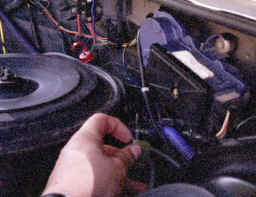
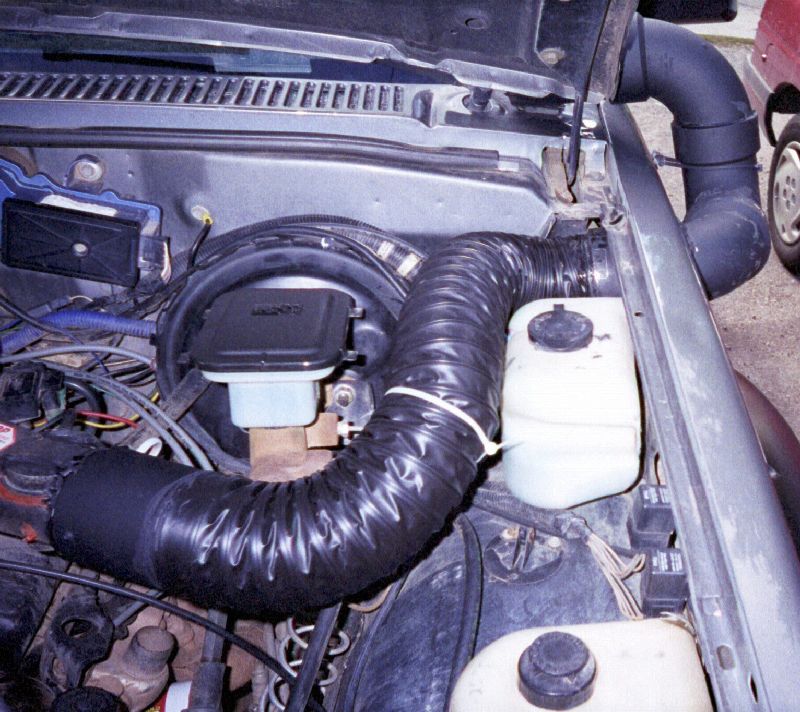
This is how the air hose should run under the hood. This can be
difficult to hook up. I cut the top snorkel piece off (the lip) and
slid it over the piece that went through the fender. Then the lip
that you cut off you glue a piece of ABS pipe about 4" long which
is what you attach the air hose to.
This is how it should look after it's finished. The air cleaner lid
has a rubber gasket that has a good seal.
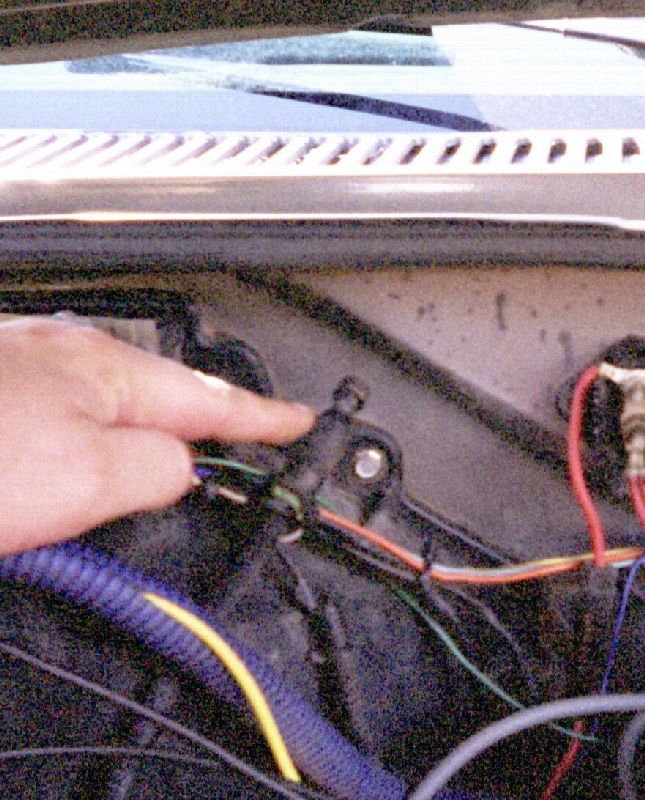
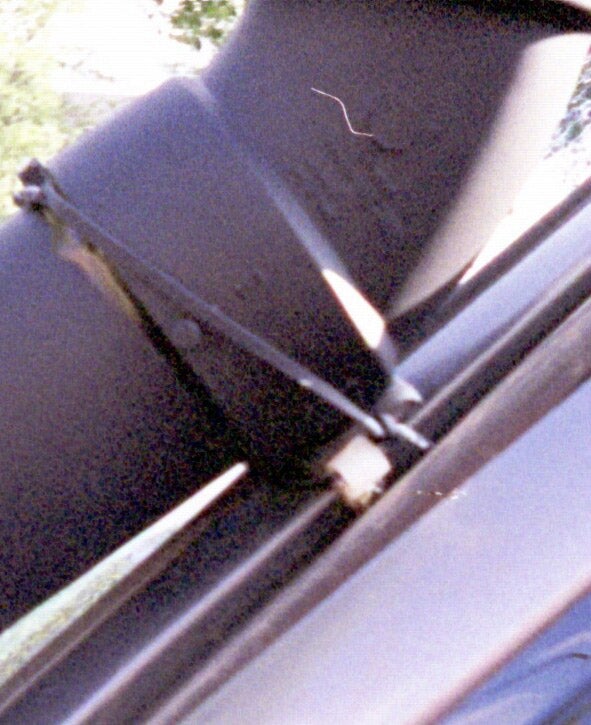
This is the mount for the top. It's a loop clip that I screwed into
the inside of the door pillar and the fender. Zip ties were used to
hook it to the snorkel.
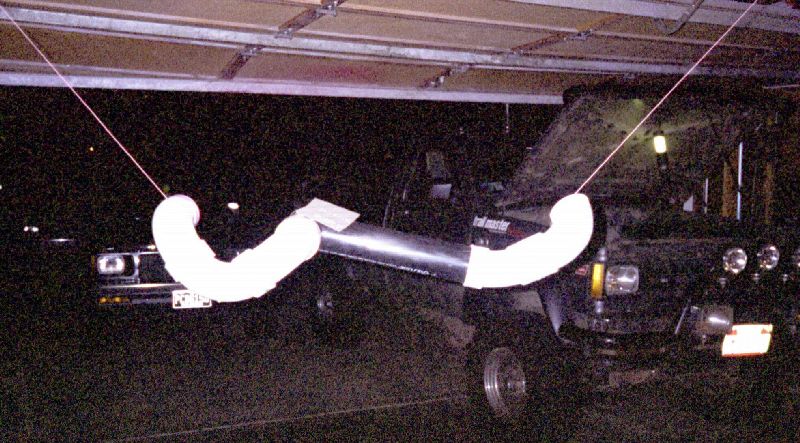
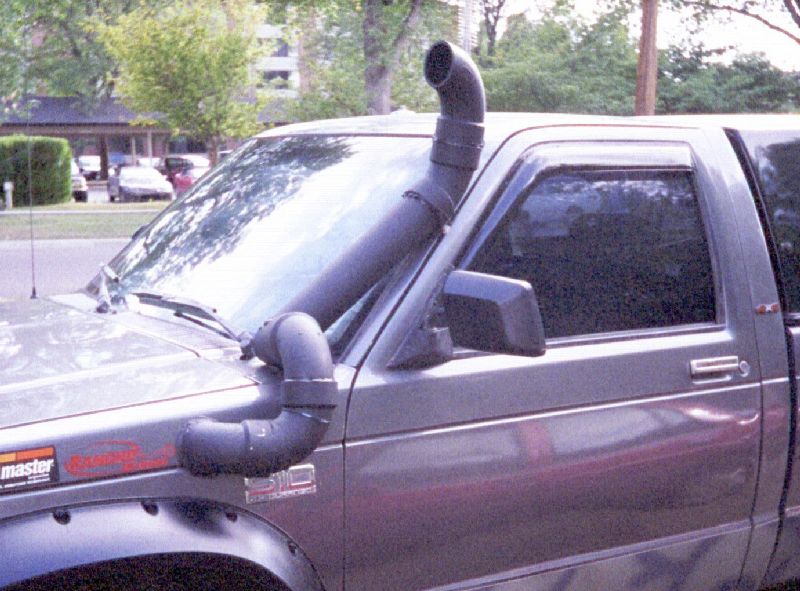
This is the front view of the snorkel on the truck. You need to
move the wiper down a little so that it dosn't hit the snorkel.
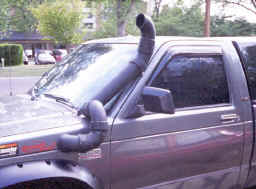
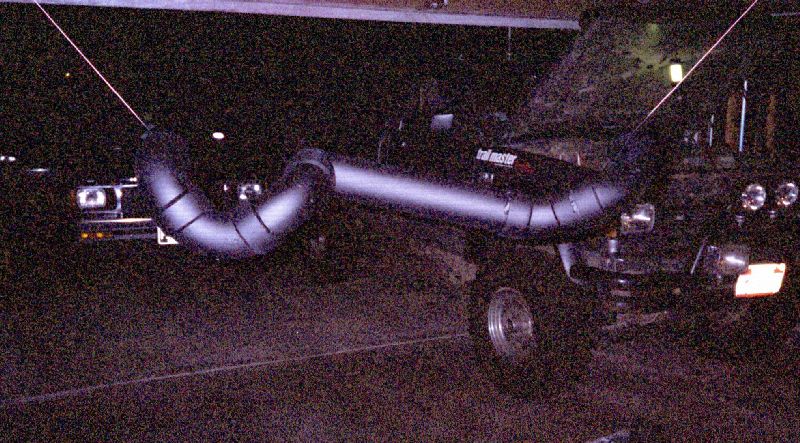
How the hole set up will look on the
truck. Now... where's some water...
This completes the installation. Now that it's waterproofed, you're ready to go snorkeling! Don't forget your swim shorts!


 Your Privacy Choices