|
May 2005
|
|
||||||||||||||||
|
||||||||||||||||
|
|
||||||||||||||||
|
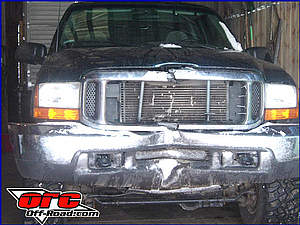
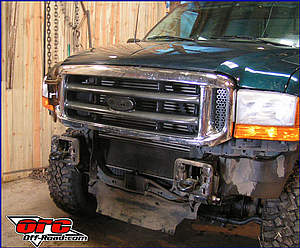
I had an accident while out wheeling one weekend with friends. I rear-ended another vehicle due to slick road conditions. This destroyed the A/C condenser, bumper, hood, grill and header panel of my pickup. One little slip while playing around offroad and there was over $3000 worth of damages. Bumper - $#!$, Hood - $$ , A/C Condenser - $$$, Grill- $$$$, and on it goes. In repairing my pickup I decided I wanted to upgrade the pickup with a bumper that would withstand future mishaps. This brought me to the following project. What better place to find a TOUGH bumper than a company in Texas? Every thing is BIG in Texas right? Well we first ran across Tough Country Products several years ago at SEMA. They only had a couple bumpers at the time but have since greatly expanded the line-up. Tough Country makes a number of products for Dodge, Hummer, Toyota, Chevy, Nissan, Jeep, and Ford trucks. We not only wanted a bumper that would protect our truck but wanted it to fit cleanly.
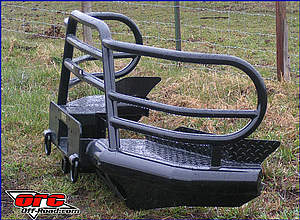
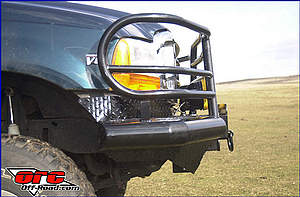
We decided on the Tough Country Deluxe Front End Replacement bumper. This bumper is constructed starting with a heavy 4 inch pipe base with mounts that go directly to the frame for maximum front end protection. After that you have a number of options that you can choose to customize the bumper for your truck. Options include and expanded metal grill, flush or protruding receiver tube, d-ring tow loops, universal or mile marker winch box, custom fog light sleeves. You can also have it painted or powder coated a special color or even finished with a spray on liner finish. Standard finish is a high gloss black powder coat finish. have a body lift? Tough Country can even accommodate that.
We opted to have our new Deluxe bumper made with the flush mounted receiver tube, the d-ring loops, the fog light sleeves, and the universal winch box. We will be adding a winch in a future issue. For finish we stuck with the standard high gloss black powder coat. So in the order went and now we just had to wait for our new Tough Country bumper to arrive. The bumper arrived a couple weeks later via truck. Yea, it is heavier than the brown truck can accommodate. Somewhere around 280 lbs. YES, now we will be able to play again. It came with all hardware needed for installation including strengthing brackets for the factory mounts. The only tools needed for this were ¾ inch socket and end wrench, line up bar, and a lifting device.
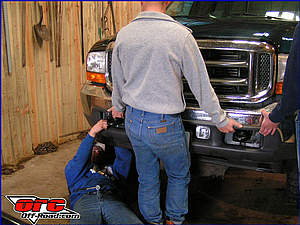
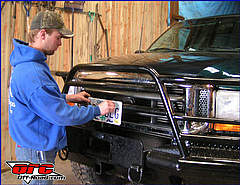
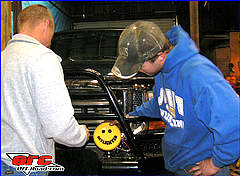
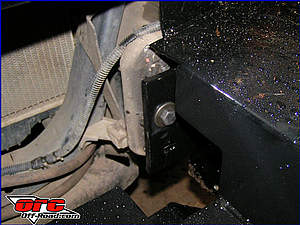
Installation Step one was to remove the factory bumper. All that is required is to remove four bolts and nuts and the retainer plates. Followed by removal of the factory installed tow hooks. If your truck has ever experienced any sort of front end damage like ours, some minor adjustments may need to be made to the bumper mounting plates in order for the new bumper bolt pattern to line up. The jigs were made on factory new trucks. Step two is to lift the new bumper into place and install the six supplied nuts, bolts and washers. The approximate weight of this product is 280 lbs. Be sure to have adequate help for installation. I used a chain hoist and one other person to help me line up the bumper. With the help of one other person, position the bumper so that it is level and does not have any unnecessary contact points such as fenders and grill. When you have the bumper where you want it, tighten all of the mounting bolts.
|

|
Off-Road.com Newsletter Join our Weekly Newsletter to get the latest off-road news, reviews, events, and alerts! |
Follow @Off-Road
 Your Privacy Choices