|
FRAME
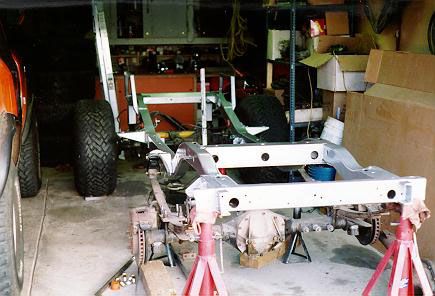
You can see the front shock hoops and the rear end assembly in this picture. The frame was reinforced with 1/4" steel plate where the steering box bolts to the frame. Also the front body mount brackets, which are located by the Driver & Front Passenger feet, were cut off the frame, a 1/4" steel plate was welded to the side of the frame and then the body mount brackets were rewelded to the frame. Years of Four Wheeling has proven that these three spots are notorious for cracking on Scout II frames. Note the dual shackles on the rear leaf springs. FRONT SUSPENSION
The front suspension was changed
to a reverse shackle
design. This creates a smoother ride over the factory setup. The front leaf
springs are REAR SUSPENSION
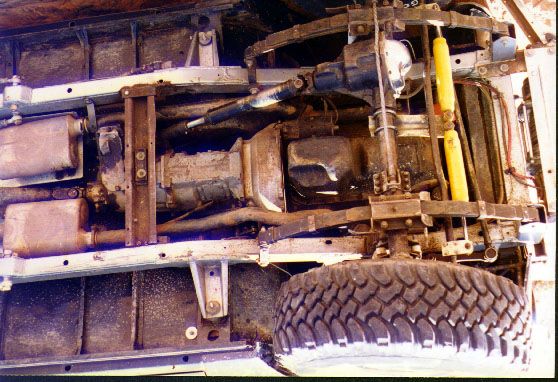
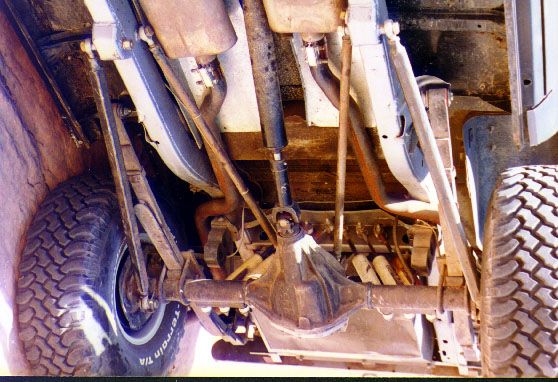
The rear suspension was changed to a 4-link design. The advantage of the 4-link designed is added axle articulation and no spring wrap up (axle twist). The Links were all fabricated from 1 1/4"x .095 Chromoly tubing (Mark Williams Enterprises 303-665-6901, Rod Ends #RAM12T, Tube Adapters # 11221, and Aircraft Tubing #1250 x 095) and each link was designed to be the same lenght (41 1/2"). The two upper links V out from the top of the axle pumpkin. The two bottom links V out from the frame rails to the outer most points of the rear axle tube (next to the tires). Note: since this original design I learned that, while the chromoly is extremely strong in compression and tension, it does not hold up well to bending due to side forces (rocks). I reworked the two bottom links (see pictures) with 1 1/2" square tubing to prevent them from bending on the rocks. The rear leaf springs are factory 4 leaf design and relocated to the top of the rear axle. These leaf springs are setup with shackles on both ends. A Ford Bronco shackle hanger was used for the front eye shackle of the rear spring. You can also see a good shoot of the rear triple shock mounts. P.S. If you realllllly want to know how I got some of these pictures? Go to page (6) of my Hole-in-the-Rock trail report! |

|
Off-Road.com Newsletter Join our Weekly Newsletter to get the latest off-road news, reviews, events, and alerts! |
Follow @Off-Road
 Your Privacy Choices