Project Chevy Tahoe/Kickin: 1998 Chevy Tahoe gets new Flowmaster Force II Exhaust system
Flowmaster Exhaust System
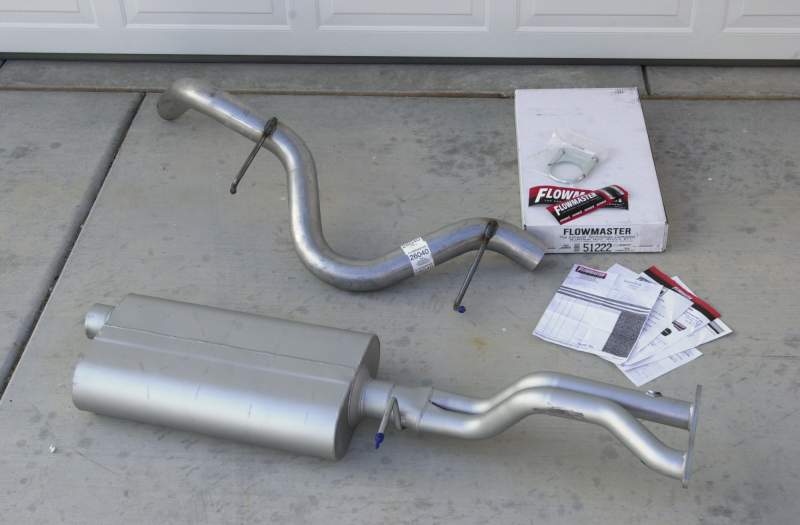
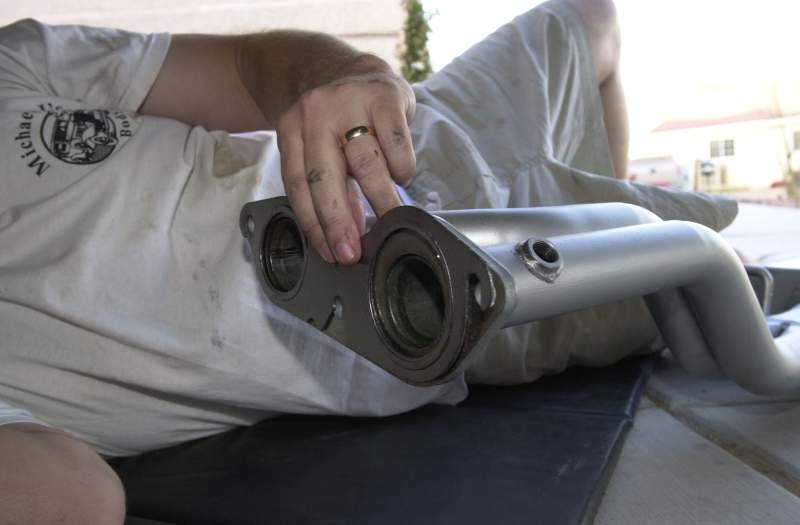
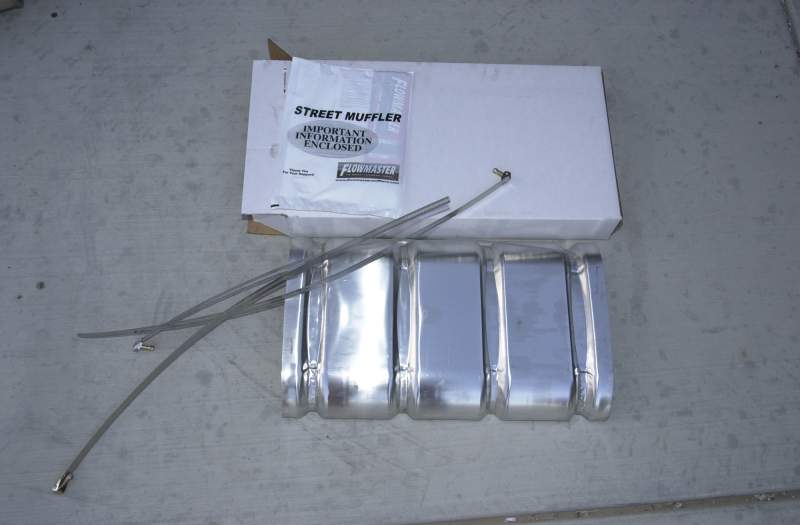
There are some obvious design differences between factory exhaust and the Flowmaster system, but all the holes and mounting brackets line up perfectly.
Installation is just as simple:
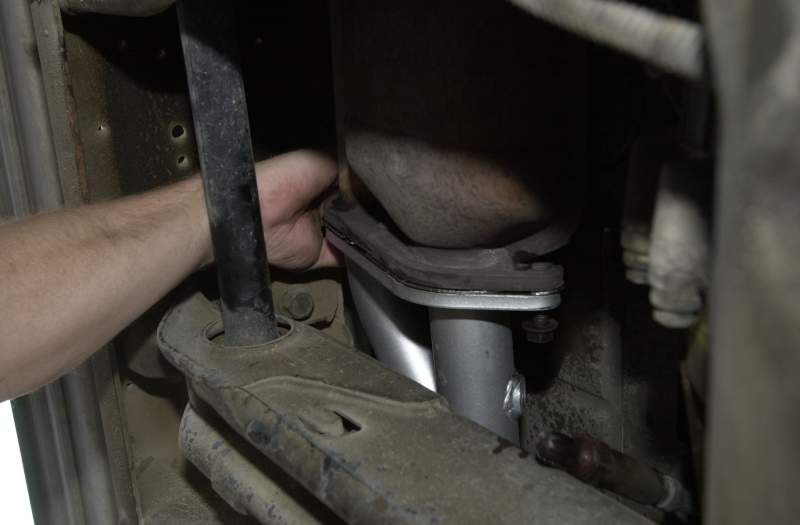
1. Place inlet pipe/muffler assembly in position behind the
flange that is welded to the back of the catalytic converters. Be
sure the gasket is installed between the two flanges.
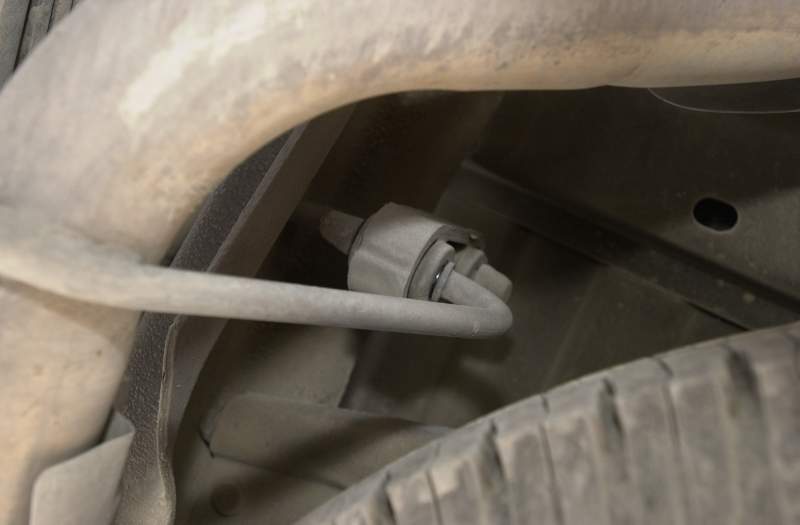
Connect the hanger to its rubber
mount, and reinstall the factory nuts on the flange connection.
Also reconnect the oxygen sensor to the fitting on the front pipe.

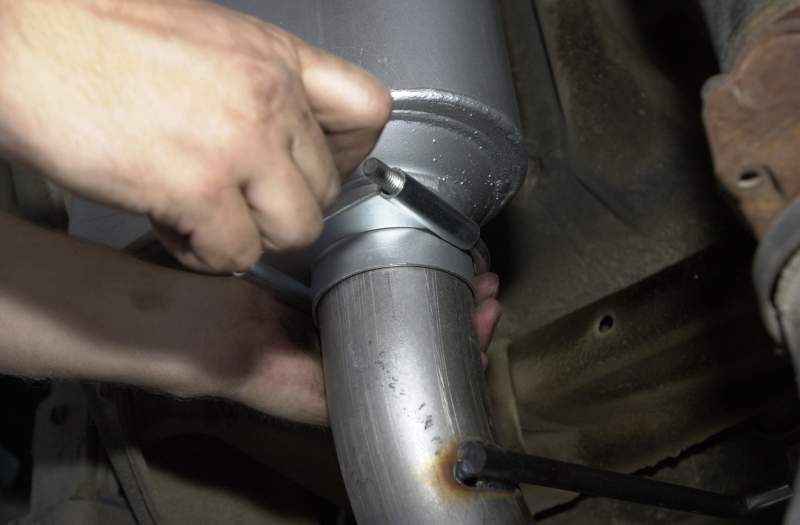
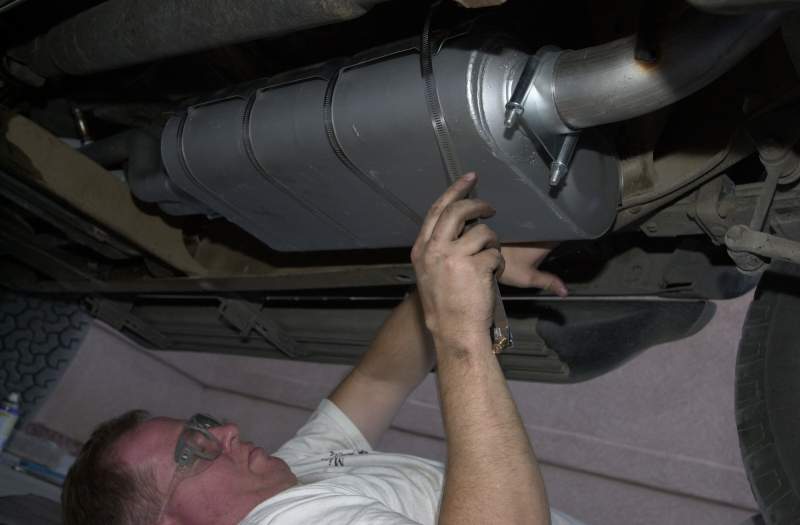
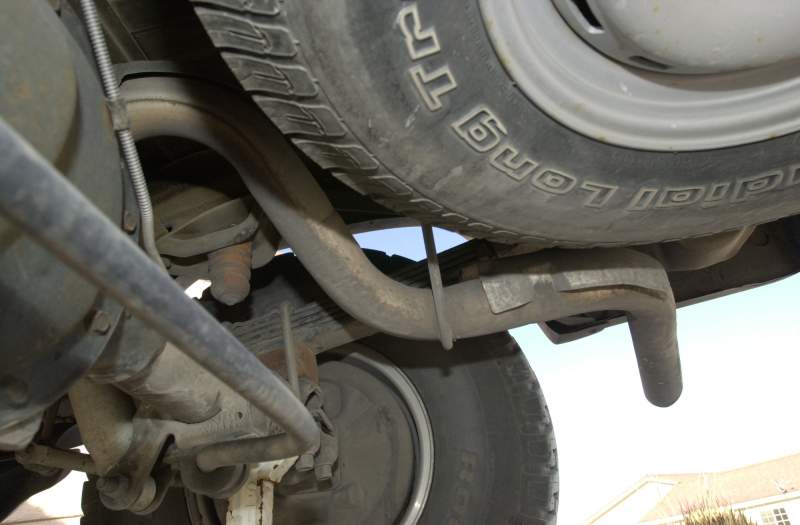
2. Raise pipe into position over the axle and connect with rubber hangers and muffler outlet. Install the clamp provided, and tighten lightly.
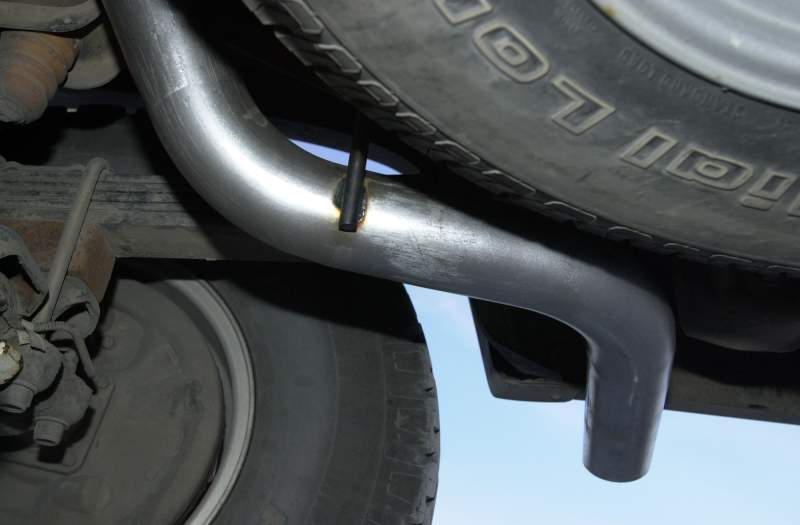
4. Adjust the position of
the tailpipe to produce a satisfactory fit and adequate clearance.
Keep suspension clearance in mind. (Editor note - ours fit
perfectly, no adjustments necessary. It passes close to our
under-carriage mounted spare tire, but provides about 2"
clearance.)
5. Tighten all connections down securely. For a "cleaner" installation, the tailpipe/muffler connection may be welded rather than clamped. (Editor note - we plan on going back underneath and indeed welding this connection. The clamp looks a little "iffy…"
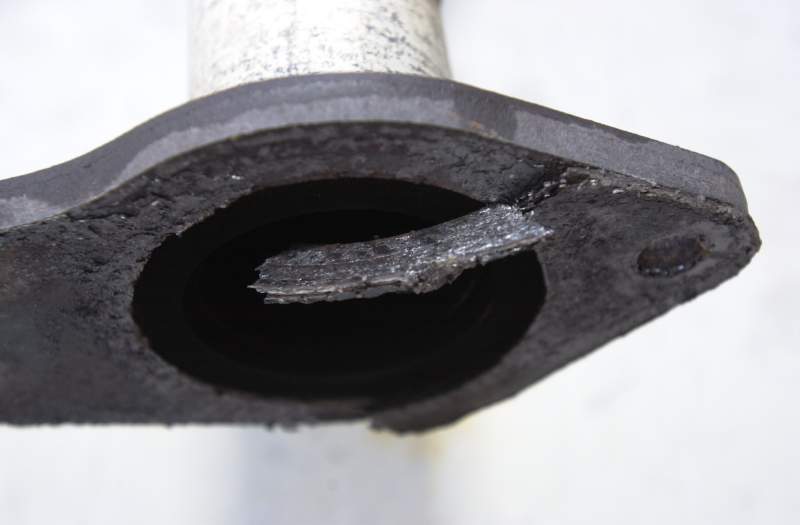
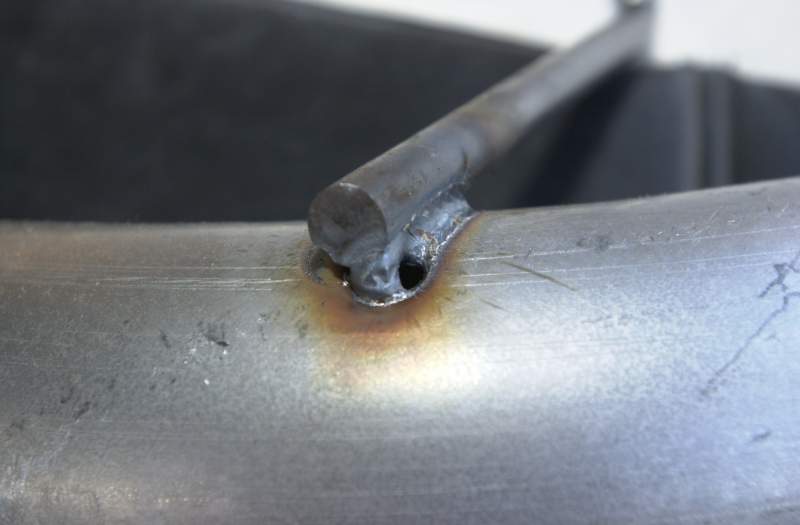
That's it! If you have all your tools close at hand before you start and don't run to the parts store halfway through, you can be done in under an hour. *We were concerned about a hole that was made
when the welders were a little over-zealous attaching the hangers
on the rear pipe - however, we don't seem to be getting any odd
sounds that indicate a substantial exhaust leak, so it will
probably be fine.
*We were concerned about a hole that was made
when the welders were a little over-zealous attaching the hangers
on the rear pipe - however, we don't seem to be getting any odd
sounds that indicate a substantial exhaust leak, so it will
probably be fine.
So, how do we like it? Gone is
the annoying tinny rattle at low speeds or idle. Marketing
literature suggests this system for applications when you want to
"let folks know you've got a Flowmaster under your vehicle when you
"open it up," but don't want a lot of interior resonance…"
This baby delivers as promised. Inside, it's a purr -- outside, a
growl. We expect improvements in the hard-to-measure areas of
acceleration and underhood temperatures, and look forward to paying
less at the gas pump. We'll also be checking for improved HP when
we get the Tahoe back to a dyno - it's about time for that new
computer chip, and we'll have most of our performance upgrades
complete. The Flowmaster Force II System is a definate thumbs
up!

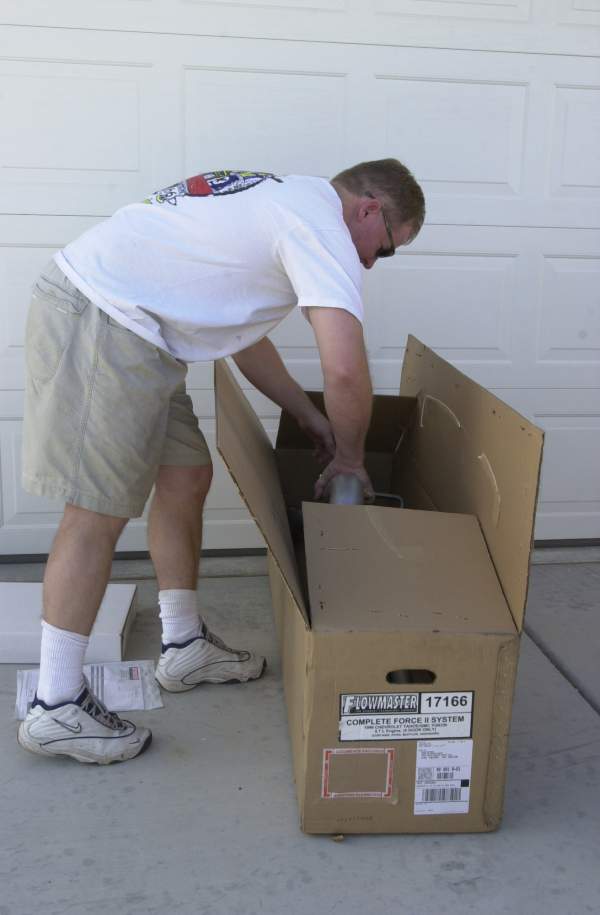
We mentioned in prior installments of Project Kickin' It, the annoying rattle in the exhaust system, probably in the muffler itself. This month we are thrilled to bring you to a very simple product upgrade that solved that problem and put a smile on the face of the power-lover in our house. One afternoon, one trip to the parts store, and we had swapped out the factory exhaust for a brand new Flowmaster Force II System. This is one of the first products we can whole-heartedly recommend for the weekend "do it yourselfer."
*We did find that while we have a 1998 Tahoe, the
exhaust is the same as a 1997. As per the Flowmaster Application
chart, check the number of pipes you have going in and out of your
muffler before you order to make sure you get the right kit.
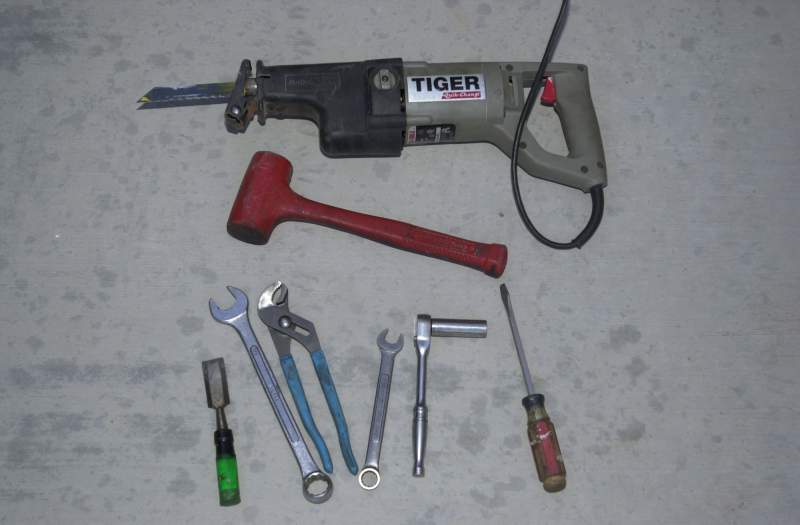
 The
few tools you'll need:
The
few tools you'll need:
 Six easy steps for removal of
your factory system:
(straight from
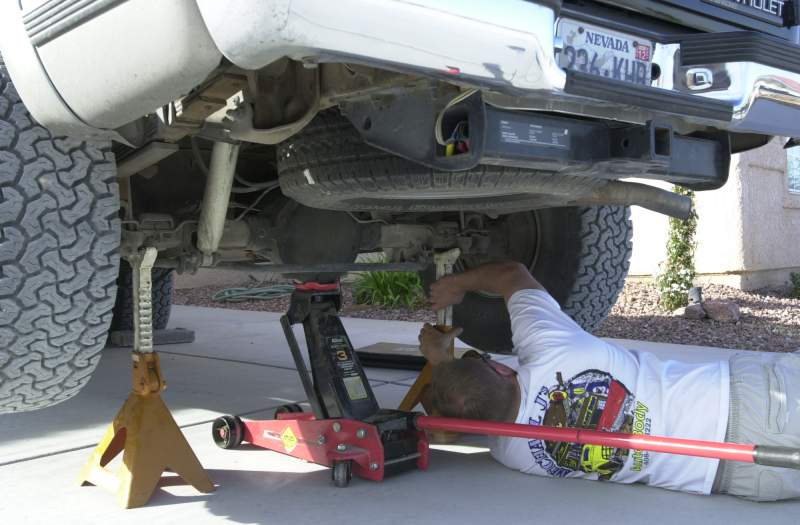
Flowmaster product instructions) 1. Raise the vehicle
and support with jack stands.
Six easy steps for removal of
your factory system:
(straight from
Flowmaster product instructions) 1. Raise the vehicle
and support with jack stands.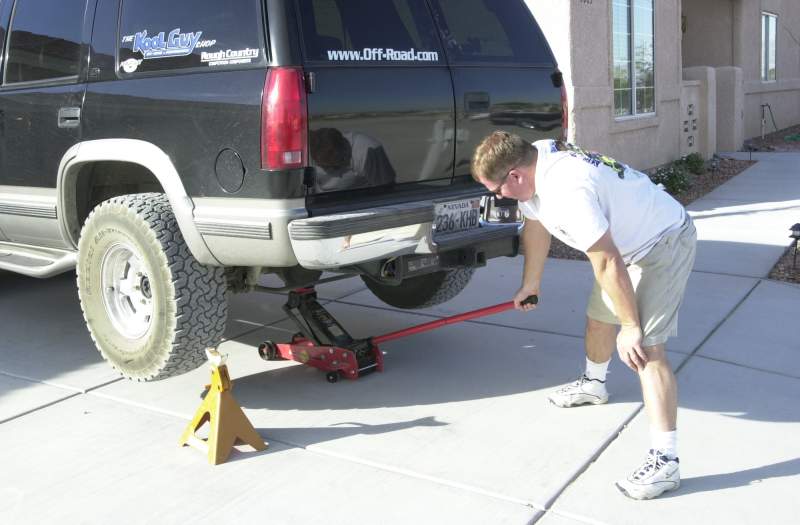
2. Using hacksaw or sawsall, cut stock tailpipe off at the
rear of the muffler. (Editor note - We love any project
that lets us get out the sawsall or a large hammer!) This
step is not mandatory, but makes removal much easier. 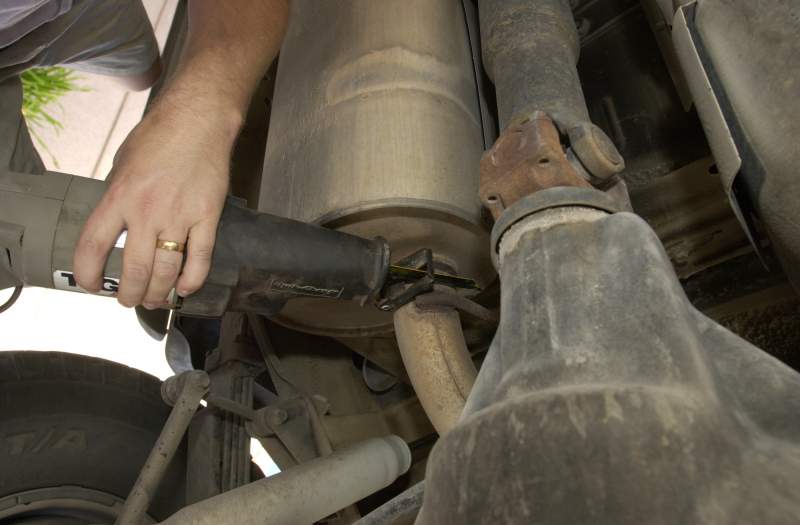
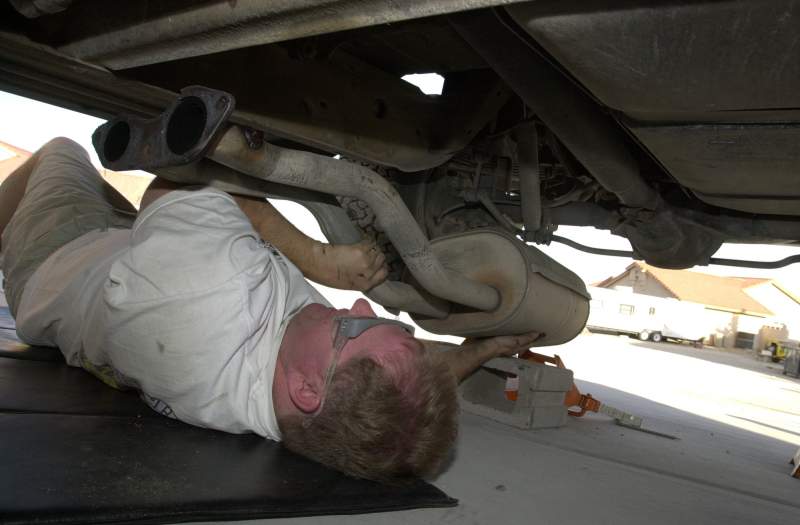
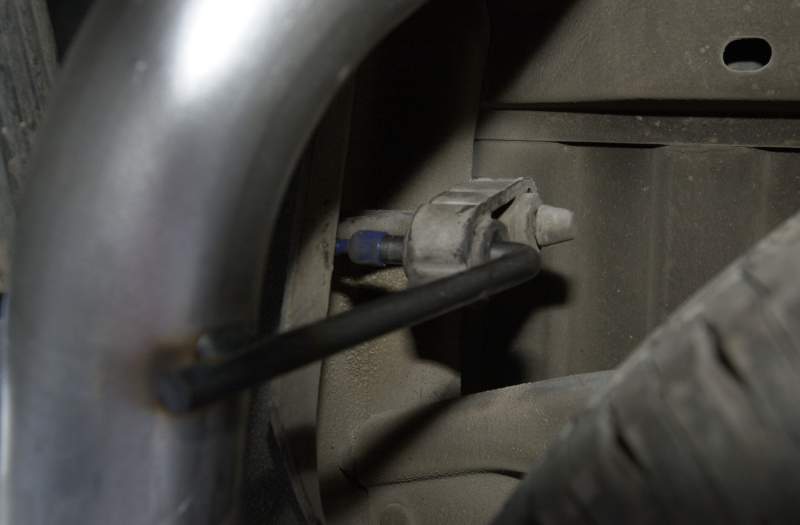
3. Separate the two rubber hangers on the tailpipe from
their rubber mounts on the vehicle. Remove the tailpipe from under
the vehicle. (Editor note - it was difficult to remove the
hangers from the rubber mounts by hand, but pressing with a pair of
wide-mouth pliers worked quite well.)
4. Support the muffler with a stand (Editor note -
or your knee, if you're out of jack stands, then separate the wire
hanger from the rubber mount in front of the muffler 
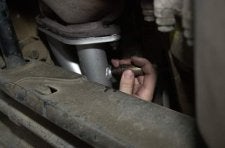
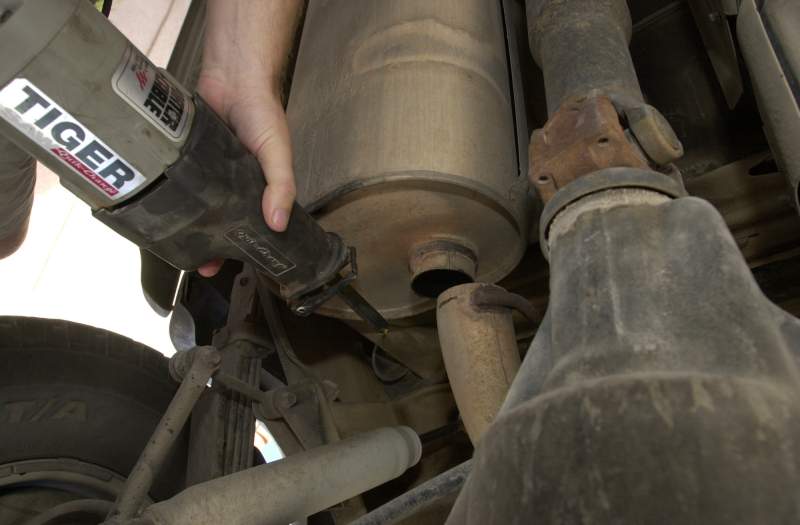
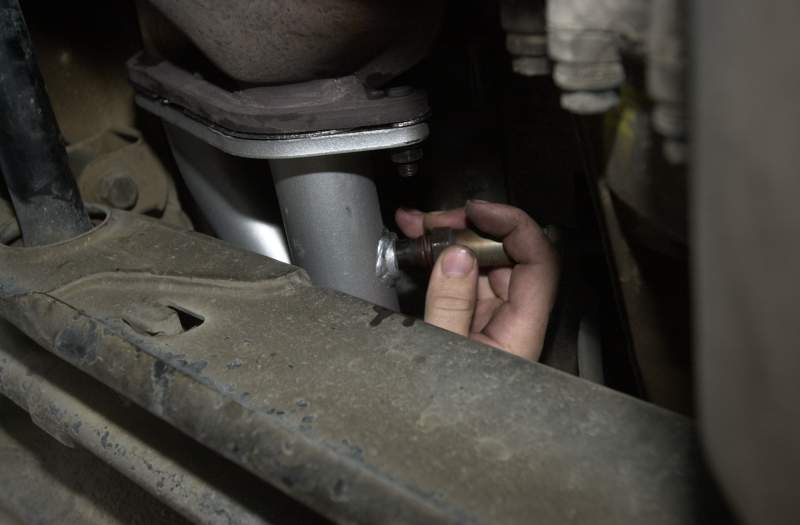
5. Remove the oxygen sensor from the front pipe by
unscrewing the sensor from the fitting in the pipe using a 7/8"
wrench. 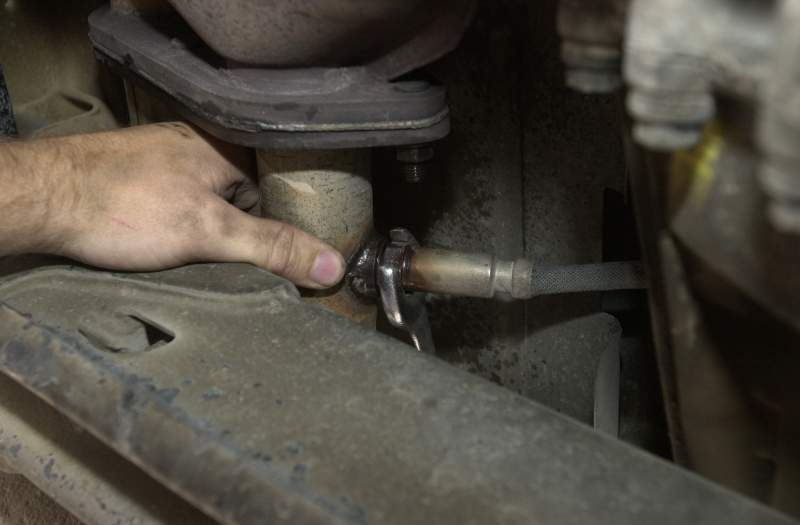
6. Remove the three nuts at the catalytic converter flange
connection. (Editor note - some WD40 and a hammer will come in
handy!) Remove the muffler, and set aside.
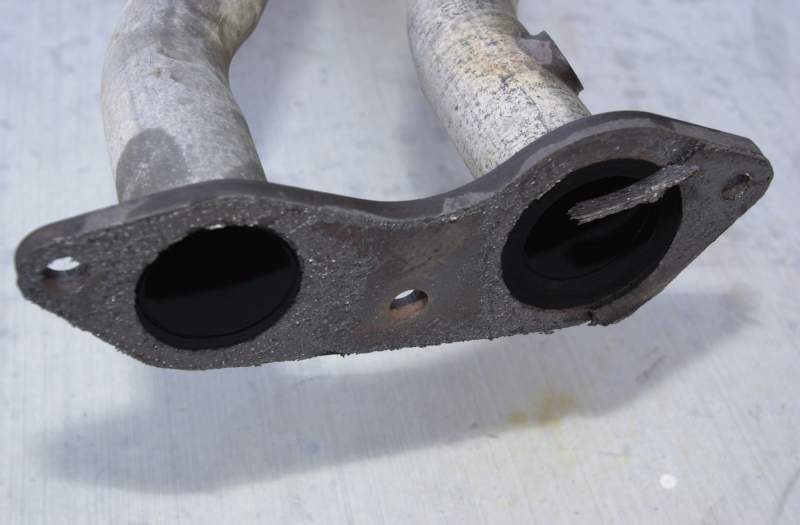
 Be careful not to damage the gasket, it must be
used for the installation of the Flowmaster System. (Editor note -
forget re-using the gasket. Plan ahead and go pick one up from your
local GM dealer before you start for about $10. If you do use a new
gasket, make sure you scrape the surface well to remove all of the
old gasket, so the new gasket will sit flat.)
Be careful not to damage the gasket, it must be
used for the installation of the Flowmaster System. (Editor note -
forget re-using the gasket. Plan ahead and go pick one up from your
local GM dealer before you start for about $10. If you do use a new
gasket, make sure you scrape the surface well to remove all of the
old gasket, so the new gasket will sit flat.)
 |
 |
There are some obvious design differences between factory exhaust and the Flowmaster system, but all the holes and mounting brackets line up perfectly.
 |
 |
 |
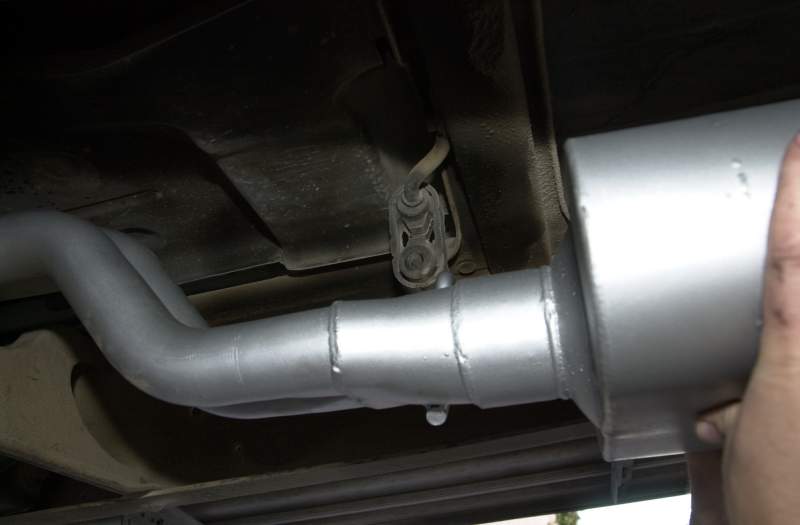 |
2. Raise pipe into position over the axle and connect with rubber hangers and muffler outlet. Install the clamp provided, and tighten lightly.
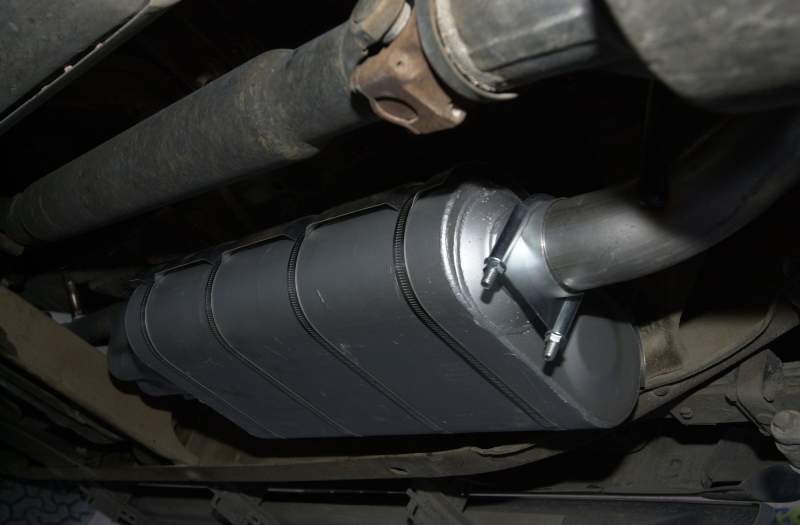
3. Using four band clamps, fasten the heat shield to the top
of the muffler body, and tighten securely.
|
The kit comes with a safety bulletin as follows: IMPORTANT!! Due to the efficiency of Flowmaster mufflers, the extreme heat generated under the hood is GREATLY REDUCED, increasing the service life of many components (rubber hoses, belts, plastic parts and exhaust manifolds, etc.) In the process of lowering the underhood temperature, the exhaust system may in some cases be subject to INCREASED heat. The FLOWMASTER system is capable of handling this but it is important to install the muffler under the stock heat shield when one was supplied as original equipment. If not originally present, or for added protection, we STRONGLY ADVISE installation of heat shields on all motorhome applications and/or heavy duty tow vehicles. Aftermarket heat shields are available at most muffler shops or all aluminum heat shields are available from FLOWMASTER. |
5. Tighten all connections down securely. For a "cleaner" installation, the tailpipe/muffler connection may be welded rather than clamped. (Editor note - we plan on going back underneath and indeed welding this connection. The clamp looks a little "iffy…"
That's it! If you have all your tools close at hand before you start and don't run to the parts store halfway through, you can be done in under an hour.
 *We were concerned about a hole that was made
when the welders were a little over-zealous attaching the hangers
on the rear pipe - however, we don't seem to be getting any odd
sounds that indicate a substantial exhaust leak, so it will
probably be fine.
*We were concerned about a hole that was made
when the welders were a little over-zealous attaching the hangers
on the rear pipe - however, we don't seem to be getting any odd
sounds that indicate a substantial exhaust leak, so it will
probably be fine.
|
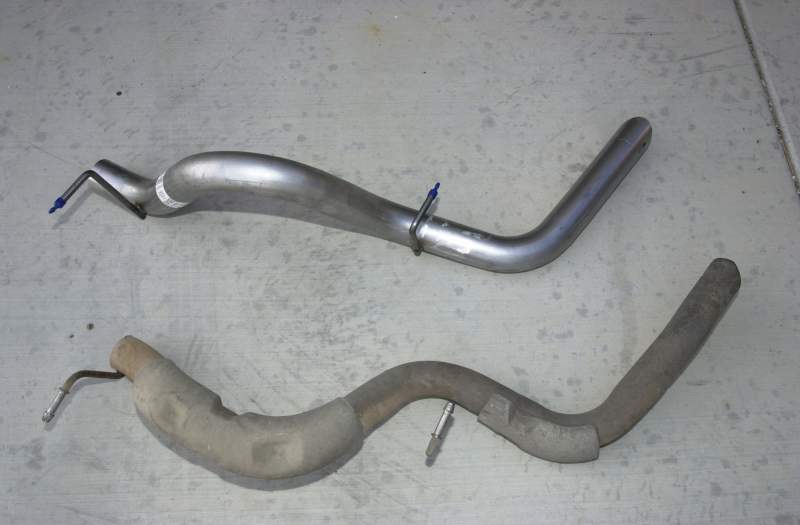
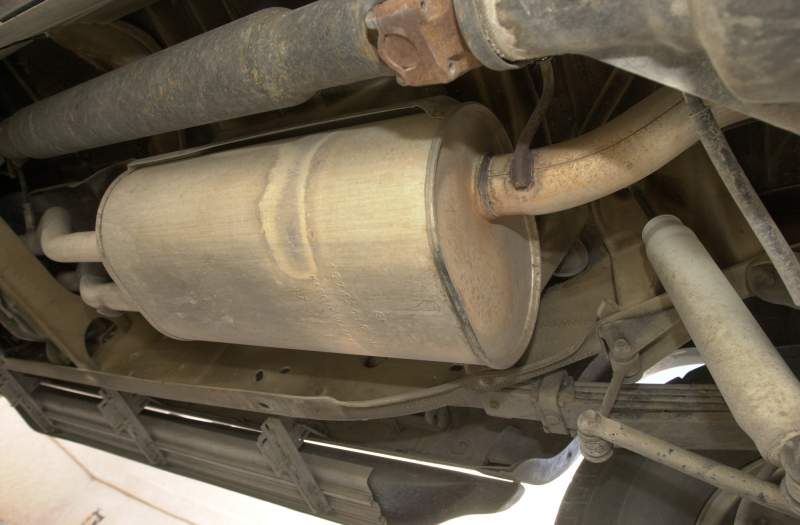
The rusted, ugly factory exhaust system... and
the stylin' new Flowmaster! |
|
 |
|
|
Off-Road.com Newsletter Join our Weekly Newsletter to get the latest off-road news, reviews, events, and alerts! |
Follow @Off-Road
 Your Privacy Choices