Thanks for chiming back in on project “goneTITAN”.
This was definitely a fun stage with it’s ups and downs. Good protection
is a must. Upgrading your rig’s durability decreases unwanted
carnage and increases off-road opportunities. The trail becomes much more
enjoyable when thoughts of damage are not in the forefront. Sure, the
hard core guys would call such a feeble concern ridiculous and unnecessary.
However, this is also your daily driver, not Uncle Jesse’s pickup.
So I decided I needed something to be hardnosed and to keep the side of
the truck a little more susceptible to abrasions.
First, let me
begin by explaining the current tube bumper. A year ago I turned to a
local fab shop, after constant pounding on the phones to major and upcoming
off-road bumper manufacturers. NO LUCK. I then turned to Sin City Sandrails
in Las Vegas, which turned into a huge mistake.
I didn’t check credentials or BBB first. Eventually it lead to shoddy
craftsmanship and loss of time and money on a fairytale lift kit. The
undesired design of the bumper was absolutely not friendly to highway
speeds and wind seemed to literally become trapped into the open cavity
of the vehicle.
 |
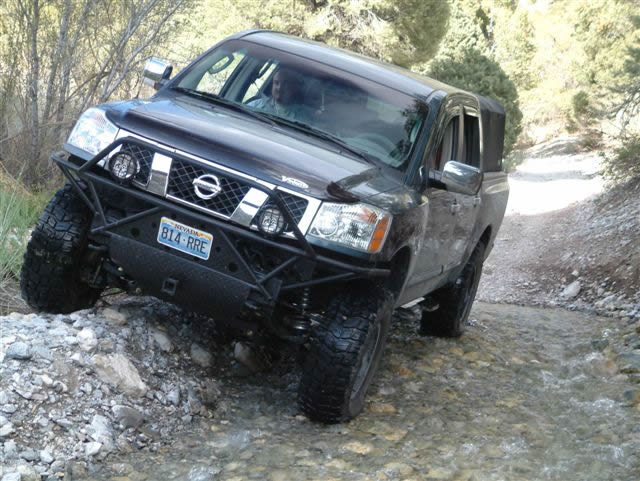
As you can see, the old tube bumper was a cluster of good ideas
gone wrong |
Now
with that in the past, I move on to more internet footwork. The combination
of availability, thinking stages, “coming soon !“, or just
not matching the lines of the truck, I give Kyle a call at Kennesaw
Mountain bumpers in Georgia. They
had exactly what I was looking for at a reasonable price. I wanted a full
steel bumper with options for lights but never cared for the big bull
bars, that protect the grill and head lights, and also the additional
weight that came along. I ordered the “WINCHER” style, opting
for the light bar and receiver hitch(instead of permanence of the winch
being placed inside). I will eventually scheme up a system, so the winch
can be quick connected front or back. I skipped on the fog light option
to keep cost down. Kyle is also working on a skid plate that is specifically
designed to fit from bumper to the front cross member of the PROCOMP 6”
SUSPENSION LIFT. I also ordered a rear bumper, I call it JEEP STYLE, with
attachments for gas can, hi-lift, large spare tire. Unfortunately, this
was lost in transit shipping. So hopefully, I can show the installment
next month.
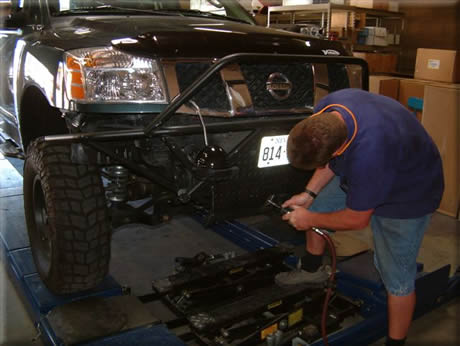
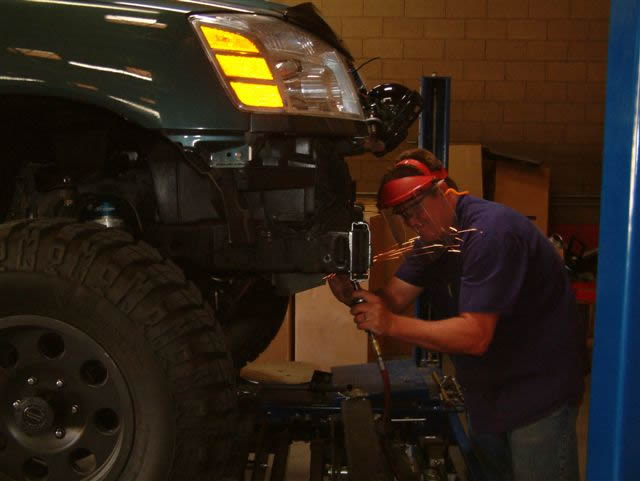
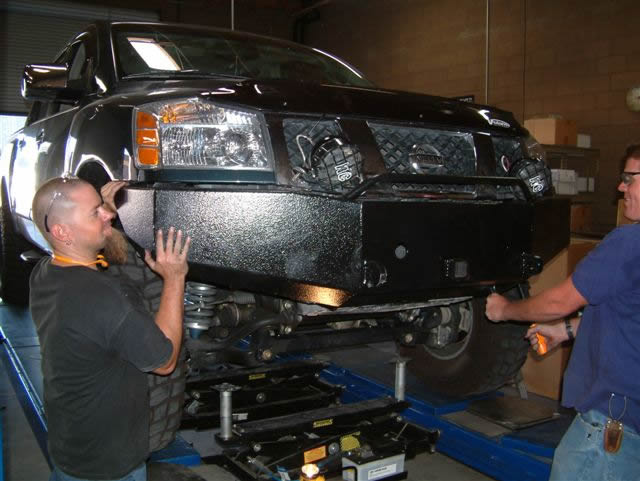
Here is the install of the Wincher……with
the help of Mark and Joe @PERFORMANCE MUFFLER SHOP(VEGAS)
 |
Here we start anew and disassemble the shoddy old tube bumper |
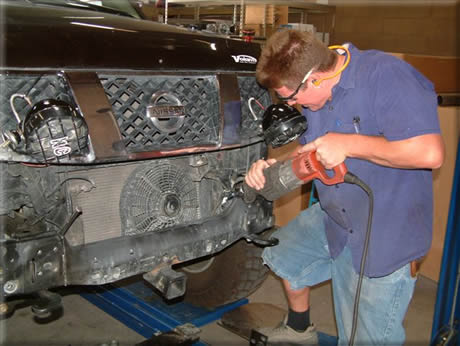 |
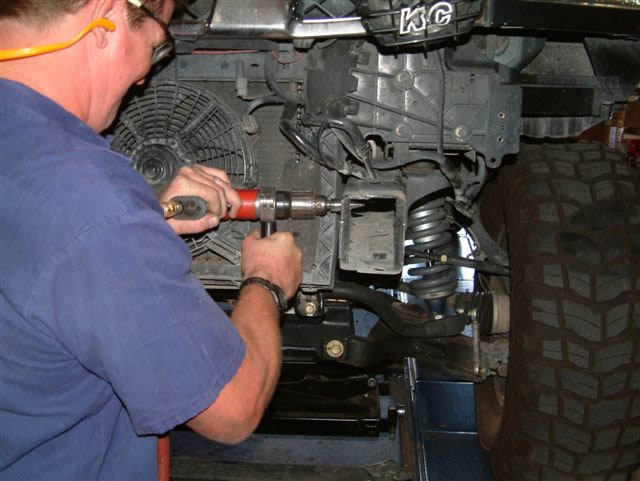
With the bumper off, Mark then cuts the front cross member close
to the welds inside of the frame rails. Be careful here and avoid
hitting your radiator or AC hoses |
 |
Clean area by grinding down jagged surface and welds flush with
frame rails |
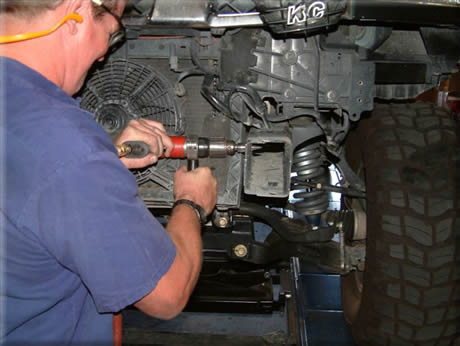 |
Enlarge existing/triangular holes in frame for application |
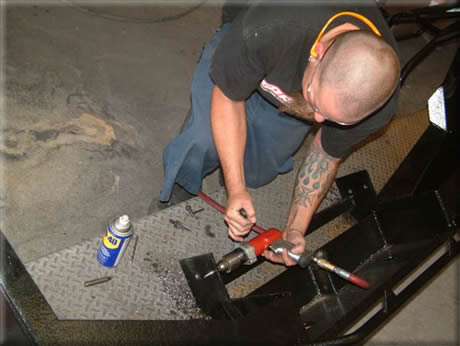 |
Joe does the same on bumper holes after measuring and tapping…sweet
tatts Joe |
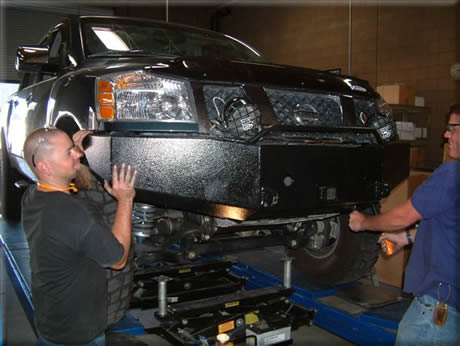 |
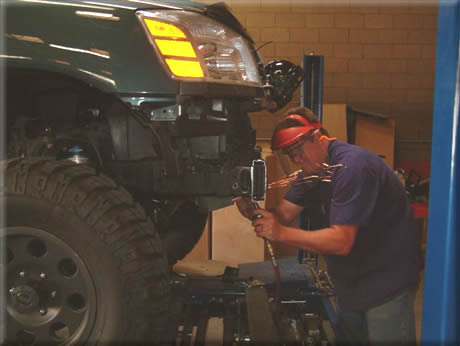
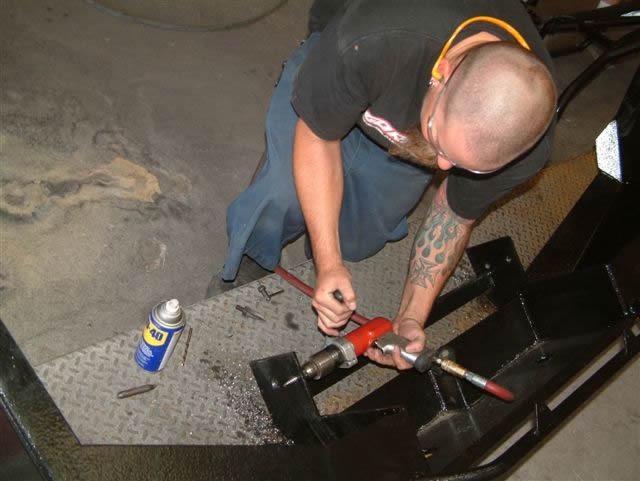
Now we confirm if holes align, this part took patience and constant adjusting |
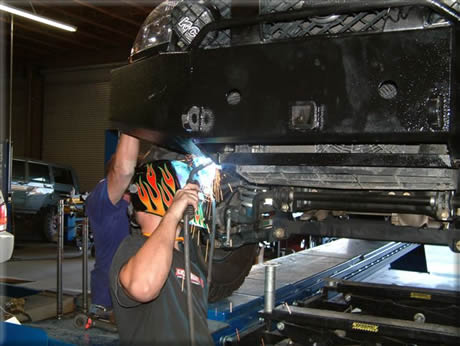 |
Once aligned, and bolted tight, bolt the supplied braces under
the front of the frame rail and secure with some stitch welds |
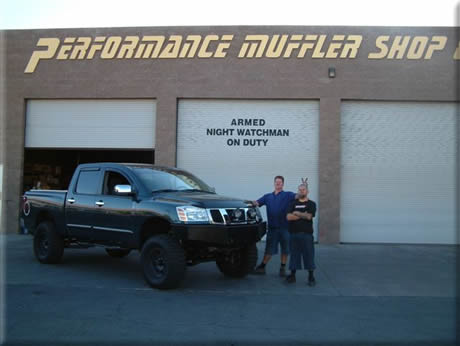 |
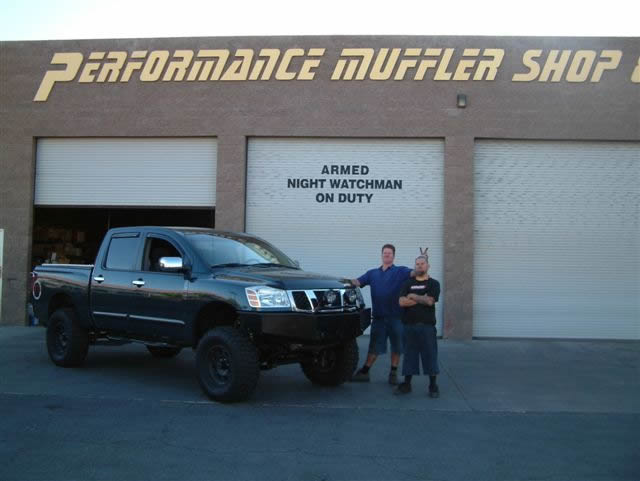
Reinstalled the lights, cleaned here up, close up shop….thanks
Mark and Joe!! |
|


 Your Privacy Choices