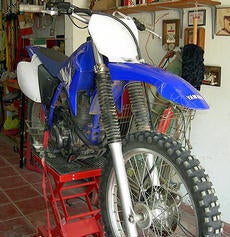
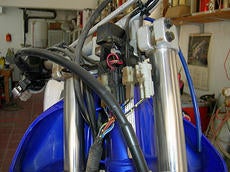
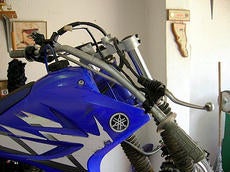
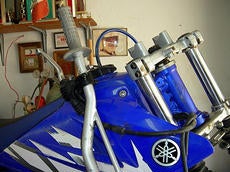
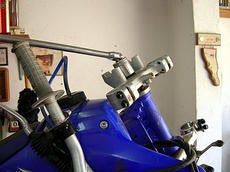
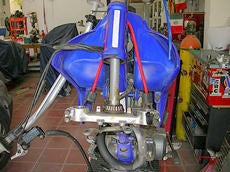
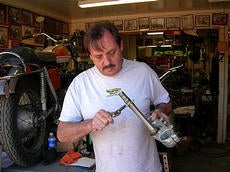
While we were impressed with the excellent motor of the Yamaha TTR230, the forks left a lot to be desired. Actually, to be blunt, they sucked. When we did the Honda CRF230 project, regular telescopic forks were used, then we went to the modern upside-down forks. With the Yamaha, we decided to go right to the newer style forks.
 |
 |
| 1. Get the bike in the air first |
2. Remove the front fender |
 |
 |
| 3. To remove the front number plate, the small bolt on the top is the first to go |
4. After the two bolts on the bottom triple clamp are removed, the plate can be taken off |
 |
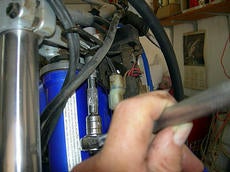 |
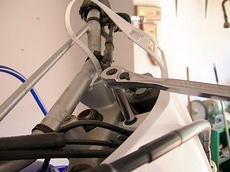
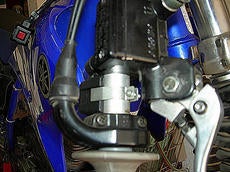
| 5. Here you'll find a real rat's nest of wiring |
6. Reach up a small ratchet and remove the bolts holding the on-off switch. |
 |
 |
| 7. Here's another view |
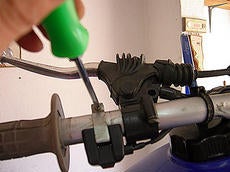
8. Kill button can now be removed with a small screwdriver. |
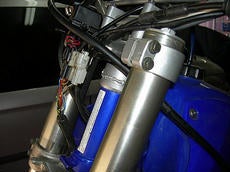
Some shopping was done on eBay, and we were able to come up with a good set of 2003 YZF250 forks, complete with triple clamps and axle for around a hundred bucks, plus shipping.
 |
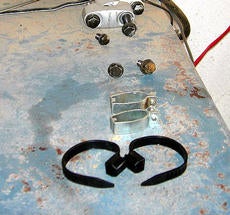 |
| 9. Now the starter button can be taken off |
10. It's a good idea to lay all the nuts, bolts and fasteners in a row to stay organized. |
 |
 |
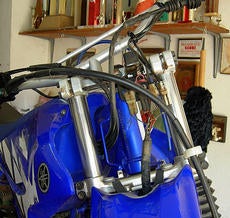
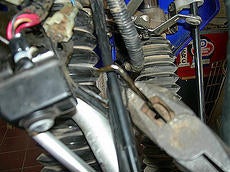
| 11. There's a wire guide around the cables that should be bent open to free them. |
12. Place all wires out of the way. |
 |
 |
| 13. After the bars are removed, tuck them out of the way. |
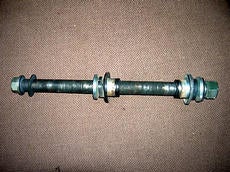
14. Loosen and remove the front axle. |
 |
 |
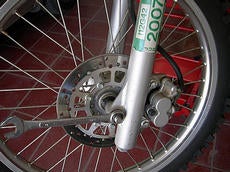
| 15. Axle out. |
16. Remove the two bolts holding the brakes to the forks. |
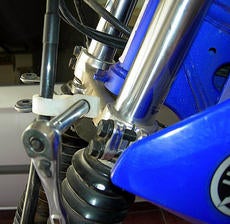 |
 |
| 17. Brake hose guide is the next to go |
18. Now the other brake hose guide can be removed. |
 |
 |
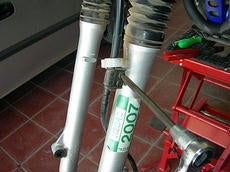
| 19. If the bars flop around, use a small bungee cord to keep them out of your way. |
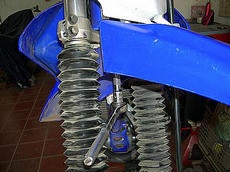
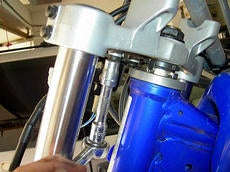
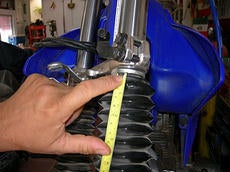
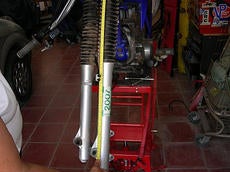
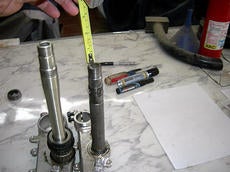
20. Measure from the base of the lower triple clamp... |
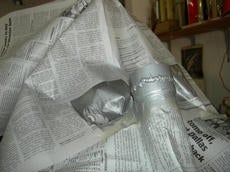
Taking the TTR230 apart was straight forward, except for the bizarre cluster of wiring behind the front number plate. It’s almost as bad as a street bike.
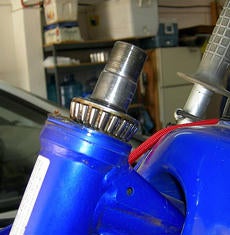
With the stock forks and triple clamps removed, it was obvious that some work would have to be done to fit the new forks to the bike. While the bottom race and bearing was big, the top bearing was on the small side.
 |
 |
| 21. ...to the center of axle hole. It's about 25 inches.. |
22. Loosen the bottom fork pinch bolts |
 |
 |
| 23. Now the top pinch bolts can be removed. |
24. Slide the forks out |
 |
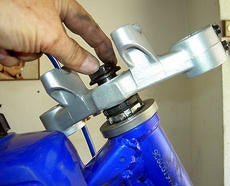 |
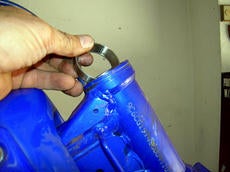
| 25. A 27 mm socket will loosen the top locknut. |
26. Remove the nut |
 |
 |
| 27. Now the top triple clamp will easily come off. |
28. After the clamp is taken off, the locking washer is next to go |
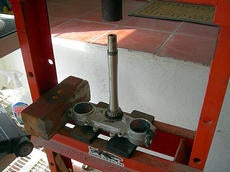
Luckily, the stem measurements for the YZF250 bottom bearing ID were the same as the TTR230. This meant that all we had to do was press the old bearing out on the TTR230 and install the bearing on the YZF stem.
 |
 |
| 29. Using a spanner, loosen and remove the nuts. |
30. Light pressure will free the steering stem from the top bearing |
 |
 |
| 31. To keep the triple clamp from falling, use a small bungee cord like this. |
32. Complete stock clamp removal |
 |
 |
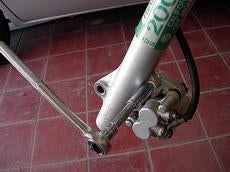
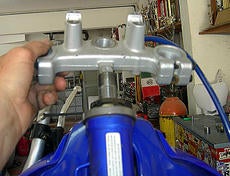
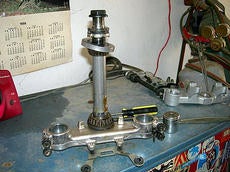
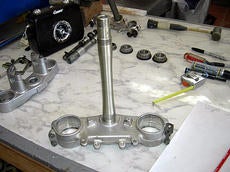
| 33. Here's the new 2003 YZ250 triple clamp. |
34. The smartest man on the planet, Keith Lynas, did some measuring and calculating for us. |
 |
 |
| 35. Comparing the stock clamp to the newer YZ part, the YZ is one and a half inches longer. |
36. The stock YZF bearing must be pressed out. |
 |
 |
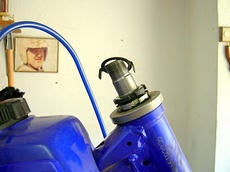
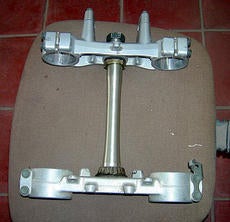
| 37. Press the stem back into the clamp. |
38. Completed clamp and stem, ready to go. |
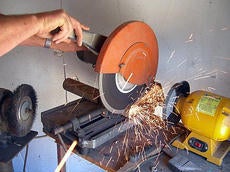
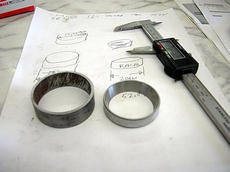
A new race cup had to be fabricated to handle the upper race. The measurements on the race cup were 2.250” OD and 2.050” on the ID. The cup was also ¾ inch high. This allowed Part # 93332-00078 race to be installed, and also used the bearing. This part is for a 2003 YZF upper triple clamp. Of interest, is the fact that forks and parts were the same for the YZF 250 from 2000 through 2006, and it’s possible that some YZF 450s are also the same. Check with your dealer.
 |
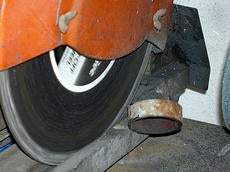 |
| 39. After some scavening, we located a pipe with the correct ID (52.07 mm or 2.050 inches); the OD of the pipe was 2.250 inches. |
40. If you can't find a pipe with thse measurements, most any machine shop will make a piece for you for around $20. |
 |
 |
| 41. Clean up the new metal race cup and double check to measurements. The TTR 230 race from the stock triple clamp fits perfectly. It's 52.07 mms. |
42. Tap out the stock TTR230 race thusly |
 |
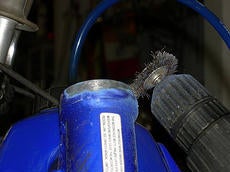 |
| 43. Here's the stock race, free at last. |
44. Remove the paint from the top of the steering head. |
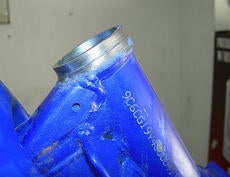 |
 |
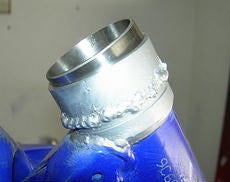
| 45. The paint is removed so the new race cup can be welded in place. |
46. Put the race cup on top of the steering head. |
 |
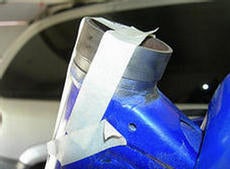 |
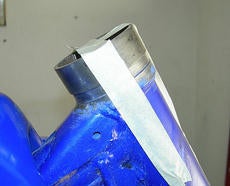
| 47. Get the new race cup perfectly centered on the steering head. |
48. With some tape holding the new race cup in place, check and double check for a dead center fit. |
 |
 |
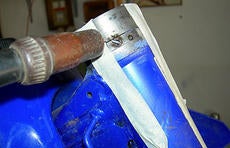
| 49. Very gently, MIG weld a few spots to hold the new cup in place. Check once more for dead on fit. |
50. Mask off the new area on the steering head. |
Under the bottom bearing, you have to put a spacer. We made one easily from an old bearing. The bearing (generic number 4T-DR9543) was used, but you could certainly use a new stock TTR 230 lower clamp bearing. Refer to the photos/captions as to this procedure. Because the YZF stem is an inch and ½ longer than the TTR 230, the difference must be made up. We opted for ¾ inch top and bottom.
 |
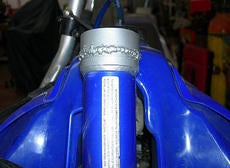 |
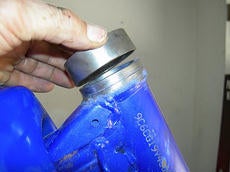
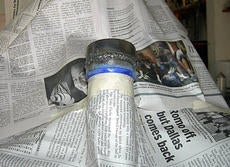
| 51. We painted ours with aluminum finish. |
52. Done! |
 |
 |
| 53. Put the race in top of the new cup. |
54. And tap it home. |
 |
 |
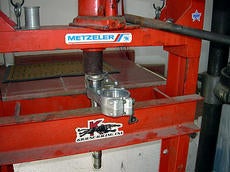
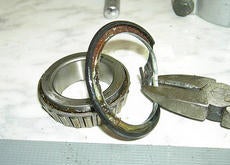
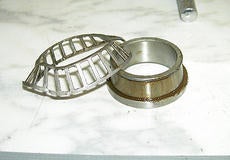
| 55. Take an old (or new) bottom bearing the same as the stock TTR230 and remove the bottom part like this. |
56. Break the bearing apart with a press. |
 |
 |
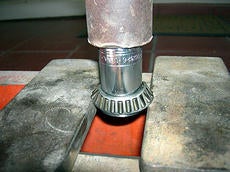
| 57. Completed dis-assembly |
58. Press the bearing-spacer all the way to the bottom of the stem, large side up. |
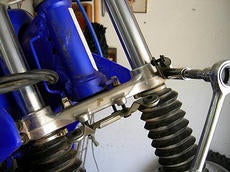
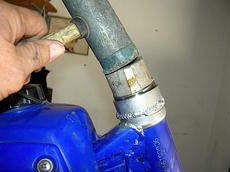
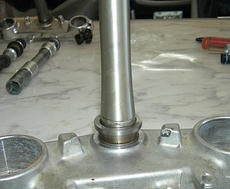
Once the race cup was welded (carefully) in place, it was a simple matter of bolting everything together. The fork tubes were slipped in and everything was tightened up.
 |
|
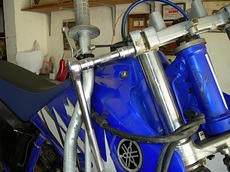
| 59. Single top small bolt in center of top clamp holds everything in place. |
|
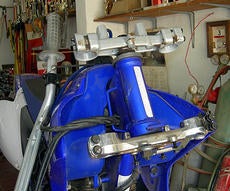
So far, so good. Next, we’ll install the wheel, brakes, tie up all the loose ends and go riding. Stay tuned.
|
 Your Privacy Choices