Project TTR 230 - Getting the Forks Dialed In
Rick Sieman gives step-by-step tips and tricks
The following email was received by ORC:
TIRES!!! What about rear suspension and sorting out the front end mid-stroke problem? Don't get me wrong here. I appreciate all the free advice and sharp humor and all. But TIRES?!!!
Really Impatient, Riverside, CA
You got us. In between a move to another state and running out of time, I decided to run the tire article a bit earlier than originally planned. However, take a look at the March issue. In there, we dial in the forks.
Rick
At ORC, we come clean when caught in the act. So this month, we dive right into the forks, to find out why they weren't right and how to make them right. Naturally, we enlisted the aid of an expert. In this case, we were lucky enough to move close by Stephen Gautreau, the owner of SG Cycles (5635 E. Baseline Rd., Mesa, Arizona 602-705-5876) and a hard core vintage fanatic. Stephen agreed to help us with the forks, as he's worked on plenty of the new generation hardware. As for me, my technology sort of ended in about 1990 when all the fancy crap came out.
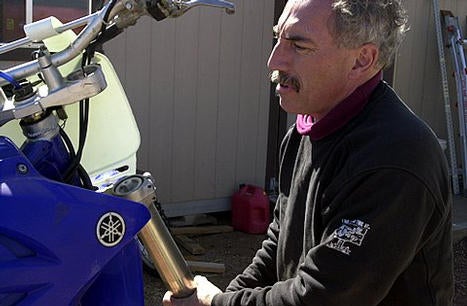
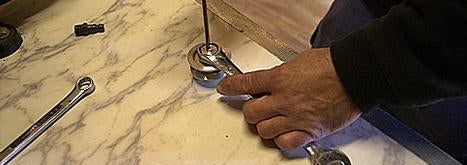
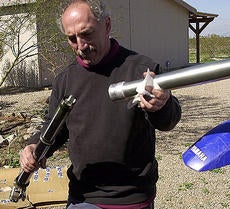
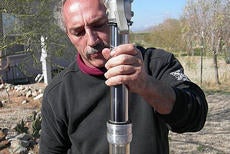
Stephen Gautreau removed the YZ125 forks from our Project Bike.
As we stated earlier, the 2003 YZ 125 forks were far better than the stockers, but we were confused by a certain harshness at the mid-stroke and then we noticed that the shift-side fork seal was leaking a bit. This was puzzling, as the fork tubes on both legs were perfect, with no scratches, pitting or rough spots.
 |
 |
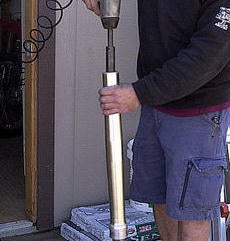
| A 19 mm socket was fitted to an air impact to loosen the fork caps. | When the cap is loosened, the upper fork section will fall away. |
At this point, a word of warning is in order. We got the forks off of ebay for a great price. It cost us $100 for a complete set of forks including triple clamps. Because the forks looked so good, we made the modifications necessary and bolted them on. We did not check the oil volume and viscosity, which was a mistake on our part. We assumed (cough, cough) that everything was OK inside the forks. Wrong.

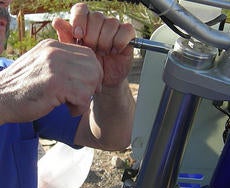
Hold the nut below the fork cap in place.
The fork cap can be removed by hand once the locking nut is loosened.
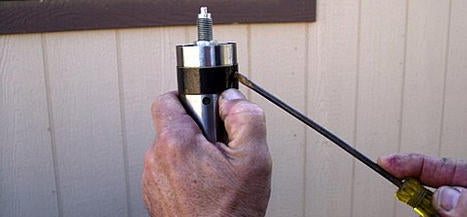
With the fork cap on a flat surface, hold it firmly with a wrench and remove the compression adjuster with a small screwdriver.
When Stephen took the forks apart and drained the oil out, the fork oil came out like rancid peanut butter. Not only was it thick, there wasn't much of it. Maybe six to eight ounces … it's hard to tell when you're dumping it into a drain bucket. Stephen double-checked the specs, and these particular forks called for 19.2 ounces of 7 ½ weight fork oil. No way was there a light oil in those tubes and certainly there wasn't enough oil to get the job done. Looking back, it was a wonder that they worked as well as they did.
 |
 |
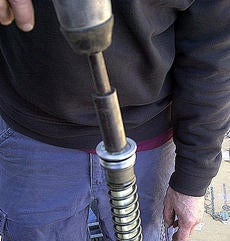
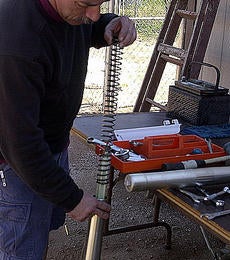
| Remove the fork spring. | Pull the center assembly out. |
 |
 |
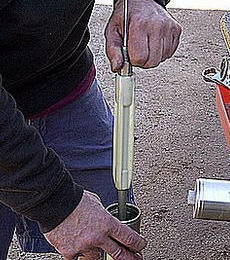
| Drain the fork oil out. In this case, the viscosity was way too thick and the oil volume was severely low. | The forks can now be taken apart. In our case, one of the legs didn't have a circlip installed. |
Not only was the oil volume and type off the charts, there was a clip missing in the shift-side fork leg. Stephen pulled that particular fork leg apart by hand and I got a case of wide eyes! Again, if you purchase a set of forks off eBay (or almost any other source for that matter), take them apart and check everything - and we mean everything.
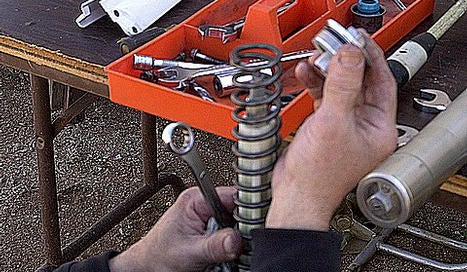
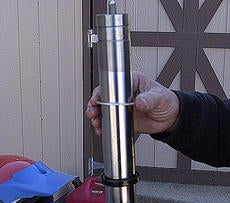
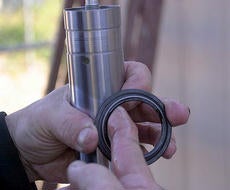
Clean all parts properly, then remove the main bushing by inserting a screwdriver in the slot and lifting it off.
 |
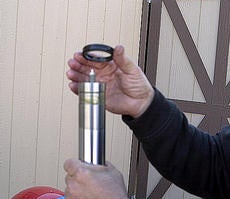 |
| Next, remove the smaller bushing and metal spacer... | And the wiper gets taken off too. |
 |
 |
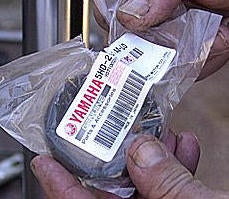
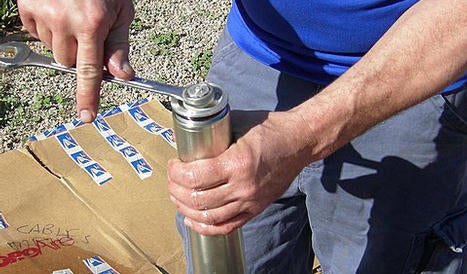
| A set of new Yamaha seals and wipers cost us about $40. | Put some fork oil on the new seals to make installation easier. |
After taking the forks apart, installing new seals and wipers, putting in an ultra-light five-weight fork oil, we rode the bike. The difference was huge. We had set the clickers in the middle as a guideline. There are 20 clicks available and we decided to go another five lighter on the compression clicker, as the bike was not going to be used as a supercrosser, but as a super-comfortable trail/fun bike. We wanted a plush ride. The rebound was left at 10 clicks.
 |
 |
| Neat trick. Use the plastic bag from the seals placed over the forks to prevent the seals from getting cut on the sharp edges. | Now install the metal spacer, small bushing, and large bushing. Put the forks back together with the new seal in position. |
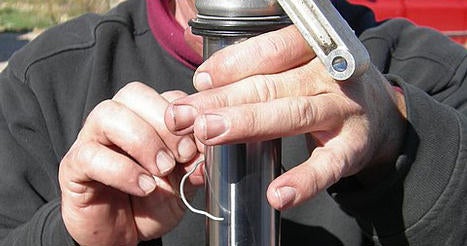
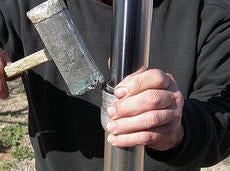
The seal is now seated using a special Yamaha tool. Just place it over the seal and tap. Next, the circlip holding the forks together is installed, (A regular straight slot screwdriver does the job nicely) and the wiper is now placed in position.
 |
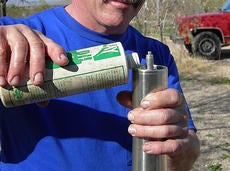 |
| And then the wiper is gently tapped home with plastic hammer. | We used an old Bel-Ray bottle to measure out 19.2 ounces of five weight fork oil. |
Put the fork spring back in.and put the fork cap in place. Tighten the locking nut for the fork cap and cinch down the cap. The upper part of the forks can now be raised and the fork caps tightened.
 |
 |
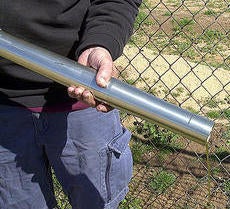
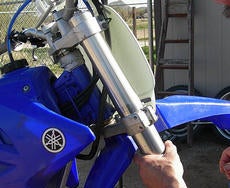
| The forks can now be re-installed. | Carefully tighten all the pinch bolts. |
All things considered, the forks now work well and (hopefully) we won't get another nasty email from our friend.
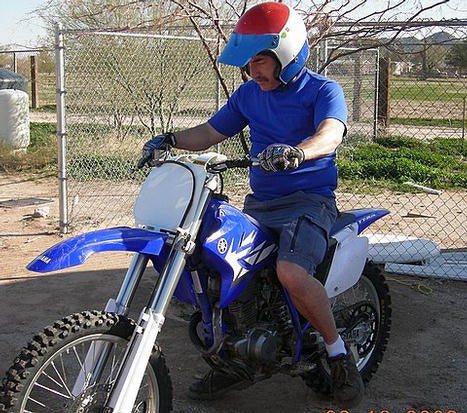
A quick test ride showed that the forks now worked as designed.
|
Off-Road.com Newsletter Join our Weekly Newsletter to get the latest off-road news, reviews, events, and alerts! |
Follow @Off-Road
 Your Privacy Choices