Last month, we put the 2003 YZF250 forks on our 230. Then it came time to put a front wheel on the forks, and we ran into a problem of sorts. The stock front wheel simply would not do the job. While it was possible to get larger wheel bearings that would allow us to use the YZF250 axle on the 230 wheel, it left us with a problem on the brake rotor. The brake pads would only make contact with a portion of the rotor. While they would still work (after a fashion), when the pads wore about halfway down, they would make contact on their faces and the brakes would no longer work. Bingo. This meant that we had to use a 2003 YZF250 front wheel. We were able to get the complete wheel (with a good tire), the complete brake system, including calipers, pads, hose, fluid reservoir and brake lever for $200 including shipping. Not a bad deal. We could probably sell the stock 230 front wheel for a hundred bucks or so. This brought the total for our new front end to about $300. Considering that people spend around 200 bucks for a sticker kit, we think this is a bargain. Bolting the YZF250 wheel in place was straight-forward until it was time to route the brake hose. We blew it by acquiring a YZF450 lower fork tube protector; whoops, it didn’t fit. Different bolt pattern. Some research showed that the mounting bolt patterns were all over the place. You have to get the ones designed specifically for your front end. Don’t attempt to ride the bike with the brake hose dangling loose; it could easily end up sucked into your tire. With the correct fork protectors, the balance of the installation went smoothly. The front number plate no longer fit, so we rooted around the garage and found one designed for an older KTM made by Acerbis. A few zip ties later, and the front end was done. Follow along with the step-by-step photos. Next month, we tell what it’s like to ride with the new front end. |
 |
 |
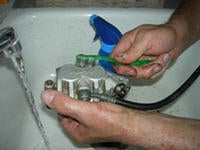
1. Clean all the parts with a good degreaser and a toothbrush. |
2. Bolt the brake assembly home. |
 |
 |
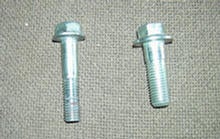
3. Be careful and use the right bolts. If you use one that's too long, it'll hit the rotor and bind it. |
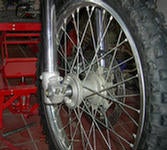
4. You can't use the stock 230 wheel (left) with the YZF250 forks. The rotor is too small. Compare it to the wheel on the right. |
 |
 |
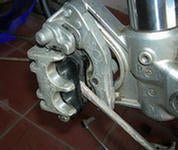
5. You can spread the brake pads with a straight slot screwdriver to make installation easier. |
6. Slide the axle home. |
 |
 |
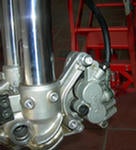
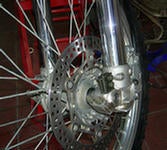
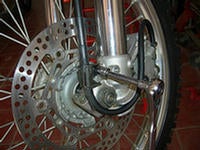
7. After the axle nut is tightened down, install the bottom brake hose clamp with two small bolts. |
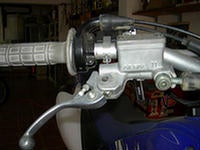
8. Install the brake lever on the bars. |
 |
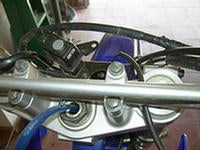 |
9. Now's a good time to check the brake fluid level. |
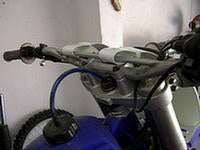
10. Rotate the start button to the left for number plate clearance. |
 |
 |
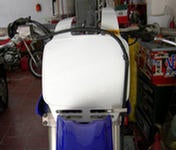
11. We used an Acerbis number plate found in our garage instead of the stocker, which no longer fit. |
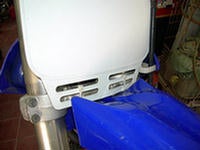
12. The bottom of the plate was held in place by basic zip tie technology. |
 |
 |
13. Top ears on the number plate were bent around the cross bar and zip-tied. |
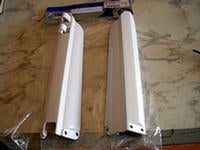
14. New fork protectors (stockers were half the price of aftermarket items) were used. |
 |
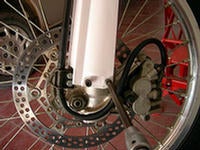 |
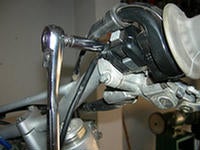
15. Brake hose was routed through the guide in the fork leg and then through the clamp. |
16. The fork protector can now be installed. |
 |
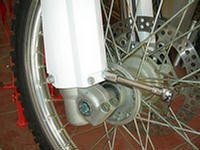 |
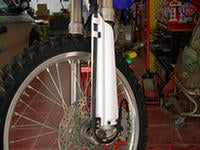
17. Completed assembly. |
18. Right side leg also received a protector. |
 |
 |
19. Fork protector installed. |
20. Done |
 |
|
21. Done |
|
Off-Road.com Newsletter Join our Weekly Newsletter to get the latest off-road news, reviews, events, and alerts! |
Follow @Off-Road
 Your Privacy Choices