|
We got the CRF 230 and rode it one time only before it got the tools flying. It's no mystery that the 230 comes strangled up. Part of the reason is because of the nearly insane emission laws and regulations in California. And because California leads the nation in dirt bike sales, the rest of the country gets the gasping version, too.
Our first step was to uncork the 230 and let it breathe. This meant taking out the exhaust baffle and removing the highly restrictive inlet on top of the airbox. Warning: if you remove the exhaust baffle and the airbox restrictor without richening up the jetting, you stand a very real chance of smoking your engine due to an overly lean condition.
You absolutely must richen up the jetting before the engine is fired up once the mods are made.
Jetting info
Main: 132 - Part # 99113-GHB-1320
Pilot: stock is 42
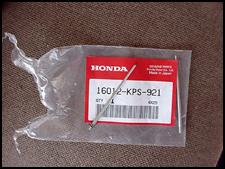
Needle: Honda Power-up kit part #16012-KPS-921 (clip in middle position)
Pilot screw: Stock (5/8th turn out)
Standard Float level

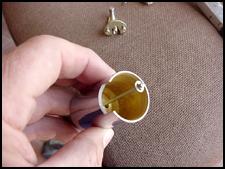
Here's the needle jet kit you should install in the 230 carb
|
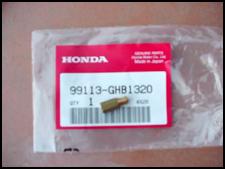
Here's the main jet and the package it came in
|
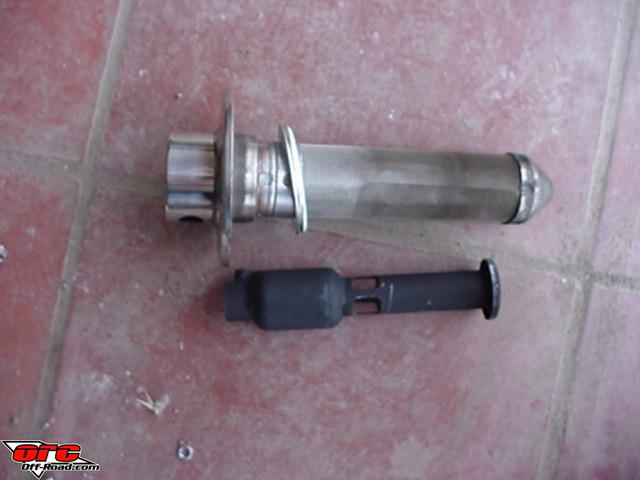
Honda designed the 230F to run with an exhaust baffle and intake baffle to limit the noise produced by the bike. These baffles are removable, and doing so can increase the power your bike produces. It will also increase the noise a bit, but not to the objectionable level.
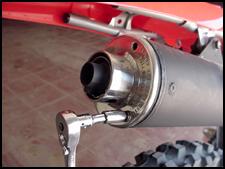
Remove the end cap off the exhaust
|

Using a number 25 torx bit, remove the muffler baffle screw
|

Discard the baffle (black item) from the internal spark arrestor
|
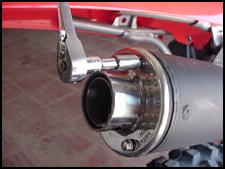
Button the pipe up and the exhaust is ready
|
|
|
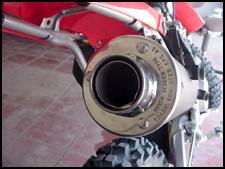
Completed exhaust
|
|
The 230F, as delivered by Honda, is jetted lean and has a restricted intake and exhaust. You may want to raise the needle to richen the mid-range and possibly adjust the pilot air screw to adjust off-idle performance. No further changes should be necessary if you leave the intake and exhaust in stock form. If you ride in cold weather, you may want to richen the mid-range and top-end by raising the needle and installing a larger main jet.
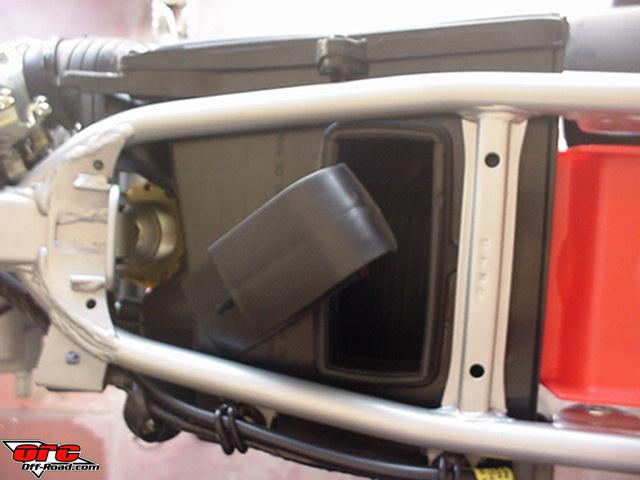
Remove the air box restrictor. This restrictor is located under the seat in the top part of the air box. Just pull it up and out. Some riders will drill a few optional holes on the top and sides of the airbox. This may not be needed. We'll experiment as time goes on. A word of caution to those who ride in the woods: if you drill holes in the sides you might ingest a bit water when you slog across a stream.
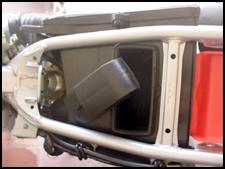
Take the snorkle inlet out of the top of the airbox
|
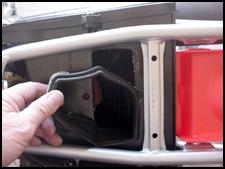
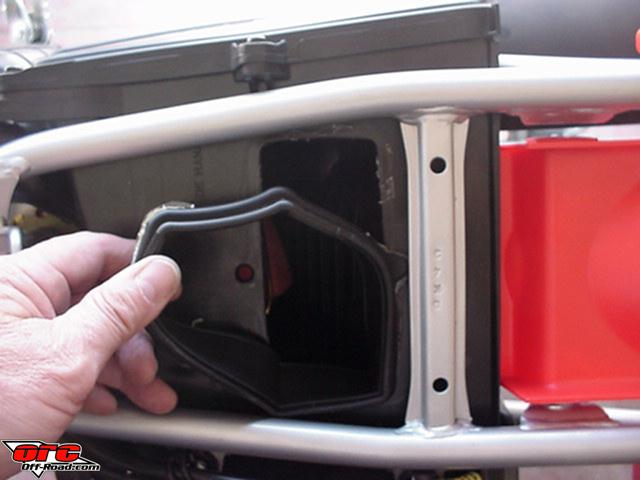
We also removed the rubber edging that holds the snorkle in place. Just pull it out
|
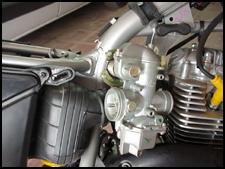
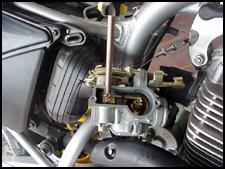
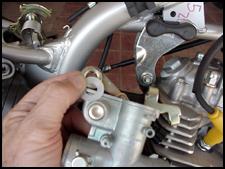
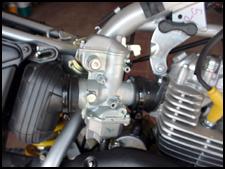
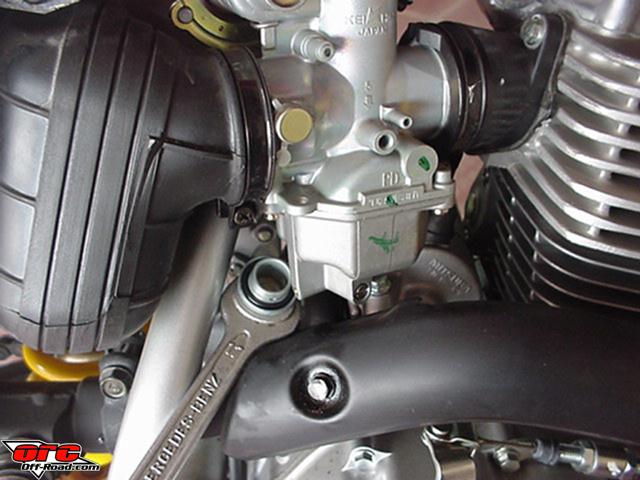
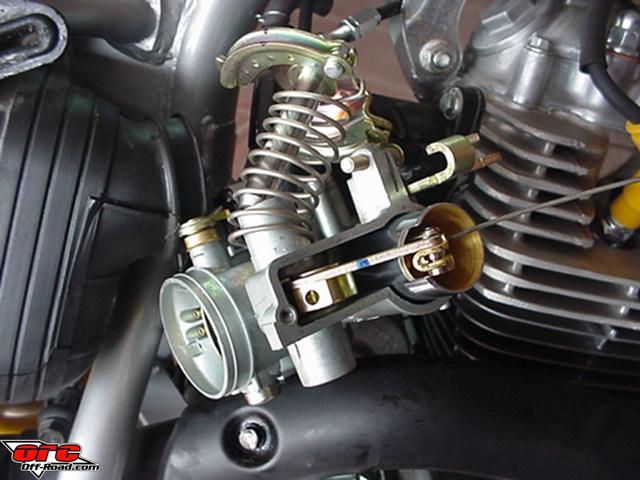
Getting to the carb and changing jets can be intimidating, especially if you're stumped by a "normal" carb. The Honda is incredibly complicated and even has a dual cable push/pull throttle. Therefore, we taken the liberty to run step at a time photos and captions for this process. You can get to the carb without removing it, but we found it much easier to do the changes with carb off the bike, nice and free.
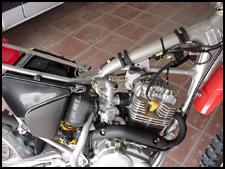
In order to have easy access to the carb, remove the gas tank, seat and side panels
|
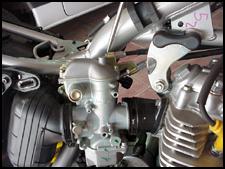
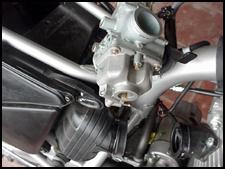
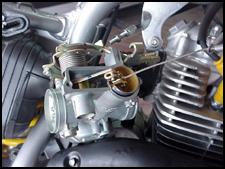
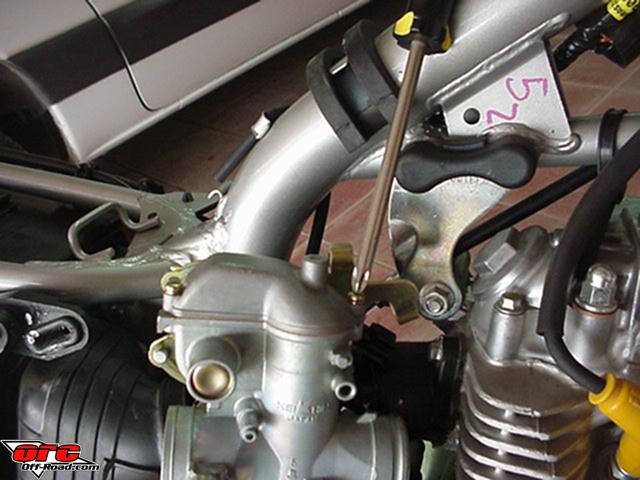
This cable should be removed. Honda uses two cables on the carb. One pulls and one pushes
|
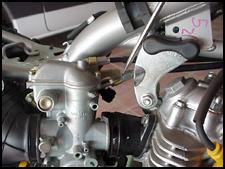
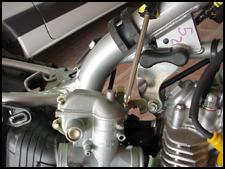
This cable should be retained. Loosen the jam nuts and slip the cable out of the way
|
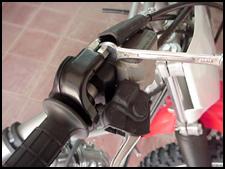
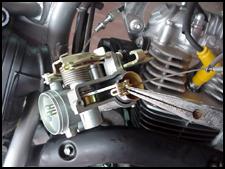
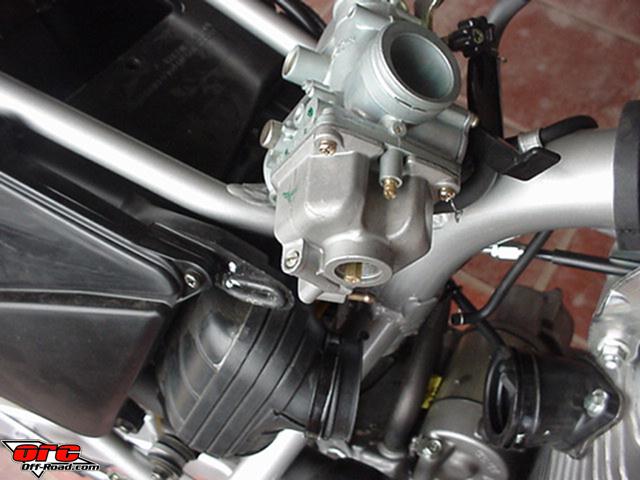
The locking nut on the throttle housing must be loosened in order to remove the push cable
|
Remove the push cable from the throttle housing
|
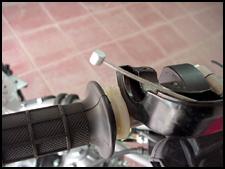
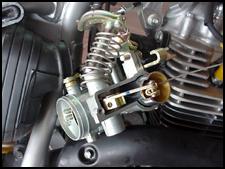
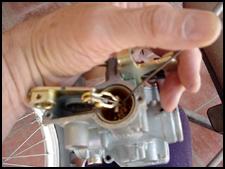
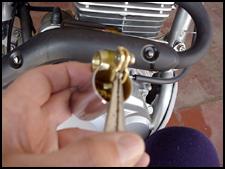
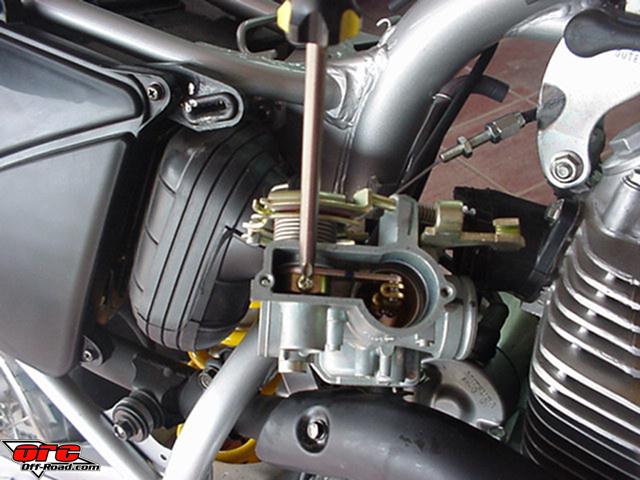
The remaining throttle cable should detached from the linkage
|
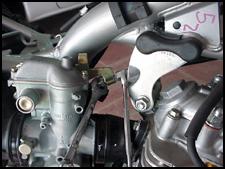
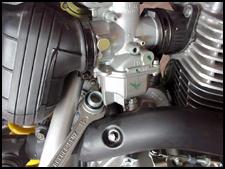
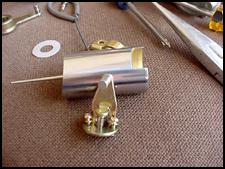
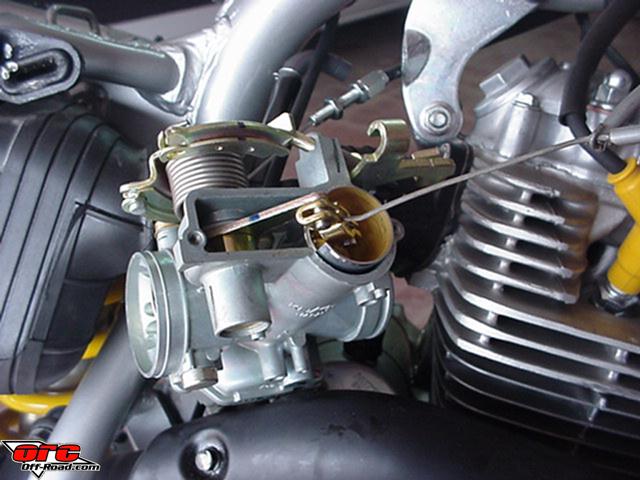
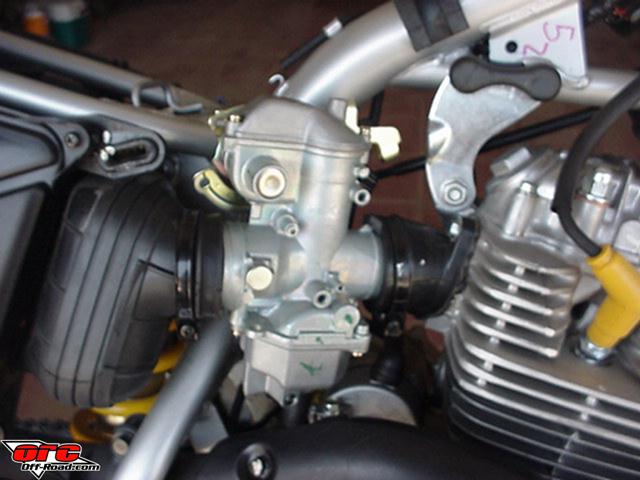
It's easier to work on the carb if the clamps are removed and the carb is pulled free
|
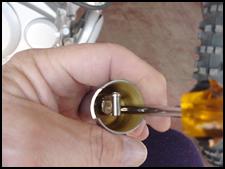
Remove the 17 mm nut on the bottom of the float bowl to drain the carb and get access to the main jet
|
Main jet goes in the bottom of the float bowl
|
Using a small Phillips screwdriver to loosen the carb cap bolts
|
A small Phillips will be needed to remove the screw on the link arm
|
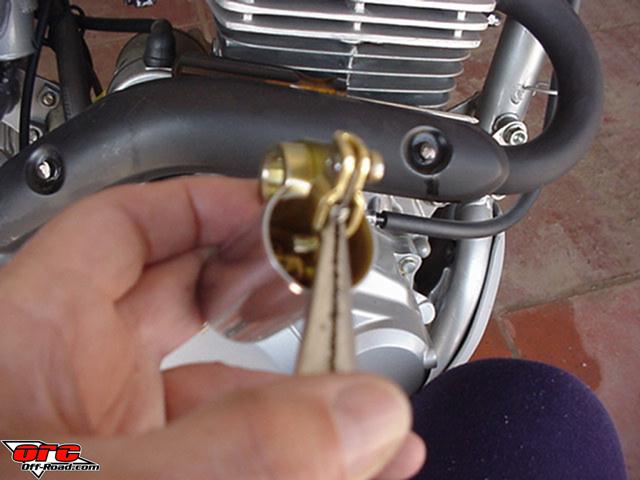
Use a small exhaust pipe spring puller to raise the slide up
|
Small needle nose pliers are used to remove the retaining spring
|
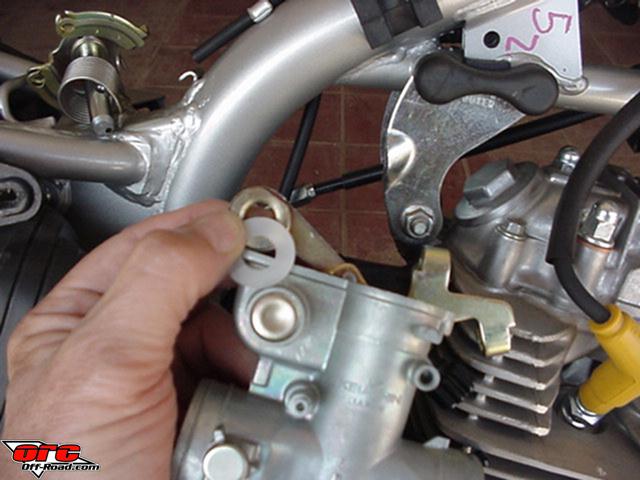
Slide the linkage out of the carb body
|
Don't lose the white shim on the linkage
|
Raise the slide out of the throttle body using something like an exhaust spring puller
|
Remove the small spring holding the pins in place using a needle nose plier
|
There are two small screws in the bottom the slide holding the linkage in. Remove them with a Phillips screwdriver
|
Linkage removed. Slide is in background
|
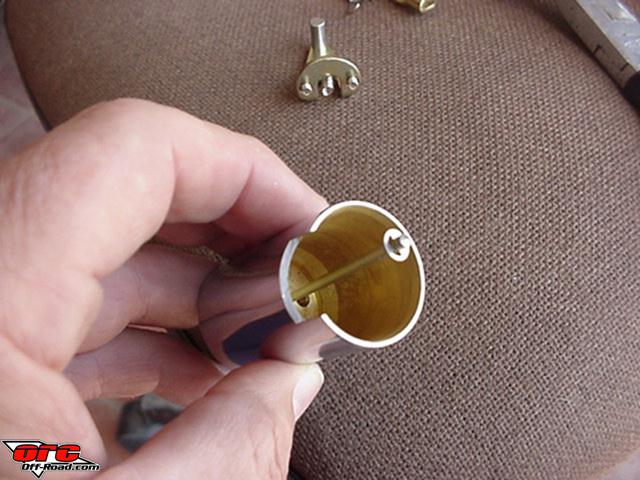
Take the stock needle out of the slide
|
Replace the stock needle with the new one. Clip should go in the center position
|
Button everything back up and slide the carb back into place
|
Once we got the Honda uncorked in both the airbox and the exhaust, and changed the jetting to the new stuff, the bike came alive … literally. From a pleasant, mild-mannered bike, it turned into a peppy, fun to ride machine. It even warmed up quicker and much of the cold-blooded nature of the beast went away. Before the mods, it took forever to warm up and would stall all the time while warming up. After the mods, it ran cleaner and was much more user friendly. It also seemed to let the engine rev better. Nice.
Riding the bike with the power-up mods was a pure joy. While not as fast as a full-blown 250 mxer, it was still peppy enough to satisfy all of our demands. The six speed gearbox was well spaced and easy to use, but a bit on the notchy side. With time it should loosen up a bit.
Riding the bike much harder and faster brought out some shortcomings in the bike. In particular, the rear suspension sucked, big time. We'll try some adjustments in the next issue and even try an aftermarket shock. So far, the forks are decent, but once the rear end is dialed in and working fine, any shortcomings in the forks will become more than apparent.
We were more than impressed with the way the bike ran with the jetting and breathing mods. And this only part one! Stay tuned.
|


 Your Privacy Choices