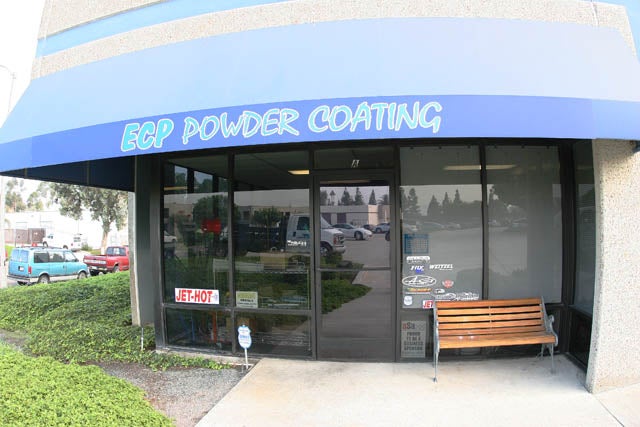
We recently picked up our Project Long Travel SCU chassis and body panels from ECP Powder coating in El Cajon, CA. Scott Rasmussen owner and head powder coating guru gave us the full tour of his shop and an explanation of the complete process involved in applying a durable coat of powder. Since the powder coating process is quite involved, we figured it deserved its own detailed article. ECP was started in 1970 by John and Dolores Hilton. They opened the shop and mainly did custom spray painting. Around 1988 they started offering powder coating to their customers. Scott Rasmussen, who had been working at ECP since 1979, took over the business in 2000 and expanded the operation with a larger facility and larger ovens to focus more on the off-road market. Since then ECP has grown to be one of the largest powder coating facilities in San Diego County. Scott says 50% of his work load can be attributed to off-road products, but he also coats anything metal that you bring to him such as production work on cabinets or medical equipment enclosures. Scott can also do custom lettering if the customer needs something labeled.
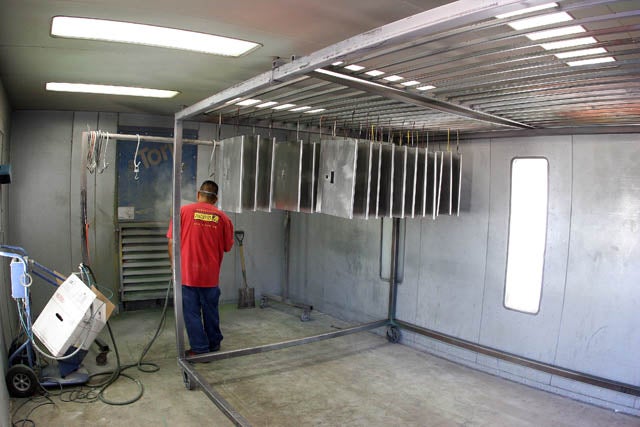
The first step in the process is preparing all the parts that are going to be coated. In our case it was a chassis, numerous body panels, as well as a few smaller parts. They begin by cleaning all the parts with solvent to remove any oils that may be on the metal. This is a critical step that must be completed before sand blasting in order to keep the sand blasting material clean of contaminants. The material must be free of contaminants so that the parts to be coated are not affected. Once it's clean they mask off any chrome parts with duct tape that may be welded to the chassis such as grab handles and step bars. Once clean it gets sand blasted and then all parts are hand sanded. This is very time consuming but is necessary to remove any weld splatter or imperfections. Next they remove any dust on the parts and remove the duct tape and add high temperature tape to the chrome areas. Then it all goes in the oven to pre-heat at 400 degrees. Once the parts are hot they inspect them to see if any oils ran out of any tubing. If there is excess oil, it needs to be re-cleaned before any powder is applied.
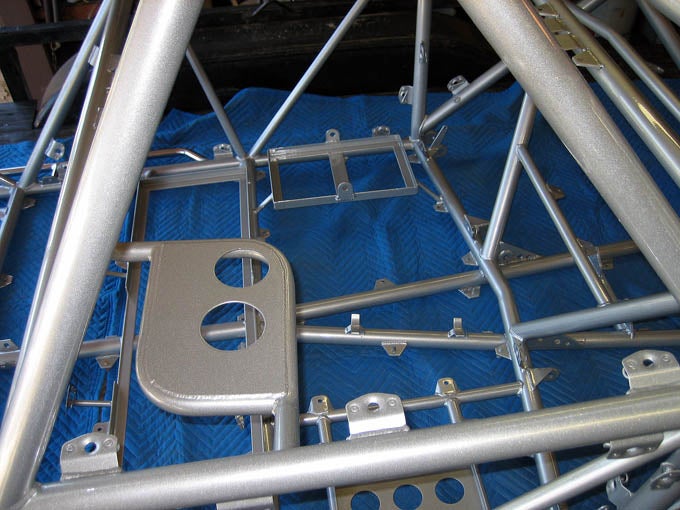
Once the parts cool off to room temperature they begin spraying on a clear coat to add extra protection to the coated parts. After the clear coat is applied the parts go back into the oven for another 35 minutes. This completes the cure of the powder base coat as well as the clear coat.
ECP Powder Coating 619-448-3932 |

|
Off-Road.com Newsletter Join our Weekly Newsletter to get the latest off-road news, reviews, events, and alerts! |
Follow @Off-Road
 Your Privacy Choices